 Free toolLettering size calculatorSee how tall your letters will be at a given width, per font, and whether they'll sew cleanly.Open the tool
This guide is for anyone digitizing lettering, borders or badges who wants to know how narrow or how wide a satin column can go before it breaks up or snags. You'll get the working widths in millimeters, why each limit exists, what split satin is and when it beats a fill, and how the numbers change with the fabric and the font.
It goes deeper than satin vs fill stitch, which covers choosing between the two stitch types. Here the subject is the width itself, measured at the size you'll sew.
How wide can a satin stitch be?
A satin stitch can be about 1 mm to about 7 mm wide, and it sews best between about 2 and 5 mm. Each satin stitch spans the column from edge to edge, so the column's width is the length of every stitch, and that one number decides whether the column forms, lies flat and lasts.
| Width at the stitched size | What to use | Why |
|---|---|---|
| Under about 0.75 mm | Running or bean stitch | Too narrow for a column; a line sews cleaner |
| About 0.75–1 mm | Satin for short shapes, bean stitch for long lines; better, thicken it in the artwork | The needle holes on the two edges almost touch |
| About 1–2 mm | Satin with light underlay, such as a center run | Small lettering and fine borders; heavy underlay makes them lumpy |
| About 2–5 mm | Satin | The easiest range: crisp, raised edges and tight stitches |
| About 5–7 mm | Satin on stable fabric; consider fill on knits and pile | Stitches start to lie loose on soft fabric |
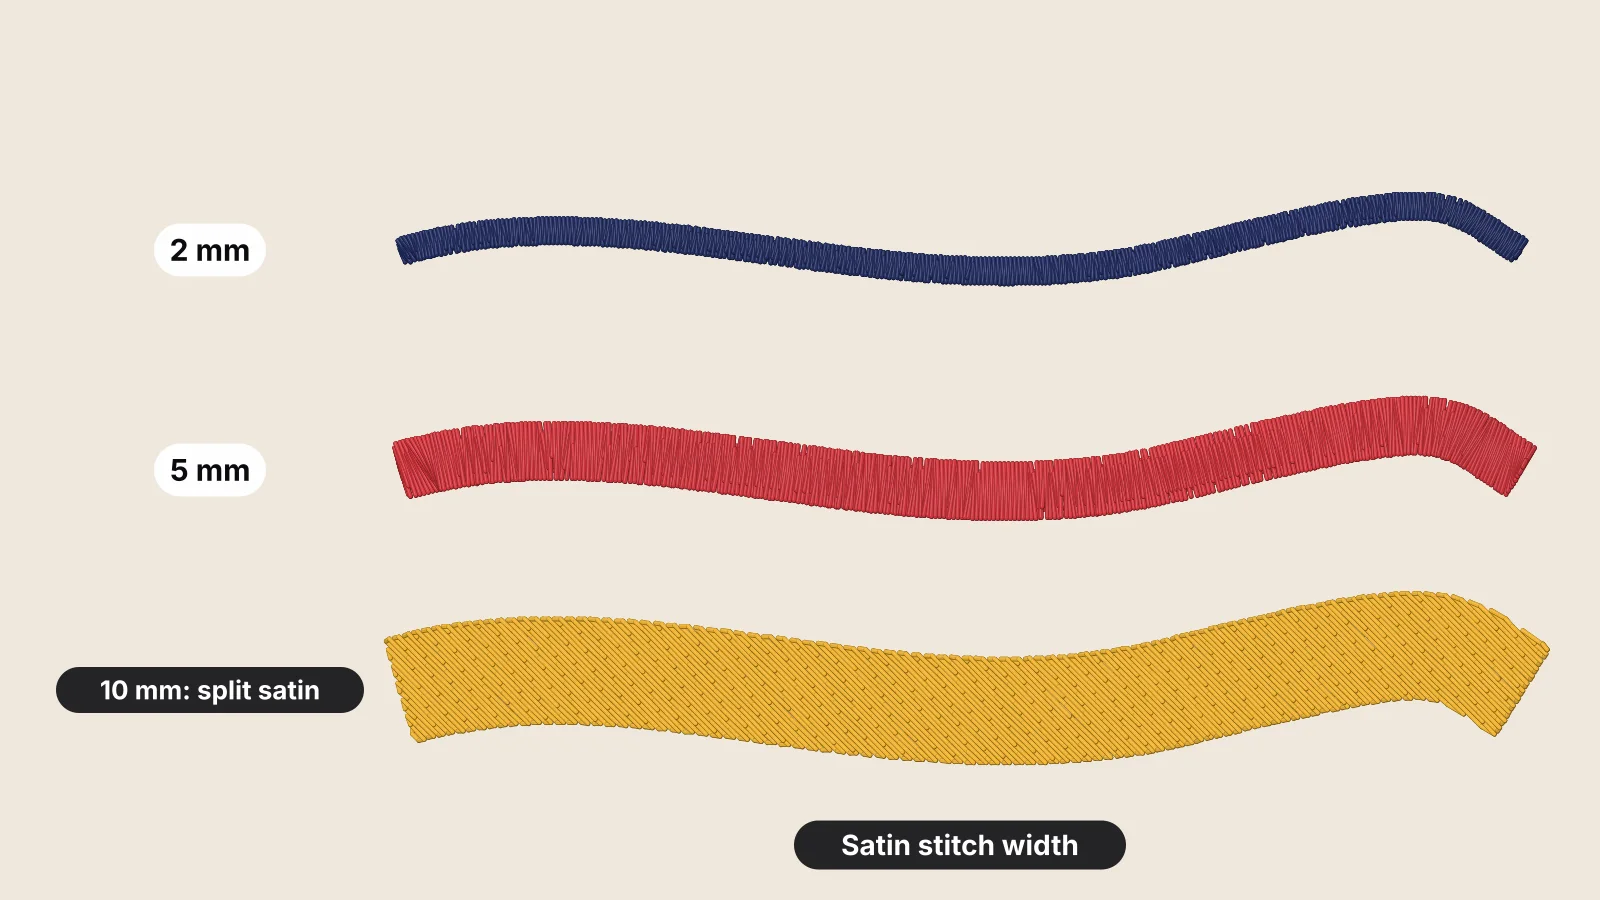
| Over about 7 mm | Tatami fill, often with a satin border, or split satin | Single stitches this long snag and loosen |
Measure at the size you'll sew, not on screen. A border 4 mm wide in a 3 in design is 6 mm wide when the same artwork is digitized at 4.5 in, and 8 mm at 6 in. Two more things make the stitches longer than the column looks:
- Slanted stitches. Where the stitches cross a column at an angle instead of straight across, as in the diagonal strokes of A, N and V, each stitch is longer than the column is wide. At 45° to the column, a 5 mm stroke has stitches about 7.1 mm long.
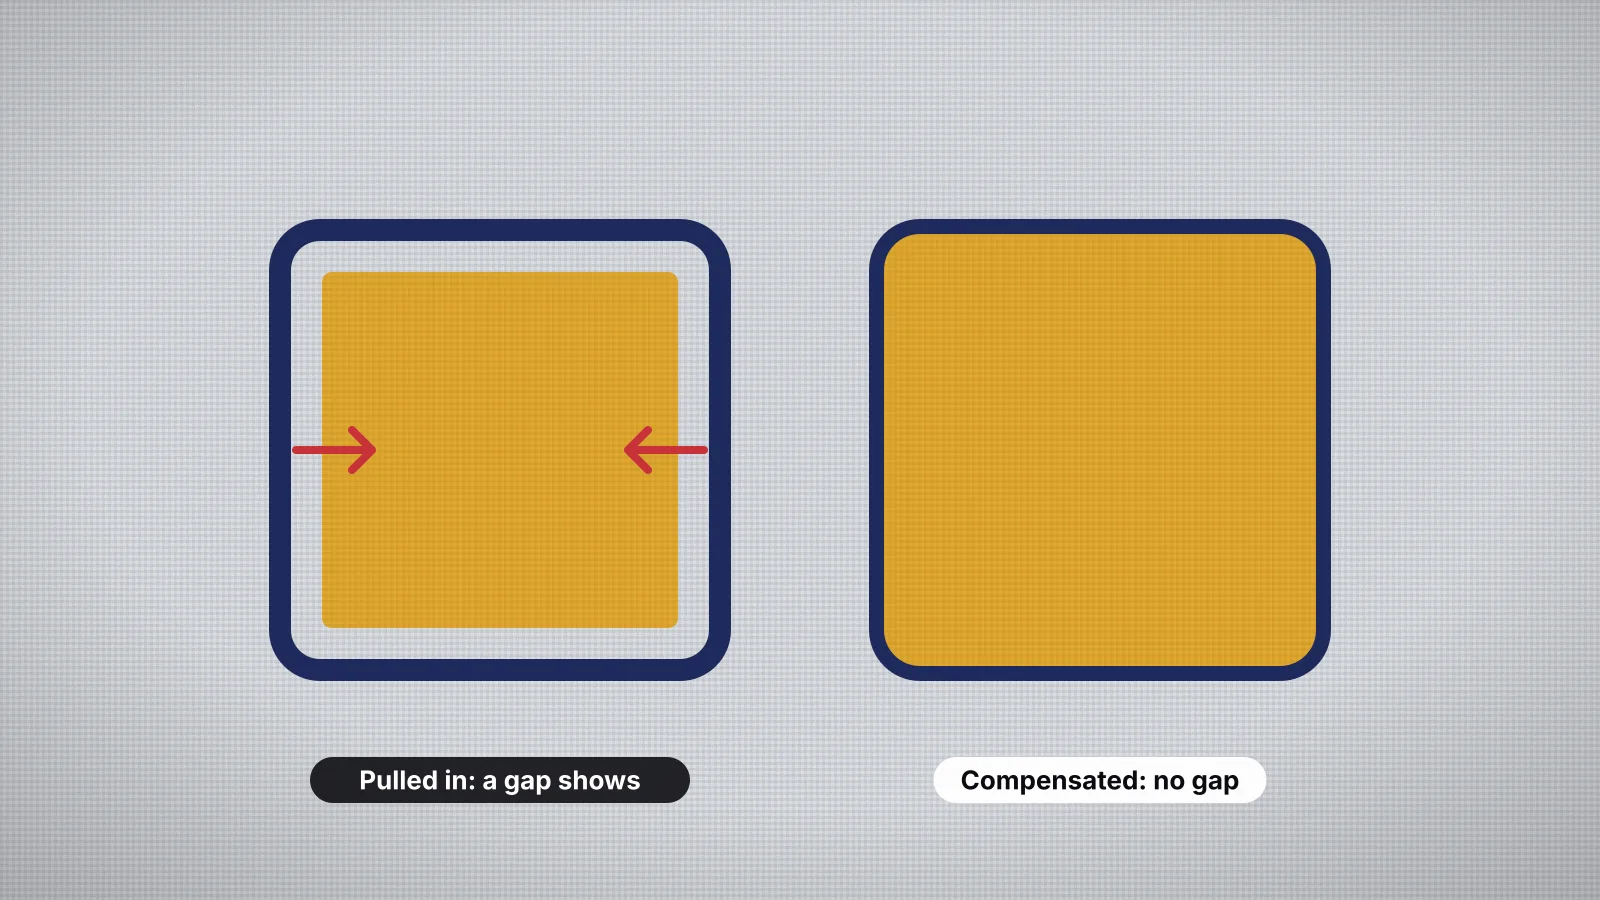
- Pull compensation. Each stitch reaches a little past both edges so the column pulls back to its drawn width. At 0.2 mm per side, a 6.5 mm column is sewn with 6.9 mm stitches. The pull compensation guide explains how much each fabric needs.
Width doesn't change a satin's stitch count, only its thread use. At 0.4 mm spacing, a column 100 mm long has about 250 stitches whether it's 2 mm or 6 mm wide. A fill's count grows with its area instead, which the density guide covers.
What is the minimum width for a satin stitch?
About 1 mm is the practical minimum for a satin column in 40-weight thread, and experienced digitizers rarely go below about 0.8 mm. Below that the column can't form properly, so lines under about 0.75 mm are sewn as running or bean stitch instead. Four things go wrong in a column that narrow:
- The needle holes crowd together. At 0.4 mm spacing, a satin puts a needle hole every 0.4 mm along both edges. When the edges are under 1 mm apart, the two rows of holes nearly merge, the fabric between them is perforated, and the stitches pile onto each other instead of lying side by side.
- The column rolls into a cord. Very short stitches can't lie flat, so a 0.6 mm satin looks like a lumpy rope with uneven edges rather than a smooth band.
- Compensation and underlay take over. Adding 0.2 mm per side to a 0.6 mm column widens it by two thirds, and even a single center run underlay crowds it. On a 4 mm column, the same compensation is a tenth of the width.
- Curves make it worse. On the inside of a curve the needle points bunch closer still. Digitizers spread them with short stitches on wider columns, but a narrow one has no room for them.
At that width a running stitch, or a bean stitch that sews each stitch three times for a bolder line, reads better than a crowded satin. If a line has to look solid, widen it in the artwork to at least 1 mm at the final size. The stitch types guide shows how each one looks.
Check the thinnest part of a shape, not its average. A script letter can be 2 mm wide in its downstroke and 0.4 mm in a hairline join, and the join is the part that breaks up.
Try it with your own design
Sign up free, upload an image and get a stitch preview in under a minute.
Drop your image here
PNG, JPG, SVG, PDF or AI · stays on your device
Not sure what to expect? See real examples or how it works.
Why do long satin stitches snag and loosen?
Long satin stitches snag because each one is a float of thread held only at its two ends, so anything that slides under it, such as a fingernail, a zipper, Velcro or jewelry, can pull it up. About 7 mm is the usual working limit, and past it the problems below get worse with every extra millimeter:
- They can't be held tight. Tension firm enough to keep a 10 mm stitch flat also pulls hard across the column, so long stitches end up either loose or puckering the fabric beside them.
- They move. A long stitch can slide sideways, so small gaps open between stitches and the edges wander, especially around curves.
- They wear badly. Washing, drying and rubbing work long floats loose over time. Caps, bags and workwear that get handled a lot show it first.
- They don't move with soft fabric. On knits and fleece, the fabric under a wide column keeps stretching while the stitches don't, so wide satin pulls a knit into a ridge or sinks between the loops of pile.
File formats have a hard limit too, but it's well above what wears well. A DST file stores each move as an x and a y step of up to 121 units of 0.1 mm, so one record can move at most 12.1 mm in each direction, and EXP and JEF allow 12.7 mm. Software writes anything longer as several stitches or jumps, so the format doesn't decide how long a satin stitch can be. Wear does.
Desktop software works to the same 7 mm mark: Wilcom's EmbroideryStudio help, for example, suggests a 7 mm split length to keep the satin look. If a file you bought has long satins, the embroidery file checker flags them, and the file repair tool can split long stitches before you sew.
What is split satin, and how does it compare with tatami?
Split satin is a satin whose long stitches are broken into shorter pieces, with the break points shifted from one stitch to the next so they don't form a visible line. It lets a shape wider than about 7 mm keep the satin's direction and much of its shine without any single float long enough to snag.
- Wilcom EmbroideryStudio calls it Auto Split. Satin stitches longer than a maximum length you set are split, with a minimum length for the pieces, and the needle points are spread in a random pattern so they don't form a line down the middle of the shape. Wilcom presents it as an alternative to tatami on wide columns.
- Ink/Stitch, the free Inkscape extension, gives satin columns a maximum stitch length, and stitches longer than that are split into pieces. The Ink/Stitch guide covers its satin columns.
| Satin | Split satin | Tatami fill | |
|---|---|---|---|
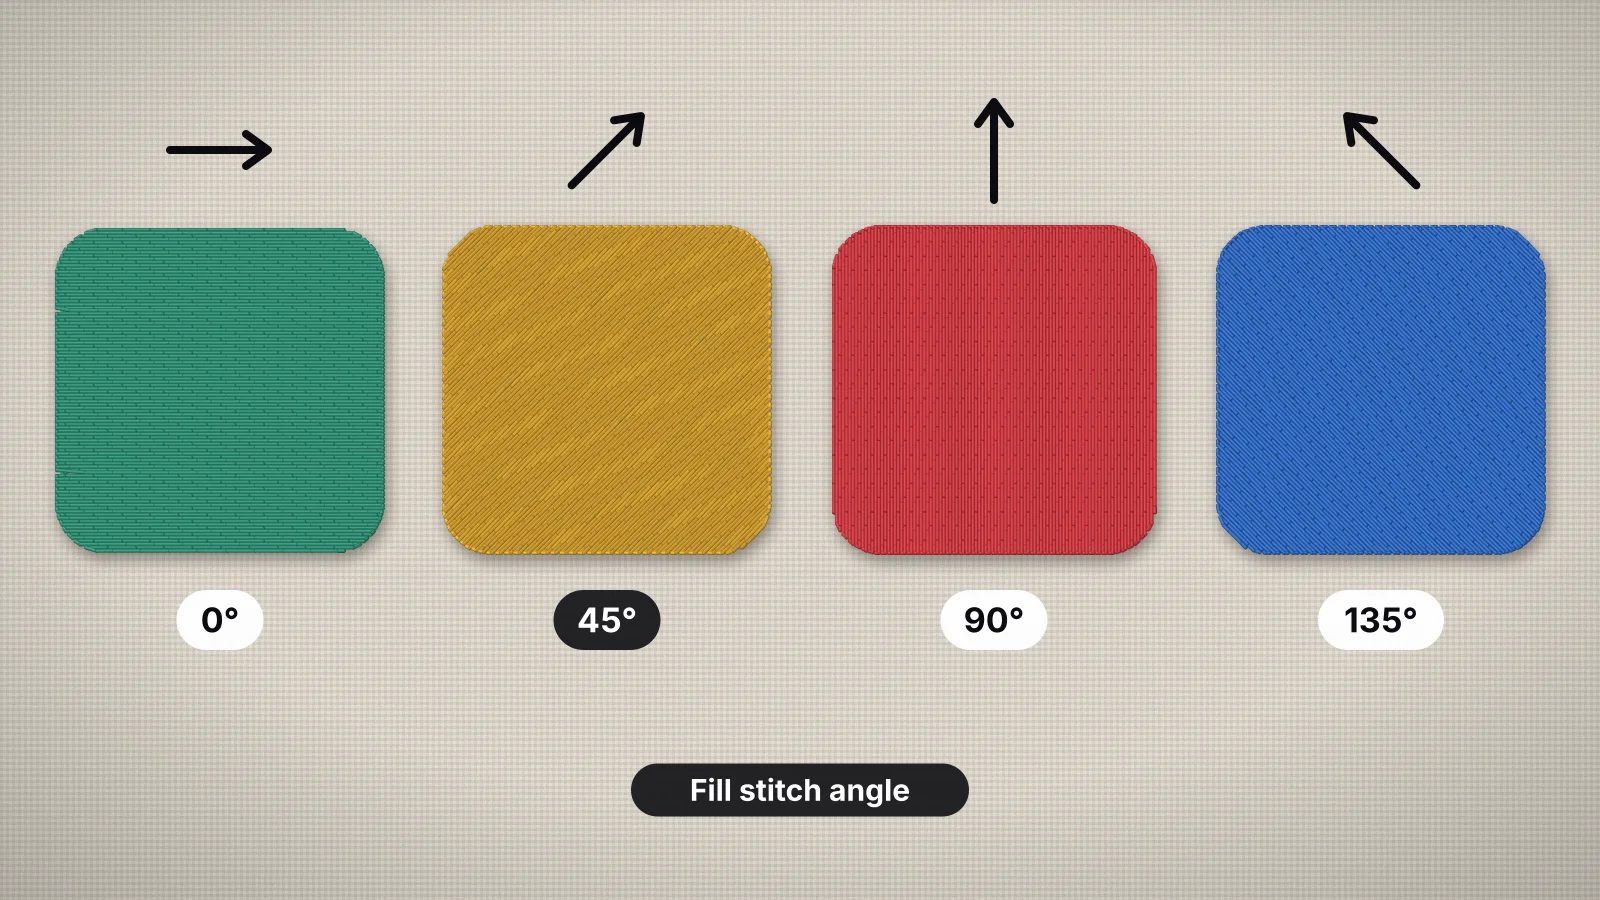
| Stitch direction | Across the column, turning with it | Across the shape, following it or in one direction | Straight rows at one angle |
| Longest stitch | The column's width | The piece length, usually 7 mm or less | The fill stitch length, about 3.5 mm |
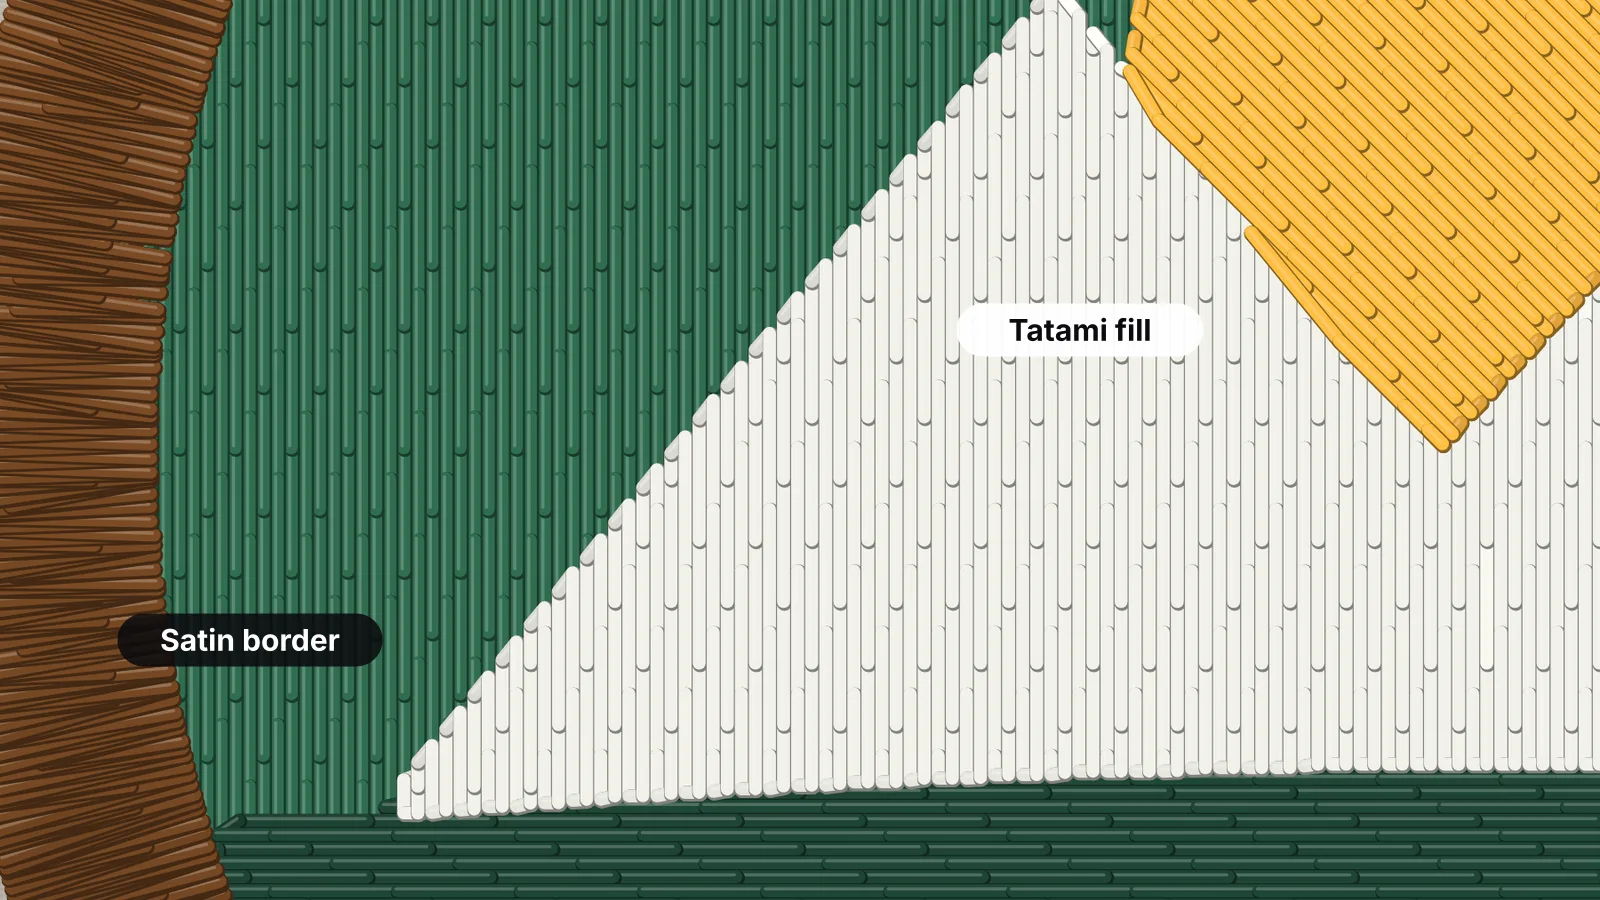
| Look | Smooth and glossy | Glossy, with a fine broken texture | Flat, matte, woven texture |
| Good for | Lettering, borders and outlines up to about 7 mm | Wide borders, big letters and shapes you want shiny | Backgrounds and large areas |
| Wear | Best below about 5 mm | Better than long satin, less hard-wearing than fill | The most hard-wearing for large areas |
Split satin isn't a stitch saver. Once every long stitch is broken into two or three pieces, its count lands in the same range as a tatami fill of the same area, so choose on looks and wear. Split satin keeps a wide border or a big monogram reading as one smooth, shiny band. Tatami gives a calmer, flatter surface that holds up better on things that get rubbed, which makes it the safer choice for wide shapes on caps and bags.
How wide should satin stitches be on different fabrics?
Stable wovens take the full range of about 1–7 mm, while knits, pile and leather work best in a narrower window: a little wider at the thin end so the texture doesn't swallow the column, and narrower at the wide end so long stitches don't pull or sink.
| Fabric | Narrowest satin | Widest before fill or split satin | Watch for |
|---|---|---|---|
| Twill, canvas, denim | About 1 mm | About 7 mm | Little; the easiest fabrics for wide satin |
| Woven shirts, poplin | About 1 mm | About 5–6 mm | Light fabric puckers beside dense, wide columns |
| T-shirts and other jersey knits | About 1.2 mm | About 5 mm | Wide columns pull the knit into a ridge; heavy underlay and cut-away |
| Piqué polos | About 1.5 mm | About 5–6 mm | The texture swallows thin columns; use a topping |
| Fleece, sweatshirts, towels | About 1.5–2 mm, with a topping | About 5 mm | Wide satin sinks between the loops; fill holds the pile down |
| Leather and vinyl | About 1.5 mm | About 6 mm | Every needle hole is permanent; space the stitches further apart |
The settings shift with the fabric too. Embrizo's woven preset sews satin at 0.4 mm spacing with 0.2 mm of pull compensation per side. The knit preset raises pull compensation to 0.3 mm with heavy underlay, and the leather preset uses 0.5 mm spacing, 0.1 mm pull compensation and light underlay, so fewer holes go through the hide.
The backing matters as much as the width: a 5 mm satin on a T-shirt needs a cut-away stabilizer to stay flat, and the stabilizer guide matches backing to fabric. Underlay does the rest, with a center run under narrow columns, edge runs under medium ones and edge runs plus a zigzag under wide ones, as the underlay guide shows.
How wide are the strokes in embroidered lettering?
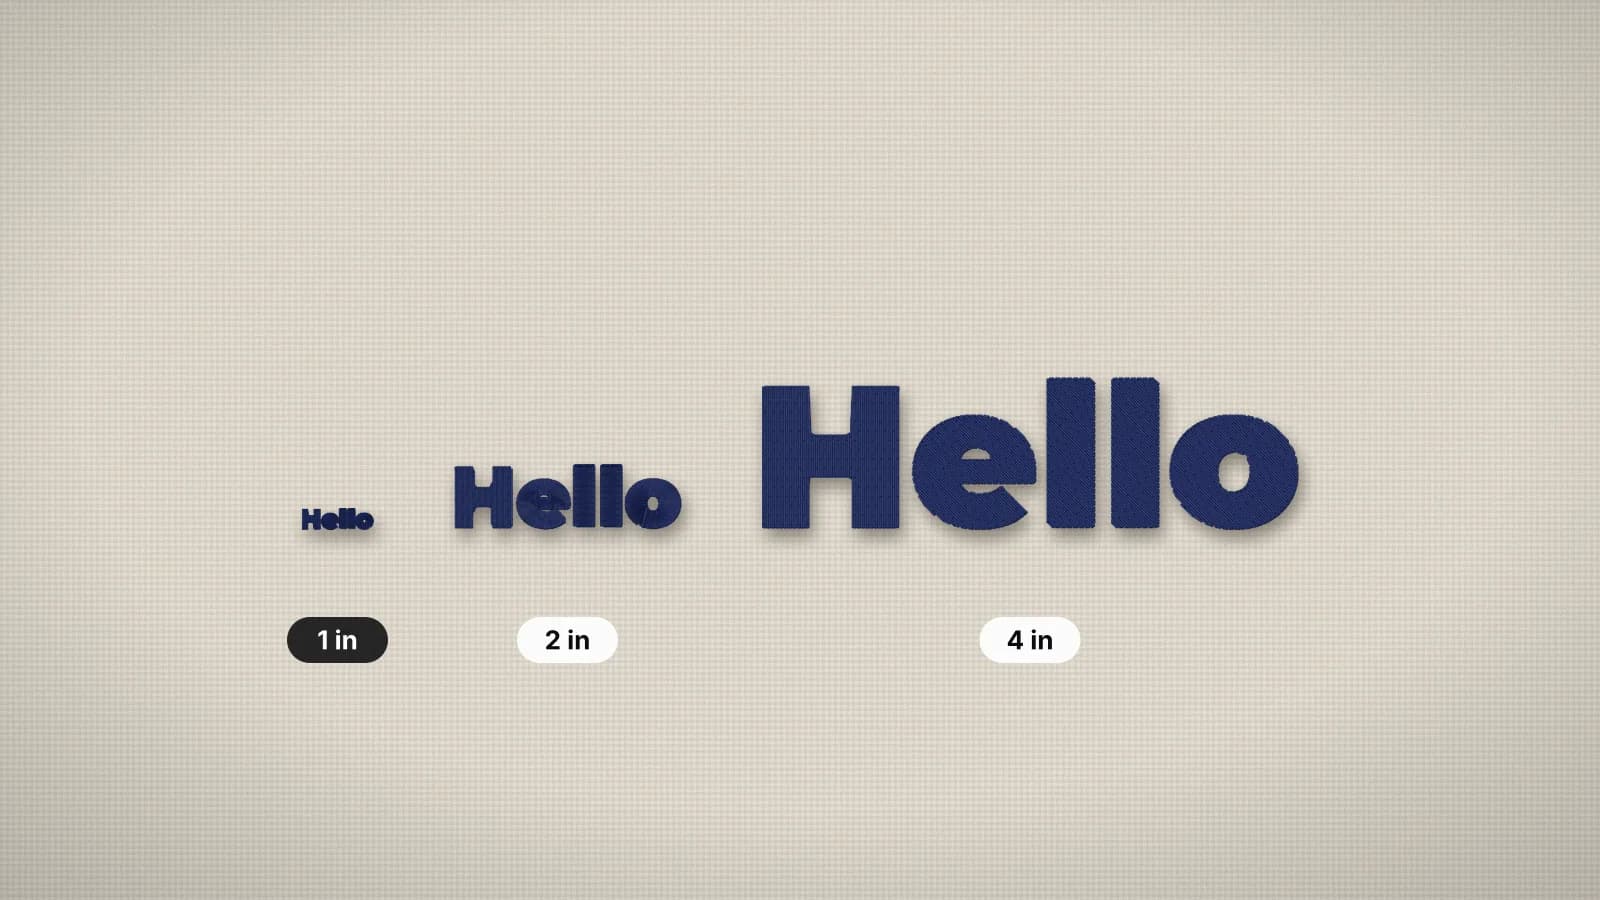
In a bold sans-serif font the main strokes are about a fifth of the capital height, so 5 mm capitals have strokes about 1 mm wide, right at satin's minimum. A regular weight is closer to an eighth of the height, and the thin strokes of a serif font can be a twentieth or less, which is why the same letter height sews cleanly in one font and breaks up in another.
The ratios below come from the published metrics of Helvetica Bold, Helvetica and Times Roman, two standard reference families; most bold and regular sans-serifs and classic serifs fall close to them.
| Capital height | Bold sans stroke (about 1/5) | Regular sans stroke (about 1/8) | Serif thin stroke (about 1/24) | What it means |
|---|---|---|---|---|
| 5 mm | 1.0 mm | 0.6 mm | 0.2 mm | Bold satin only just works; a regular weight sews as running stitch |
| 8 mm | 1.6 mm | 1.0 mm | 0.3 mm | Most sans-serifs work in satin; print serif hairlines don't |
| 12 mm | 2.3 mm | 1.5 mm | 0.5 mm | Comfortable satin for sans-serifs; serifs still fragile |
| 25 mm (1 in) | 4.9 mm | 3.1 mm | 1.1 mm | Every stroke can be satin |
| 35 mm | 6.8 mm | 4.3 mm | 1.5 mm | Bold stems pass 6.5 mm: fill or split satin |
| 50 mm (2 in) | 9.8 mm | 6.1 mm | 2.1 mm | Bold letters need fill or split satin, often with a satin border |
That's why fonts drawn for embroidery thicken their thin strokes, and why a print font with hairlines needs either a heavier weight or a much bigger size. On fabric, pull compensation sews each stroke about 0.4 mm wider than drawn at 0.2 mm per side, and the fabric's pull brings it back toward the drawn width.
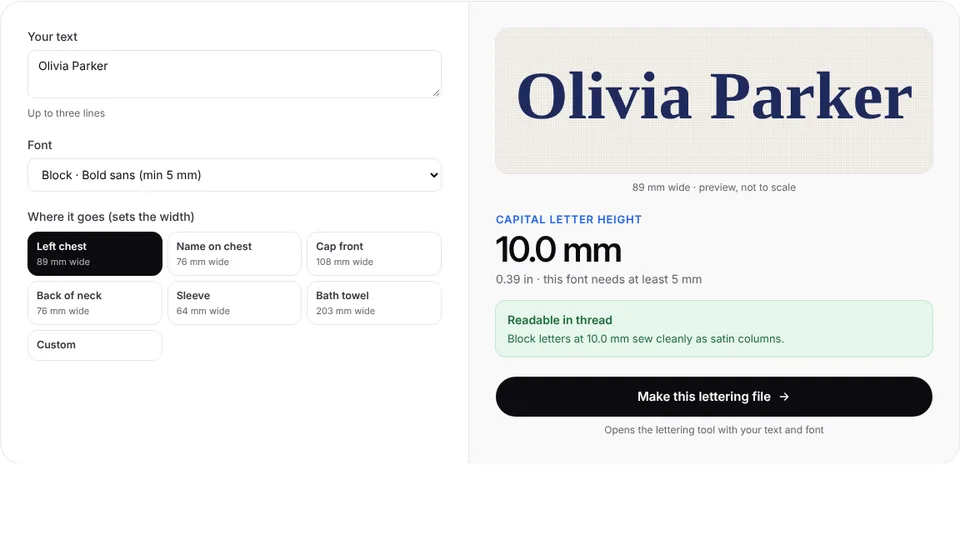
The lettering size calculator shows the letter height at a given width per font, and the small text guide has minimum heights by font style. At the other end, jacket-back and varsity lettering with strokes over about 7 mm is where split satin earns its place.
Practice on a free design
167 ready-to-sew designs in every machine format, free with an account.



How does Embrizo handle satin width?
Embrizo measures every shape at the size you set and picks the stitch from its width: satin for shapes up to 6.5 mm wide, tatami fill for wider ones and running stitch for lines under about 0.75 mm. You can change that for any color in the digitizer's color list by setting it to Auto, Fill, Satin or Outline.
- Wide shapes set to Satin are still sewn in satin. The column follows the shape across its full width, and every stitch longer than 7 mm is split into shorter pieces at split points that shift from stitch to stitch, so no piece is longer than 7 mm.
- Round or blob-like shapes, and columns that would sew outside the shape, become split satin across the whole shape in one direction.
- The color list shows what you got before anything is downloaded: each color lists the stitch types it came out in, such as Satin + Split satin, or Fill.
- Spacing and compensation follow the fabric. Satin starts at 0.4 mm spacing with 0.2 mm of pull compensation per side on woven fabric, and the knit and leather presets adjust them as in the fabric section above.
What it doesn't do: you can't place splits by hand, it doesn't make 3D puff, and it can't decide whether a wide border should be glossy or hard-wearing. That's a choice about the item, and a test sew-out settles it.
To try it, upload your artwork to the digitizer, set the width you'll sew and pick the fabric, then switch a wide shape between Fill and Satin and compare the two in the stitch preview. The satin stitch digitizing page shows split satin beside fill on real letters. Digitizing and previews are free with an account; downloading files needs a plan.