Embroidery design splitter
Too big for your hoop? Split any embroidery file into parts that each fit, with alignment marks on the seams, and stitch it in several hoopings.
Drop the embroidery file to split
DST, PES, JEF, EXP, VP3, XXX, PEC, U01, TBF · opened right in your browser
From one big design to a few hoopings
Pick your hoop
4x4, 5x7, 6x10, 8x8 or 8x12. The hoop is turned automatically if that means fewer parts.
Fewest parts
The design is cut on an even grid into as few hoopings as fit.
No gaps
Stitches that cross a seam belong to both parts, so the halves meet cleanly.
Alignment marks
Crosses on each seam, sewn first in their own color stop.
Part by part
Preview, recolor and watch each part sew before you save it.
Any format
Save parts as DST, PES, JEF, EXP, VP3, XXX and more.
Getting a clean join
- Hoop a stabilizer large enough for the whole design, or float extra under each hooping.
- Mark the fabric's center lines first so every hooping stays square.
- Stitch the alignment crosses, then match them before sewing the rest of each part.
- Use a magnetic hoop if you can: re-hooping is faster and leaves no hoop burn.
- Sew a test on scrap fabric to check the join before the real piece.
Free account
Start digitizing in under a minute
Create a free account to digitize any image, try every setting and watch it sew. Choose a plan only when you want to download files.
- Digitize and preview any image
- Realistic stitch preview and sew-out
- Download free ready-made designs
- No credit card needed



Questions
The quickest way to see what it does with your artwork is to try it. With a free account, digitizing and previewing cost nothing and take about a minute.
How do I split an embroidery design for a smaller hoop?
Open the stitch file here and pick your hoop. The splitter works out how many hoopings it needs, cuts the design on a grid, adds alignment crosses on the seams and gives you one file per hooping, each previewed before you save it.
Will the parts line up?
Each part keeps its exact position, and stitches that cross a seam are shared by both parts, so there is no gap. Sew the alignment crosses first on each new hooping and match them to the ones already stitched.
What are alignment marks?
Small crosses sewn in a separate color stop at the ends of each seam. Stitch them with a contrasting or water-soluble thread, use them to line up the next hooping, then pull them out. You can turn them off.
Should I split or resize a design?
If it only needs to shrink by 10–20%, resizing is simpler. If it has to stay big, split it, or use a machine with a larger hoop. Very detailed designs split best along open areas.
Is the splitter free?
Opening, splitting and previewing are free. Saving the parts as embroidery files needs a paid plan, from $8 a month billed annually.
More tools
Keep going
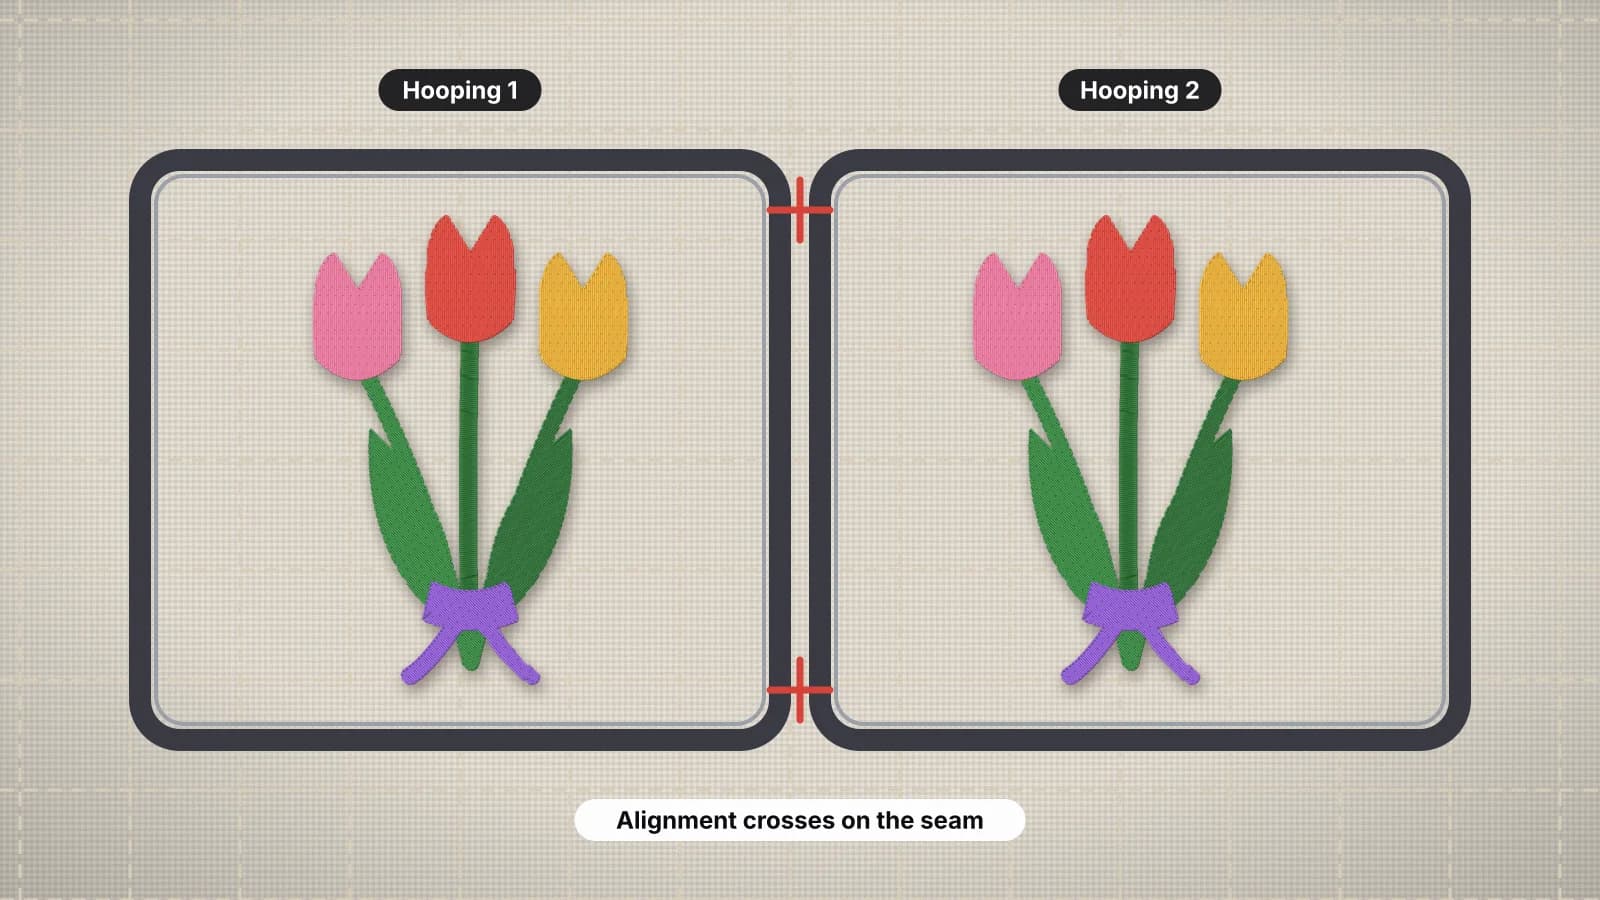 GuideHow to split a large embroidery designWhen splitting beats resizing or re-digitizing, where to cut a design, alignment marks, re-hooping and lining up each part, the designs that split cleanly and how to make the split file.Read the guide
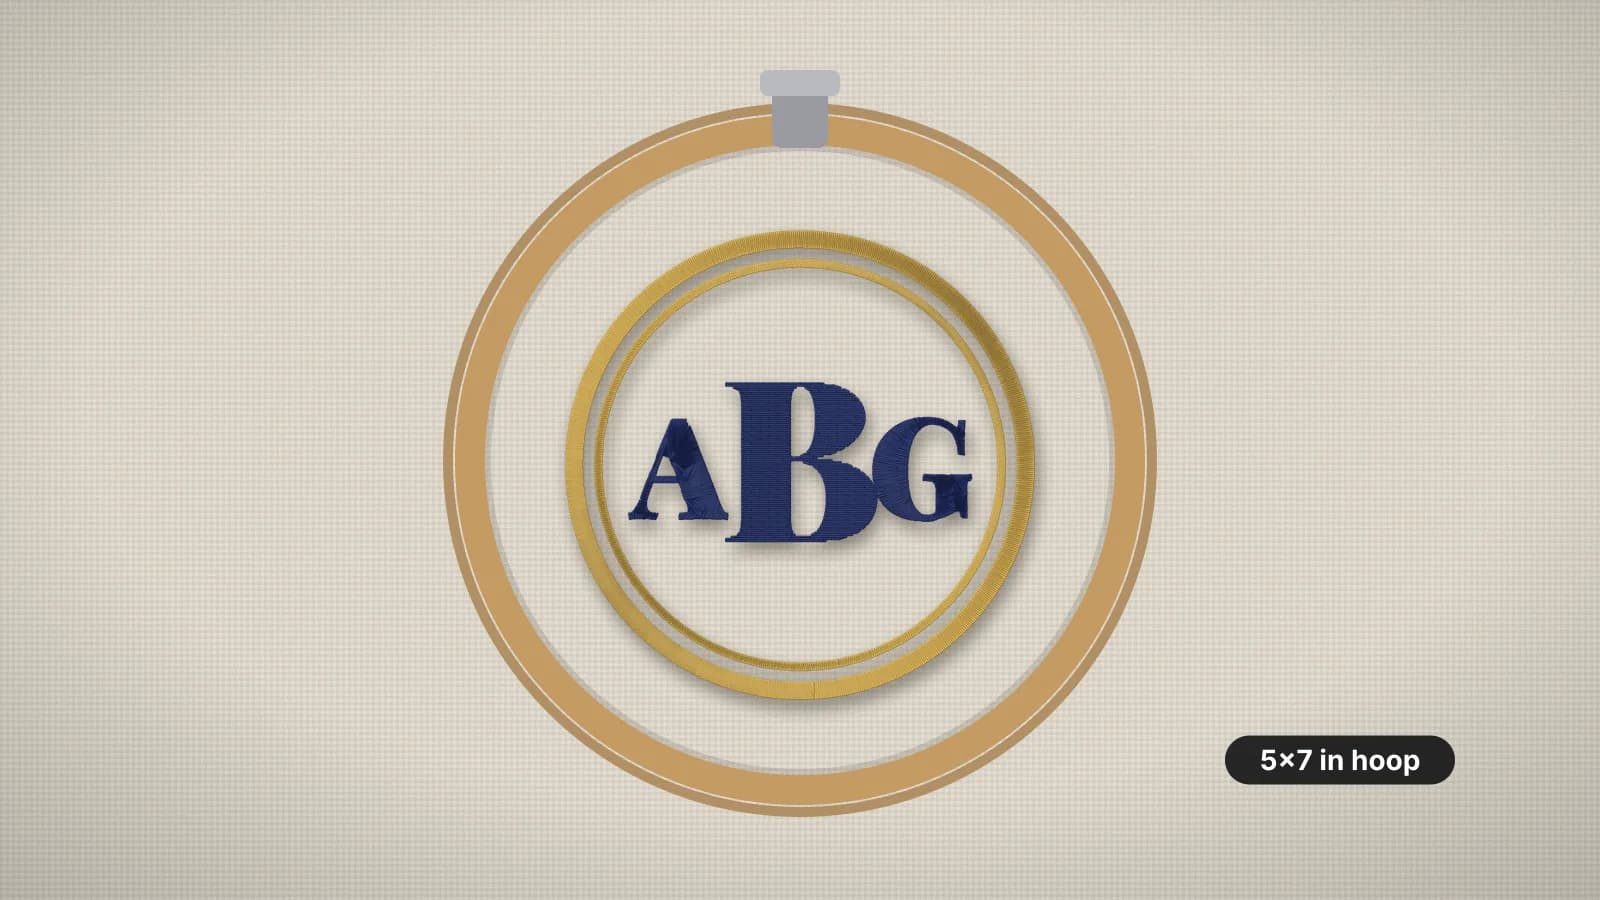 GuideEmbroidery hoop sizes: a practical guideStandard hoop sizes with their real sewing fields, how to choose one and what to do when a design is too big.Read the guide
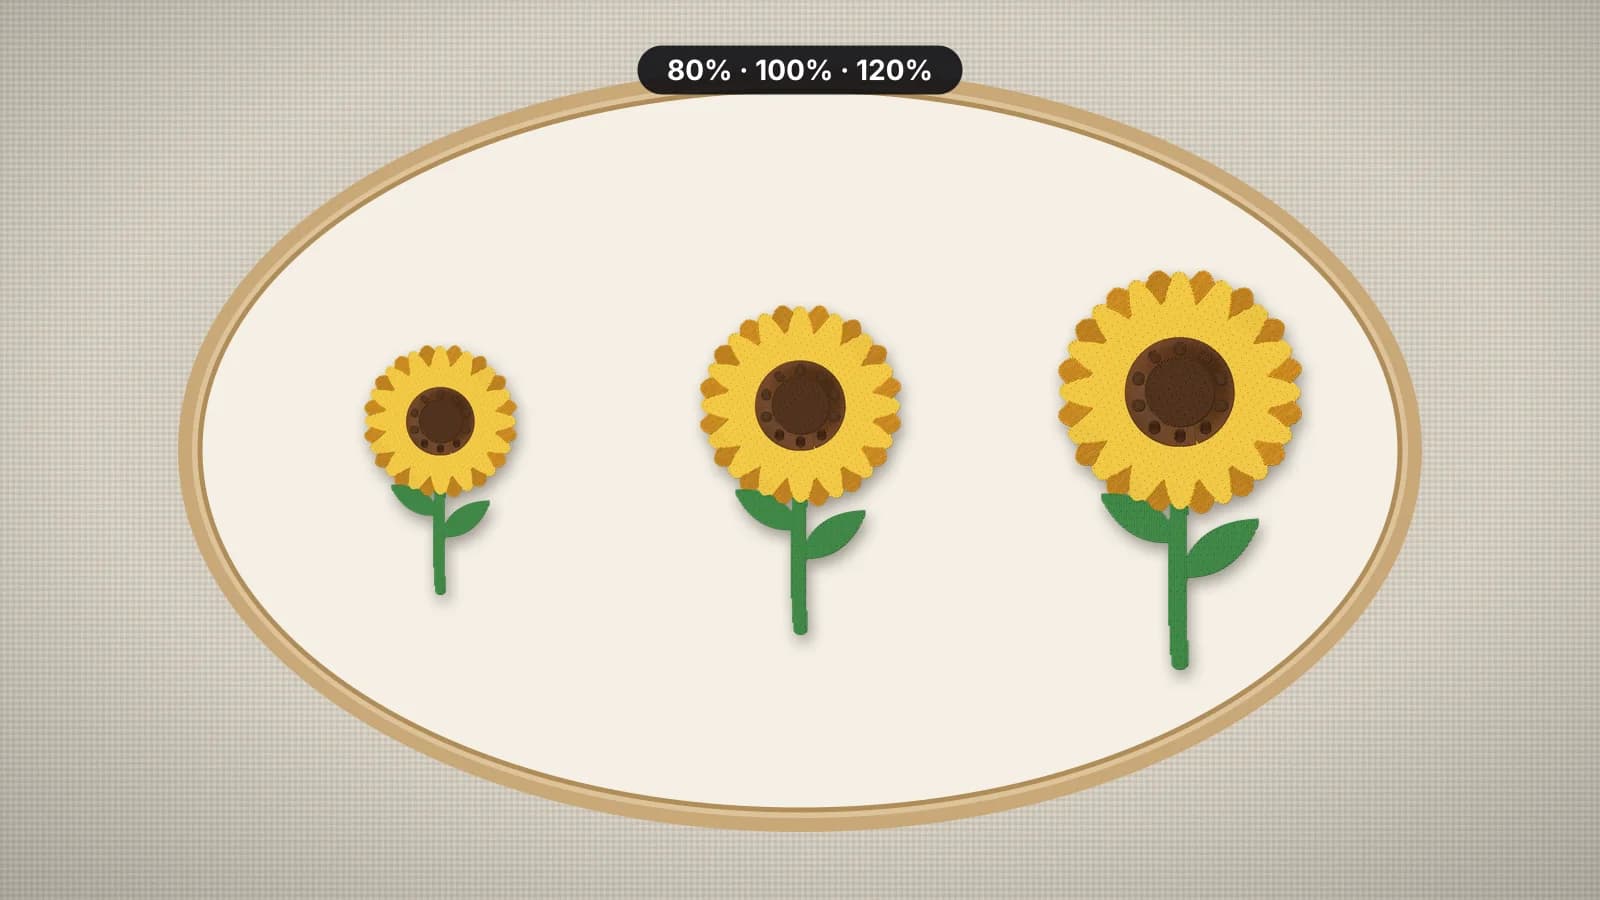 GuideHow to resize embroidery designsWhy scaling a stitch file changes its density, how far you can safely go, what happens to stitch count and satin, how to resize a file and when to digitize the artwork again instead.Read the guide
 Free previewEmbroidery file converterConvert PES, DST, JEF, EXP, VP3 and XXX files to any other machine format.Open
 Free toolEmbroidery file viewerOpen DST, PES, JEF and more in your browser: stitch preview, colors, size and stitch count.Open
 Free previewText to embroidery fileType a name or monogram, pick a font and download a ready-to-sew lettering file.Open
Starting from artwork?
Digitize your logo or picture at the exact size you need, ready for your machine's hoop.