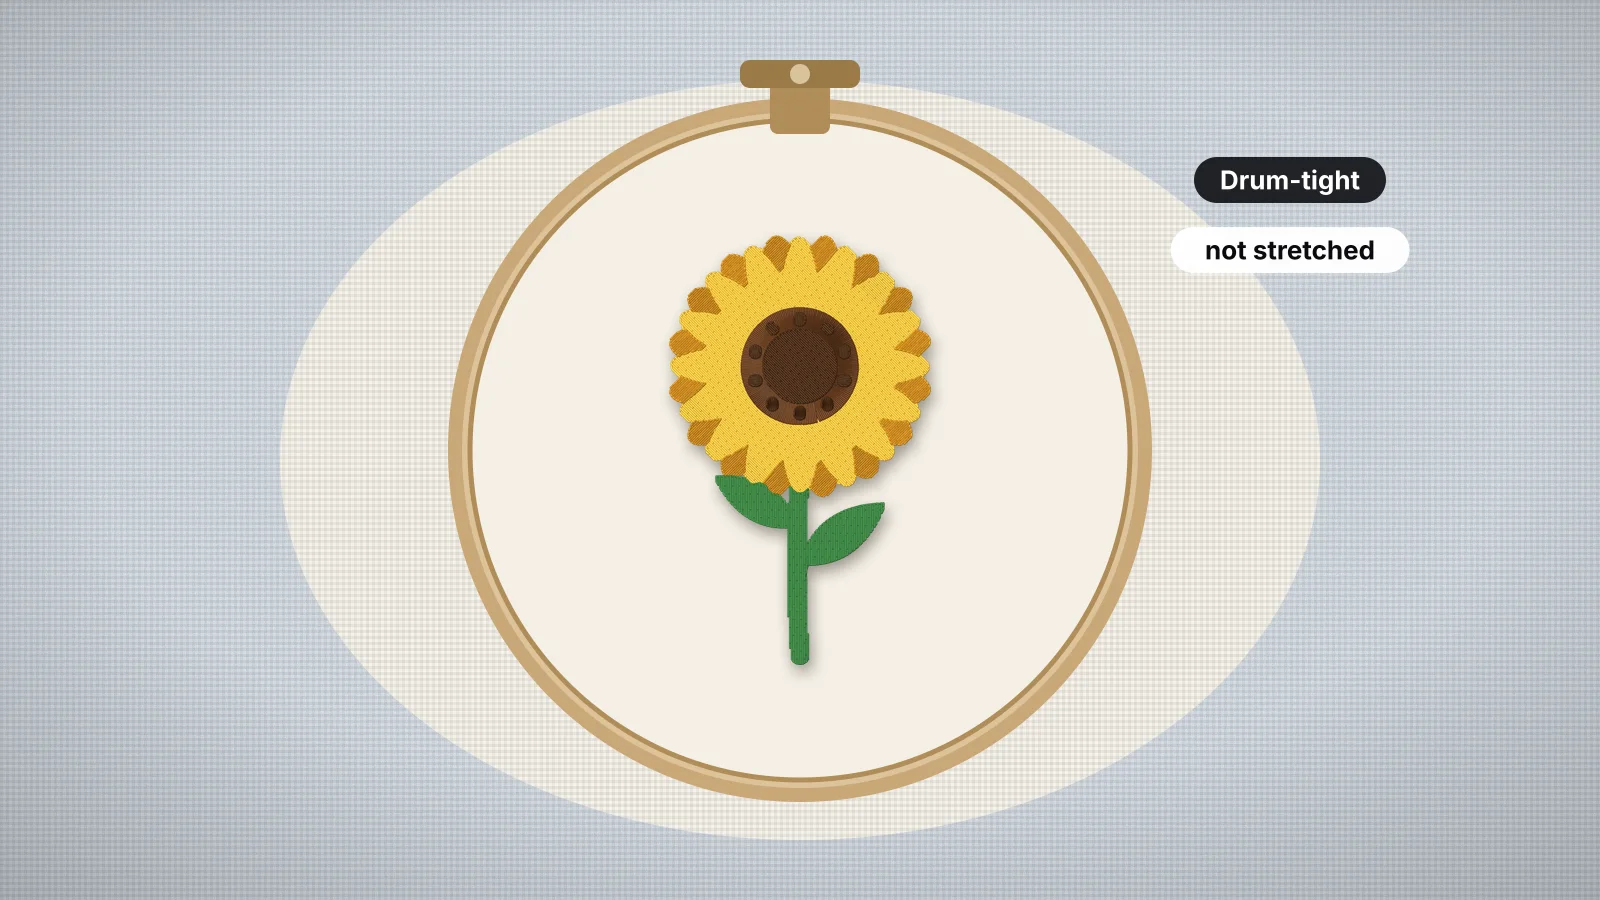
Hooping decides more about how a design turns out than almost anything else you do at the machine. A design that puckers, outlines that miss their fills, a birdnest under the needle plate or a shiny ring around the stitching can all start with the way the fabric went into the hoop.
The technique is simple once you know what to aim for: the right tension for the fabric, the smallest hoop that fits and a different approach for things that won't hoop. This guide covers the steps, wovens and knits, floating on sticky stabilizer, magnetic hoops and hoop burn. Before you start, the printable hoop template helps you line the design up on the fabric.
What good hooping prevents
The hoop clamps the fabric and the stabilizer together so they can't move while thousands of stitches pull on them. When the hooping is off, the same few faults appear:
| Hooping fault | What you see | Fix |
|---|---|---|
| Too loose | The fabric bounces with the needle, outlines miss their fills and thread can birdnest under the plate | Hoop firmer, or bond the fabric to the backing |
| A knit stretched in the hoop | Puckers appear once it's unhooped, and the design shrinks | Hoop it flat and smooth, never tight |
| Thick fabric forced into the ring | Hoop burn, or a hoop that pops open mid-design | Loosen the screw first, float it or use a magnetic hoop |
| A hoop much bigger than the design | The middle of the fabric shifts and puckers | Use the smallest hoop that fits |
| Fabric hooped crooked | The design sits at an angle on the garment | Mark the center and the grain and line them up with the hoop's marks |
The glossary entries on puckering and registration explain why these happen, and the problems and fixes guide covers the faults that start elsewhere.
How to hoop fabric, step by step
- Mark the center of the design on the fabric with a cross in chalk or water-soluble pen, plus a line along the grain or the garment's center so the design sits straight.
- Cut the stabilizer at least an inch (25 mm) larger than the hoop on every side, so the hoop grips it all the way round.
- Loosen the hoop screw and set it for the fabric's thickness: the inner ring should press in with firm hand pressure, not by force.
- Lay the outer ring on a flat surface, then the stabilizer, then the fabric, right side up.
- Press the inner ring in, lining up its center marks with the cross on the fabric. Push it in evenly all the way round, so the fabric isn't dragged to one side.
- Tighten the screw, then check the tension: woven fabric taut like a drum, knits smooth and flat. If it's wrong, re-hoop rather than tugging at the edges.
- Turn the hoop over and check that only the layers you mean to stitch are in it, with nothing folded underneath.
Pulling the fabric after the hoop is closed is the most common hooping mistake. It stretches the fabric, which relaxes into puckers once it's out of the hoop. Re-hoop instead.
Try it with your own design
Sign up free, upload an image and get a stitch preview in under a minute.
Drop your image here
PNG, JPG, WebP or SVG · stays on your device
How tight: wovens, knits and the rest
The right tension depends on how much the fabric stretches. A stable woven can be hooped taut, while a knit has to go in exactly as it lies, or it springs back after stitching. A quick test: stretch the fabric across the grain, and if it gives noticeably, treat it as a knit and use cut-away.
| Fabric | How to hoop it | Backing |
|---|---|---|
| Woven shirt, cotton, linen | Hoop the fabric and backing together, taut but not stretched | Light or medium tear-away |
| Denim, canvas | A sturdy hoop, or float it on sticky backing if it's too thick to hoop | Medium tear-away; two layers or a cut-away for dense designs |
| T-shirt jersey | Smooth but not stretched, through the bottom hem | No-show mesh or cut-away |
| Polo (piqué) | The left chest flat, with the placket buttoned | No-show mesh or cut-away |
| Hoodie or sweatshirt fleece | Through the bottom hem, keeping the hood and pocket out of the hoop | Medium cut-away, with a topping |
| Performance or stretch | Hoop gently, or float it on sticky backing | No-show mesh, fusible if possible |
| Towel | Hoop or float above the border band, with the pile smooth | Tear-away or wash-away, with a topping |
| Leather or vinyl | Float it on sticky backing; a hoop leaves permanent marks | Medium tear-away or cut-away, floated |
On a knit, watch the lines of the knit as you hoop: they should stay straight and evenly spaced. If they bow or the loops open up, it's stretched. The stabilizer finder gives the backing, topping, needle and hooping for each fabric and design density, and the stabilizer pages for T-shirts and woven shirts go into each fabric.
Use the smallest hoop that fits
A smaller hoop holds the fabric tighter, so the design shifts less. Choose the smallest hoop whose field fits the design with a margin, rather than the biggest hoop you own:
| Hoop | Sewing field | Largest design, with a 3 mm margin |
|---|---|---|
| 4×4 in | 100 × 100 mm | About 94 × 94 mm |
| 5×7 in | 130 × 180 mm | About 124 × 174 mm |
| 6×10 in | 160 × 260 mm | About 154 × 254 mm |
| 8×8 in | 200 × 200 mm | About 194 × 194 mm |
| 8×12 in | 200 × 300 mm | About 194 × 294 mm |
Leave more room on stretchy or thick fabric: 5–10 mm on each side is more comfortable. A design that almost fits may fit turned 90 degrees. The hoop size calculator checks a size against every hoop, and in the digitizer, a hoop preset scales your design to fit before you download.
Floating on sticky stabilizer
Floating means hooping only the stabilizer and laying the item on top instead of clamping it. It suits anything that's too thick, too small or too delicate to hoop: collars, cuffs, small pieces, leather, thick towels and bags, and knits that would stretch in a ring.
- Hoop a sticky (adhesive) stabilizer on its own, paper side up, and tighten it like a drum.
- Score the paper inside the ring with a pin and peel it away to expose the adhesive.
- Press the item onto the sticky surface, smooth but not stretched, lining up your center marks with the hoop's.
- If your machine can, sew a basting box around the design first to hold the item down.
- Stitch the design, then remove the basting and tear or trim away the stabilizer.
Without sticky backing, a light mist of temporary spray adhesive bonds the item to an ordinary stabilizer. Spray the stabilizer, not the fabric, and do it away from the machine so the mist doesn't settle on it. A floated item isn't clamped, so a dense design can still shift it; the basting box is what holds it. The glossary entry on floating has more.
Magnetic hoops
A magnetic hoop clamps the fabric between a frame and a set of strong magnets instead of pressing it into a ring. They're sold for many home and commercial machines, in several sizes, and they have real advantages:
- No forcing. Thick items such as towels, bags and sweatshirts clamp without being crammed into a ring.
- Fewer hoop marks on velvet, fleece, performance fabrics and dark garments, because nothing is pressed into a groove.
- Quick to adjust. You can lift a magnet to straighten the fabric instead of re-hooping from scratch.
- Gentler on knits, which go in flat without being stretched over a ring.
They have drawbacks too. The magnets are strong enough to pinch fingers, magnetic hoop makers typically warn people with pacemakers and other implanted medical devices to keep clear of them, and they cost more than standard hoops. Buy one listed as compatible with your exact model, check that the design fits its sewing field, and follow its safety instructions. The hoop sizes guide covers cap frames and other special frames.
Hoop burn: preventing and removing it
Hoop burn is the shiny, crushed ring a hoop can leave around the design, most often on velvet, fleece, polyester performance fabric and dark colors. It happens when the fabric is clamped too hard or forced into a hoop set too tight for its thickness.
- Set the screw before hooping, for the fabric's thickness, instead of cranking it down afterwards.
- Float delicate or thick fabrics on sticky stabilizer, or use a magnetic hoop.
- Unhoop promptly when the design is done, rather than leaving the fabric clamped.
- Lift marks with steam. A shot of steam, or a wash, usually lifts hoop burn. Brushing the pile helps on fleece and velvet.
- Never hoop leather or vinyl. Marks on them are permanent, so always float them.
Once the hooping is right, the file has to suit the fabric too. Pick the matching fabric preset in the digitizer when you make the design, so the density, underlay and pull compensation suit what's in the hoop.