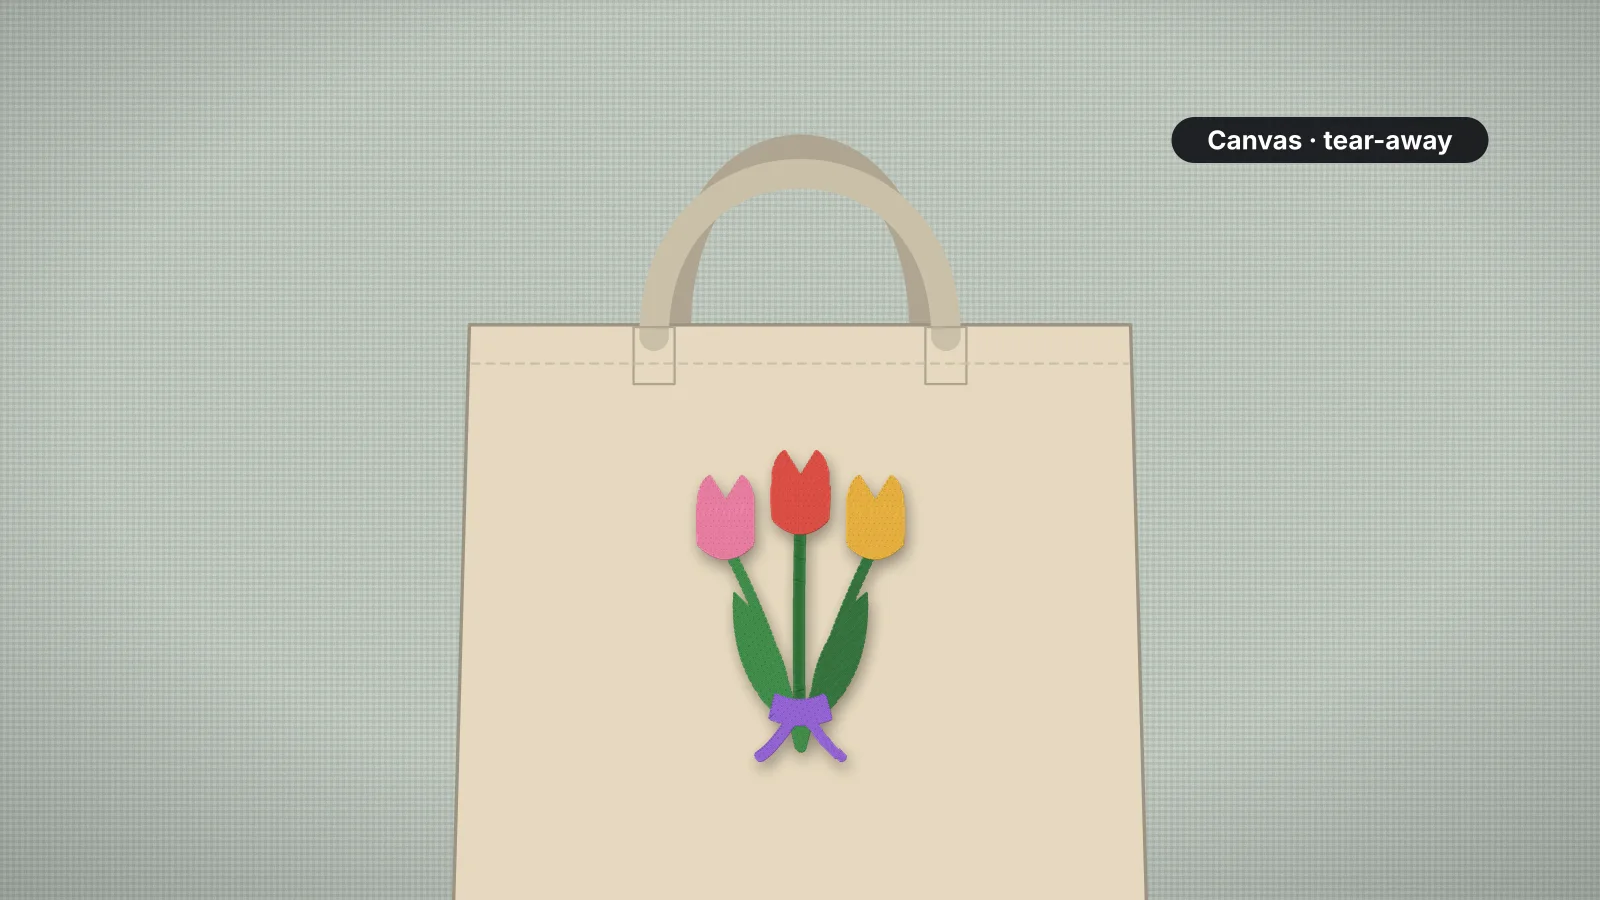
Tote bags are one of the friendliest things to embroider. Most are canvas or heavy cotton, a stable woven that holds dense fills and fine florals without puckering, and the front is a big, flat panel. Market totes, shop merch, teacher gifts and wedding favors all start the same way.
What makes them tricky is that a finished bag is closed on three sides and has handles in the way. This guide covers sizes, placement, hooping just the front panel, the handles, and the right backing and needle. For a file sized for a tote, start with the tote bag embroidery file page.
Tote bag design sizes
| Tote | Typical bag width | Design width | Hoop |
|---|---|---|---|
| Small or kids' tote | About 10–12 in (25–30 cm) | About 4–6 in (100–150 mm) | 5×7 in, or 6×10 in for wider designs |
| Standard tote | About 15 in (38 cm) | About 6–8 in (150–200 mm); 7–8 in is a common, balanced size | 6×10 in turned sideways, 8×8 or 8×12 in, depending on the design's shape |
| Large or beach tote | About 18 in (45 cm) or more | About 8–10 in (200–250 mm) | 8×12 in turned sideways, or a larger field |
Most totes take designs 5–10 in (125–250 mm) wide, but bag sizes vary, so measure the flat front panel between the side seams and leave at least an inch (25 mm) clear on each side. Check the height too: a tall design on a short bag runs into the bottom seam or gusset. The hoop size calculator checks a design against each hoop, both ways round, and the tote bag size page shows the placement on a diagram.
Where the design sits on a tote
- Centered side to side, with the top of the design about 2–3 in (50–75 mm) below the top hem. That puts it a little above the middle of the panel, where it isn't lost in the fold when the bag is carried full.
- Clear of the handle seams. Handles are usually stitched on through several layers, often with a box and an X. Keep the design and the presser foot well away from them.
- Clear of the gusset and bottom seam on boxed totes, where the panel folds around the base.
- Text in the middle, motifs anywhere. A shop name or a quote reads best centered; a small motif can sit lower, toward one corner, for a quieter look.
Hold a full-size printout of the design against the bag and pick it up by the handles. A design that looks centered on the table can sit too low once the bag hangs.
Try it with your own design
Sign up free, upload an image and get a stitch preview in under a minute.
Drop your image here
PNG, JPG, WebP or SVG · stays on your device
Hooping only the front panel
The rule on any finished bag is one layer under the needle. Stitch through both and you sew the bag shut.
- Empty the bag, turn the handles out of the way and mark the center of the design with chalk or a water-soluble pen.
- Slide the hoop's outer ring inside the bag through the opening, lay the backing on it, smooth the front panel over both and press in the inner ring.
- Hoop canvas firm and smooth. It doesn't stretch, so it can go in taut, unlike a knit.
- Pull the back panel and the handles away from the needle and clip them to the hoop edge, so nothing drops under the foot as the hoop moves.
- Run your hand underneath to check that only the front panel and the backing are under the needle.
If the hoop won't fit inside a small bag, or heavy canvas won't close in the rings, float it: hoop sticky backing on its own, score and peel the paper and press the front panel onto it. A magnetic hoop is another good option for thick canvas. Some embroiderers open a side seam on a finished bag so it lies flat, then sew it closed again. When you make the bag yourself, embroider the front panel before you sew it together, which is the easiest route of all.
Backing and needle for canvas
| Tote fabric and design | Backing | Needle |
|---|---|---|
| Heavy canvas, light or medium design | Medium tear-away (2 oz) | 80/12 or 90/14 sharp |
| Heavy canvas, dense fills | Cut-away (2.5 oz), or two layers of tear-away | 80/12 or 90/14 sharp |
| Thin cotton or promotional tote | Cut-away | 75/11 or 80/12 sharp |
Canvas is stable, so tear-away is usually enough, and it leaves the inside of the bag neat. Thin promotional totes are closer to shirting, and a dense design can pucker them once tear-away is removed, so use cut-away there. A sharp needle pierces the tight weave cleanly; heavy canvas and seams near the design call for a 90/14. Smooth canvas doesn't need a topping. Jute and burlap bags have loose, rough weaves that swallow fine detail, so keep designs bold, back them with cut-away and test on a scrap. The stabilizer finder suggests a backing for each density, and the needle guide covers sizes.
Designs that suit a tote
- Florals and wreaths are the classic tote design, and canvas holds their fills and fine petals well.
- Shop and event logos make good merch. Digitize the logo at the tote size rather than enlarging a left chest file, since a stitch file scaled by more than about 10% loses its density.
- Short quotes and names in a bold font, sized so the smallest letters are at least about 5 mm tall.
- Bold shapes and a few flat colors. Photos and very thin lines don't translate well to thread.
The free designs include a tulip bouquet, a sunflower and lemons that suit totes. Each fits a 4×4 in hoop, so on a standard tote it reads as a small accent; press Customize on a design to open its artwork in the digitizer and stitch it larger. To see your own logo on a tote at its real scale first, use the embroidery mockup generator.
Setting up the file and sewing
- Measure the flat front panel and pick the design width, usually 6–8 in (150–200 mm) on a standard tote.
- Open the digitizer, sign in with your free account and add your artwork. Choose the woven preset, which suits canvas at standard density.
- Set the width or click a hoop preset, rotate the design 90° if it sews sideways in the hoop, and read the design check and stitch count.
- Check the sew time. An 8 × 6 in floral with about half its area stitched comes to roughly 17,000 stitches, about 25 minutes at 700 stitches a minute plus thread changes.
- Download your machine's format, or the ZIP with every format. Digitizing and previewing are free with your account; downloads need a plan.
- Hoop or float the front panel as above, fit the needle and sew. Afterwards, tear the backing away while supporting the stitches with your thumb.