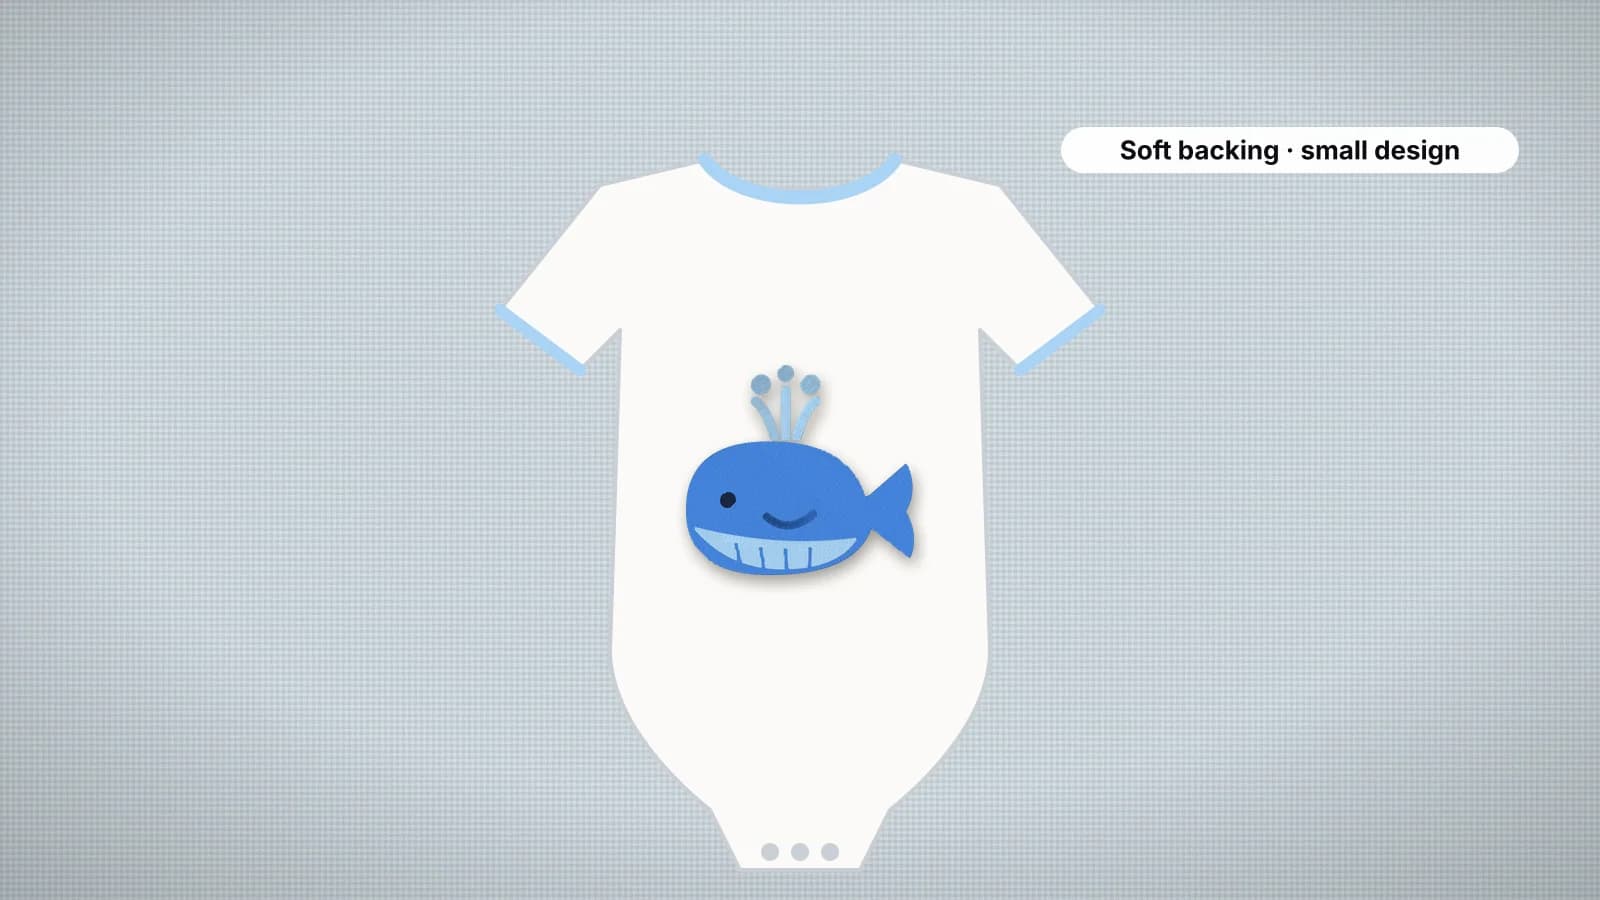
Baby clothes are some of the most-gifted embroidery there is: a name on a blanket, a whale on a bodysuit, initials on a bib. They're also some of the most demanding, because the fabric is a thin, stretchy knit, the garments are tiny, and whatever is on the inside sits against very soft skin.
The approach is simple: small, light designs, soft backing that stays in, a cover over the back of the stitches and careful finishing. This guide covers sizes for each item, how to keep the inside soft, how to hoop a garment smaller than the hoop, safe placement and washing.
Design sizes for baby clothes
| Item | Design size | Where it goes |
|---|---|---|
| Newborn to 3-month bodysuit | About 2–3 in (50–75 mm) wide | Centered on the chest, below the neckline |
| Larger bodysuits and toddler tees | About 3–4 in (75–100 mm) wide | Centered on the chest |
| Bib | About 3–4 in (75–100 mm) wide | Centered below the neck opening |
| Burp cloth | About 2–4 in (50–100 mm) | Near one end, where it shows over a shoulder |
| Baby beanie | Under about 1.75 in (45 mm) tall | On the cuff, short and bold |
| Blanket | A corner monogram about 3–4 in (75–100 mm) tall; a centered name larger | Corner designs a few inches in from both edges |
Garment sizes vary between makers, so measure the flat front before you choose. A design that's right on a 12-month bodysuit can wrap into the armholes of a newborn one. Lettering for kids' items reads best in a rounded sans or a soft, bold script about 15 mm tall or more; the best fonts guide has the details.
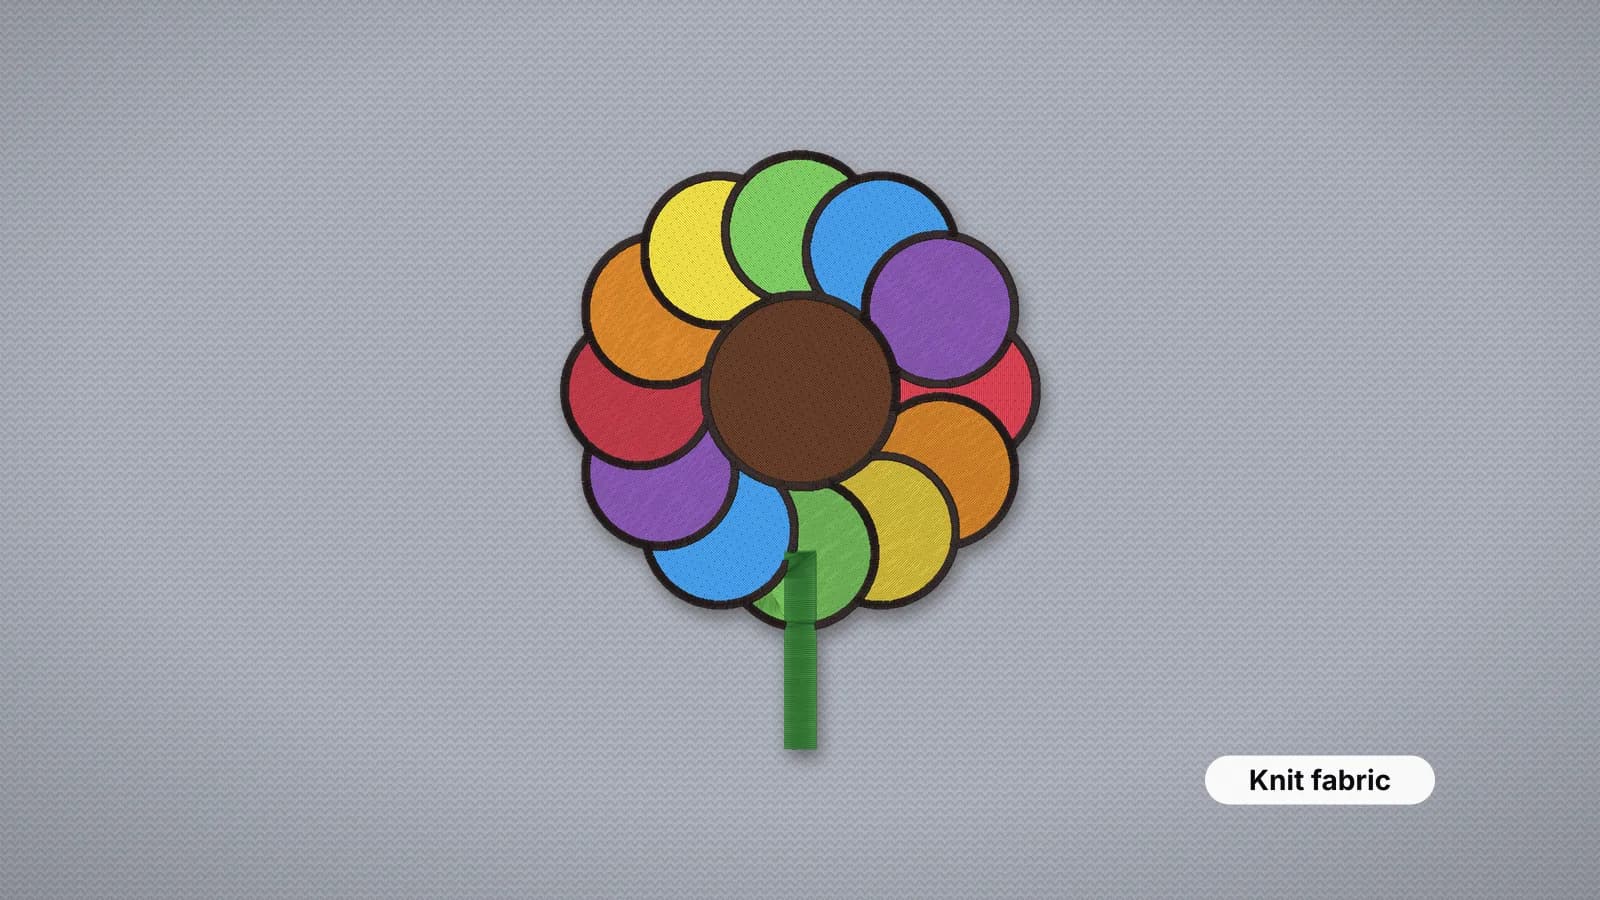
The free whale design is about 95 mm (3.7 in) wide in four colors, which suits bibs, blankets, towels and larger bodysuits. The rainbow and bumblebee are other favorites for baby gifts.
Keep the design light and soft
Every stitch adds stiffness, and a heavy fill on a thin bodysuit turns into a hard patch that doesn't move with the baby. Light designs look better on baby knits and feel better too.
- Prefer outlines and open shapes to large solid fills. A 2.5 in (63 mm) square of solid fill comes to over 4,000 stitches; an outlined design the same size can be a fraction of that.
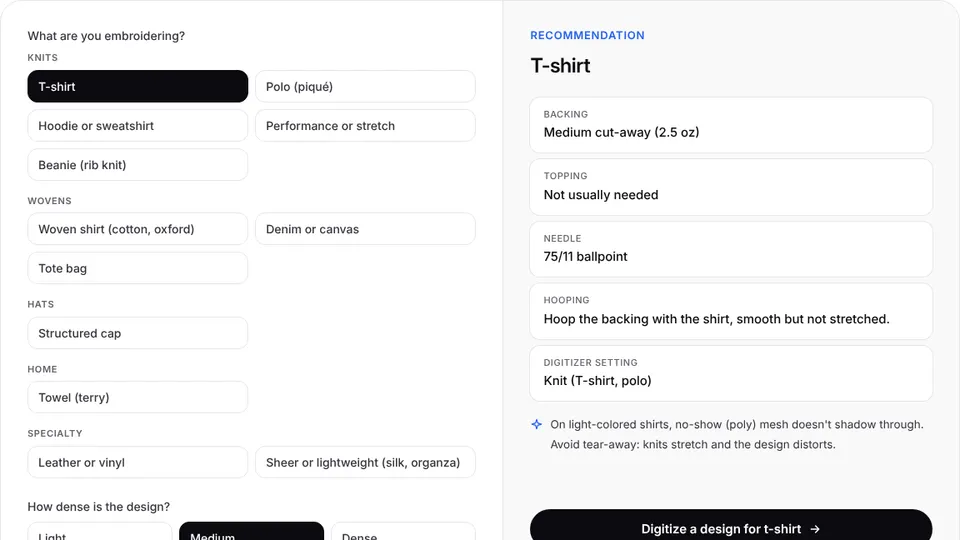
- Choose the knit preset in the digitizer. It spaces fill rows slightly wider than the woven preset and adds the underlay and pull compensation that knits need.
- Leave the garment color showing where you can, instead of stitching a background.
- Keep colors few, usually two to five. It keeps the stitch count down and the design cheerful rather than busy.
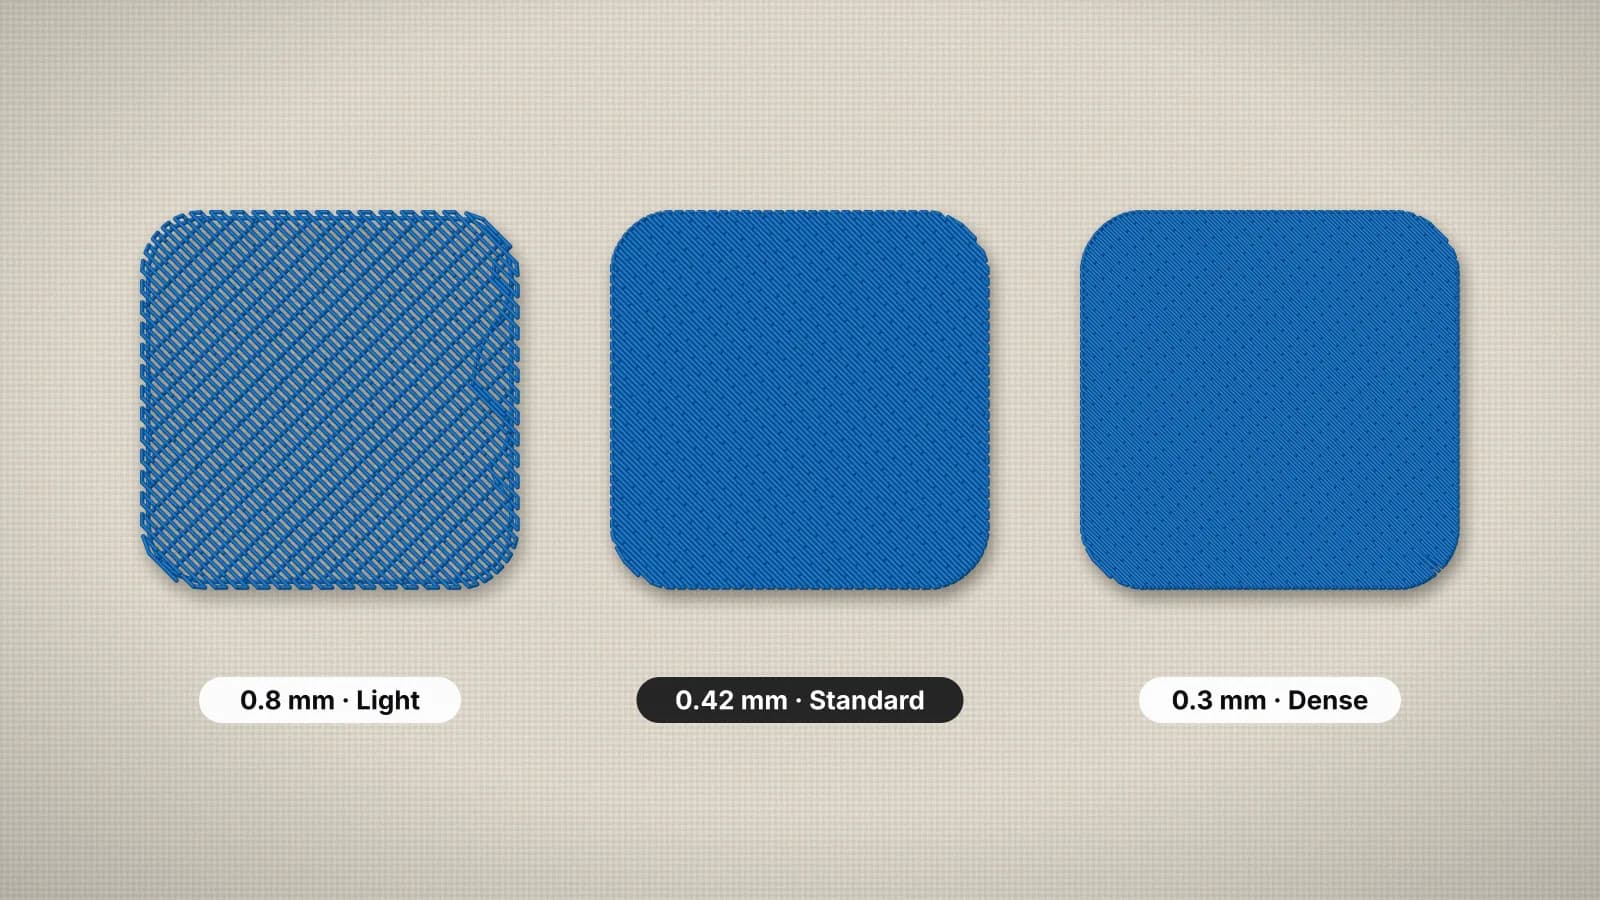
The density guide explains how spacing changes stitch count and stiffness, and the stitch count calculator estimates a design before you digitize it.
Try it with your own design
Sign up free, upload an image and get a stitch preview in under a minute.
Drop your image here
PNG, JPG, WebP or SVG · stays on your device
Soft backing: no-show mesh and cover-back
Baby knits stretch, so they need a backing that stays in, like any T-shirt. No-show mesh is the usual choice: a thin, soft cut-away that supports the stitches through washing without the bulk of a heavy cut-away, and doesn't shadow through white and pastel fabrics. A fusible no-show mesh also stops the knit stretching while you hoop.
The back of any embroidery is a little scratchy: bobbin thread, knots and the trimmed edge of the backing. On baby clothes, cover it. A soft fusible backing made for the purpose, often sold as a cover-back or comfort backing, irons on over the back of the design and leaves a smooth surface against the skin.
- Trim the backing about 1/4 in (6 mm) from the stitches with rounded corners before you fuse the cover.
- Cut the cover a little larger than the design, round its corners, and press it with the heat and time the maker recommends.
- Avoid tear-away on bodysuits and sleepers: once it's gone, the design distorts.
If you sew the bib or blanket yourself, stitch the front piece before you assemble it. The back of the embroidery ends up hidden between the layers, and the inside stays soft with no cover needed.
Hooping onesies and other small garments
A newborn bodysuit is often too small to hoop around. Most embroiderers float it instead: hoop the backing on its own, then lay the front of the garment on top.
- Hoop an adhesive no-show mesh or cut-away, or a regular one misted with temporary spray adhesive, and score and peel any paper layer.
- Open the snaps and slide the hoop inside the bodysuit from the bottom, so only the front layer lies on the backing.
- Smooth the front onto the backing without stretching it, lining the center mark up with the hoop's marks.
- Fold the back, sleeves and leg openings out of the way and clip them to the hoop edge.
- Run your hand underneath before you start: only the front and the backing should be under the needle.
Many machines can sew a basting box around the design, which holds a floated garment flat while it stitches. A magnetic hoop is another good option for small, stretchy garments, because it clamps without forcing the knit into a ring.
Bibs, burp cloths and blankets
- Terry bibs and burp cloths: add a water-soluble topping so the stitches don't sink into the loops, and use the fleece preset. Flat cotton bibs need no topping.
- Fleece and minky blankets: cut-away underneath and a topping on top. Minky sheds and shifts, so a fusible backing or spray adhesive helps.
- Cotton and muslin blankets: a soft cut-away or no-show mesh. Where both sides of the blanket show, a wash-away backing leaves nothing behind on light, open designs.
- Names on blankets: a bold script or rounded block about 1.5–2 in (40–50 mm) tall reads well across a crib.
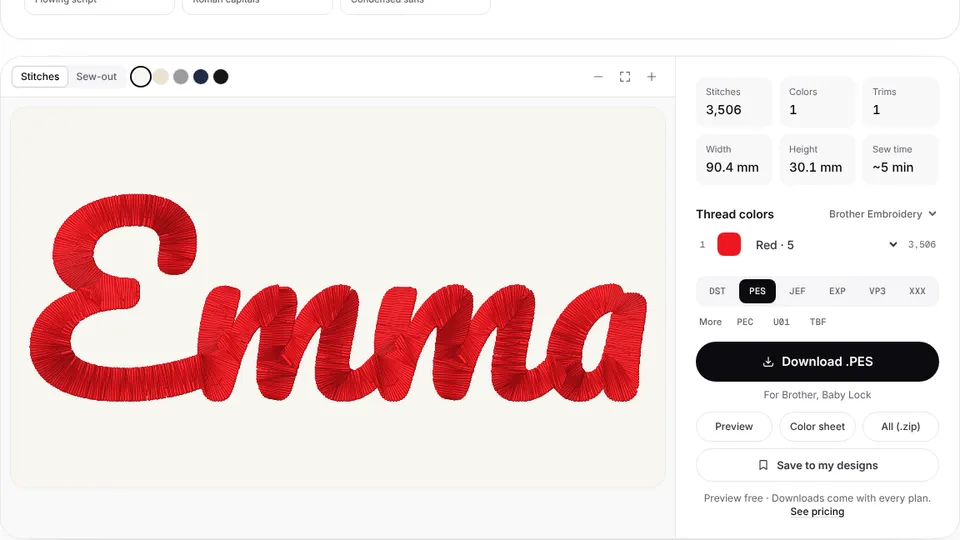
To make a name or monogram without any artwork, the text to embroidery tool sets it in a font for you, and the monogram maker lays out classic monograms.
Safe placement and finishing
- Keep designs on the front, clear of the neckline, snaps and leg openings. A design on the back of a bodysuit sits under a baby who spends a lot of time lying down.
- Trim every jump thread and thread tail close to the fabric, on the front and the back. Loose loops can catch small fingers.
- Skip small attached extras such as buttons, beads and rhinestones on baby items, since they can come loose.
- Avoid scratchy threads such as metallics on anything worn against the skin.
- Check the inside by hand after finishing: it should feel smooth, with no hard knots or sharp backing corners.
If you sell children's items, check the product-safety and labeling rules where you sell. In the US, children's products are covered by rules under the Consumer Product Safety Improvement Act (CPSIA), and other countries have their own.
Washing and care
- Prewash the garment before you stitch, to remove finishes and let cotton shrink before the design goes on.
- Use polyester embroidery thread, which generally holds its color through frequent washing better than rayon.
- Rinse out the topping completely, so the design isn't stiff.
- Wash inside out on a gentle cycle with a mild detergent, and dry on low heat, which also protects a fused cover-back.
- Don't iron directly on the embroidery. Press from the back with a pressing cloth if needed.
- Add a care card to gifts with these instructions.