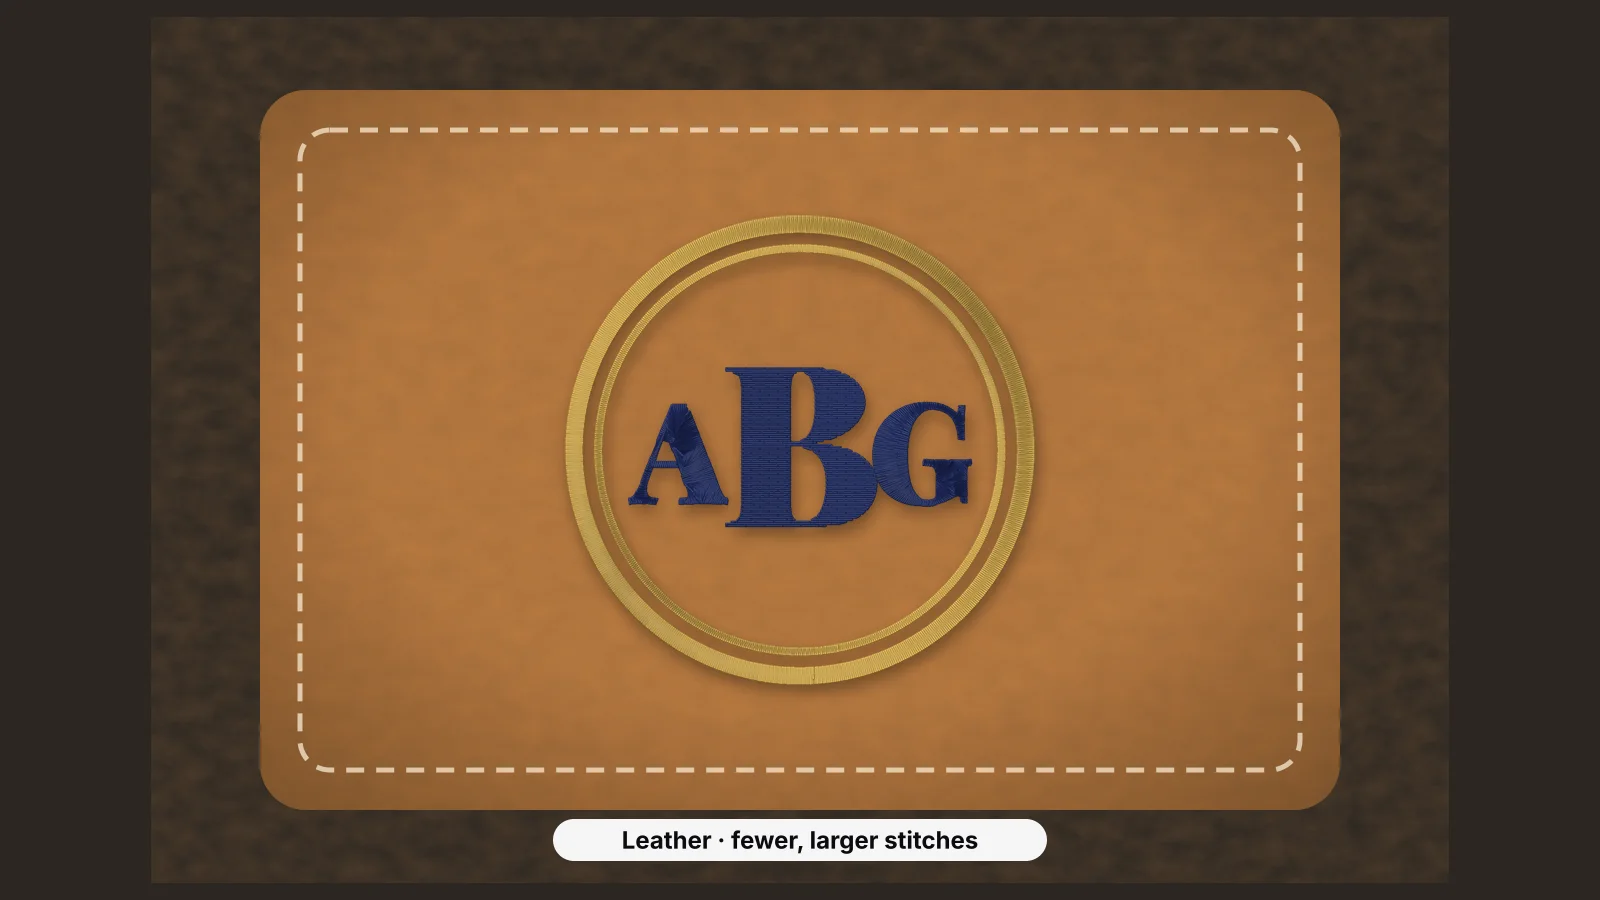
Embroidered leather looks expensive, whether it's a monogram on a wallet, a logo on a bag or a patch for a cap. It's also unforgiving in a way fabric isn't, because leather doesn't heal. Every needle hole stays, a hoop can crush a permanent ring into the surface, and stitches packed too closely can perforate it like the tear line on a sheet of stamps.
So the whole approach is restraint: float instead of hooping, choose a light design, use the right needle and test on a scrap of the same leather before you touch the real piece. The same applies to faux leather and vinyl, which mark and perforate in the same way.
Why leather needs a different approach
- Holes are permanent. You can't unpick a mistake and stitch it again, because the old holes show. Placement, size and orientation have to be right the first time.
- Dense stitching cuts it. Closely spaced needle holes weaken leather along a line, and a dense satin or fill can cut through it, so the design pulls loose or the leather tears.
- Hoops mark it. Clamping leather in a standard hoop leaves a crushed ring, especially on soft or smooth finishes.
- It behaves differently from fabric. Most leather doesn't fray, and firm leather barely stretches, so it needs less pull compensation than a knit. Soft garment leather gives a little, and thick hides can be hard for the needle to pierce.
Faux leather and vinyl share the same problems: needle holes and hoop marks are permanent, and dense stitching perforates them. Everything in this guide applies to both.
Choose a light design
The best leather designs have fewer needle holes, spread further apart: monograms, line art, outlined logos, lettering and open motifs. Large solid fills are the riskiest, because they put thousands of holes in a small area.
- Prefer outlines and satin lettering to large fills. Running-stitch outlines and bold satin letters look crisp on smooth leather.
- Use wider spacing. In the digitizer, the leather preset (leather, vinyl) spaces fill and satin rows 0.5 mm apart instead of the 0.4 mm used on woven fabric, with light underlay and longer fill stitches. All three mean fewer holes.
- Keep pull compensation low. The leather preset adds 0.1 mm per side, less than any other fabric, because firm leather barely pulls in.
- Avoid tiny details and very short stitches. Many holes close together are what perforate the surface.
Monograms are a natural fit for wallets, notebooks and bag flaps, and the monogram maker lays out classic one- and three-letter styles. The density guide explains how spacing changes the number of holes.
Try it with your own design
Sign up free, upload an image and get a stitch preview in under a minute.
Drop your image here
PNG, JPG, WebP or SVG · stays on your device
Needle, thread and backing
| Design | Backing | Needle |
|---|---|---|
| Light: monograms, outlines, lettering | Medium tear-away, floated | 75/11 or 80/12 sharp, or a leather needle |
| Medium: a typical logo | Medium tear-away, floated | 75/11 or 80/12 sharp, or a leather needle |
| Dense: more fill than you'd like | Medium cut-away, floated | 75/11 or 80/12 sharp, or a leather needle |
A leather needle has a cutting point that slices instead of piercing. It gets through thick hides easily, but its slits can join up under close stitching, so many embroiderers use a 75/11 sharp for most leather and keep the leather needle for thick, firm pieces. Start with a new needle either way. Standard 40-weight polyester thread works well, many embroiderers slow the machine down on thick leather, and smooth leather doesn't need a topping. The needle guide covers points and sizes, and the stabilizer finder gives the same backing advice.
Float it instead of hooping
- Hoop a sticky (adhesive) tear-away on its own, drum-tight, and score and peel the paper inside the hoop.
- Mark the center of the design on a strip of low-tack tape stuck to the leather, rather than on the leather itself; some pens and chalks stain or stay.
- Press the leather onto the sticky backing with the tape's mark on the hoop's center marks, then peel the tape away.
- If the edges want to lift, hold them down with low-tack tape outside the design area. Don't pin leather: pins leave holes too.
- Skip the basting box on show leather, or place it where it will be trimmed off or hidden, since basting holes are permanent as well.
- Run the machine's trace, if it has one, to check the design clears the hoop and the tape, and check underneath that only the leather and the backing are under the needle.
Test the tape on a scrap first. Low-tack painter's or masking tape is gentle on most leather, but a delicate or unfinished surface can still lift or mark.
Floating suits small pieces such as patches, wallets and keyrings as well as larger panels. On a jacket or bag, hoop the sticky backing, float only the panel you're stitching and roll the rest away from the needle.
Test on a scrap of the same leather
A test on the same leather, with the same needle, backing and file, is the only reliable way to know how a design will behave. Leather varies in thickness, finish and firmness, even within one hide.
- Check for perforation: flex the test piece along the densest part of the design. If it creases or tears along the stitching, lighten the design or space the rows wider.
- Check the holes: on smooth leather every hole shows. Satin edges should look clean, not chewed.
- Check for thread breaks and skipped stitches: thick leather can drag on the needle. Try a larger needle or a slower speed.
- Check the back: the tear-away should come away cleanly without pulling stitches.
Keep the test piece with a note of the settings, so the next time you stitch the same leather you already know what works.
Step-by-step: embroidering leather
- Plan the placement and check the design fits the flat area, clear of seams, edges, rivets and hardware.
- Open the digitizer, sign in with your free account and add the design. Choose the leather preset and set the final size.
- Read the design check and the stitch count. If the design has large solid fills, lighten them or switch to outlines.
- Download your machine's format. Digitizing and previewing are free with your account; downloads need a plan.
- Float a scrap of the same leather and sew a test with the needle you'll use.
- Float the real piece, check the placement with the trace and sew.
- Tear the backing away gently while supporting the stitches, and trim thread tails. Don't press leather with a hot iron; if it needs flattening, follow the maker's care advice.