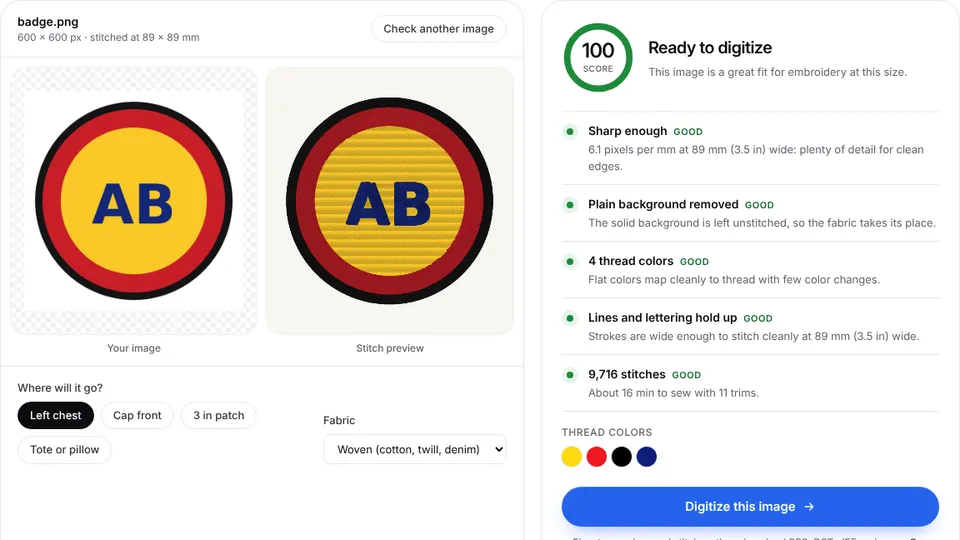
 Free toolEmbroidery image checkerUpload an image and see if it's ready to digitize: colors, fine detail, resolution and fixes.Open the tool
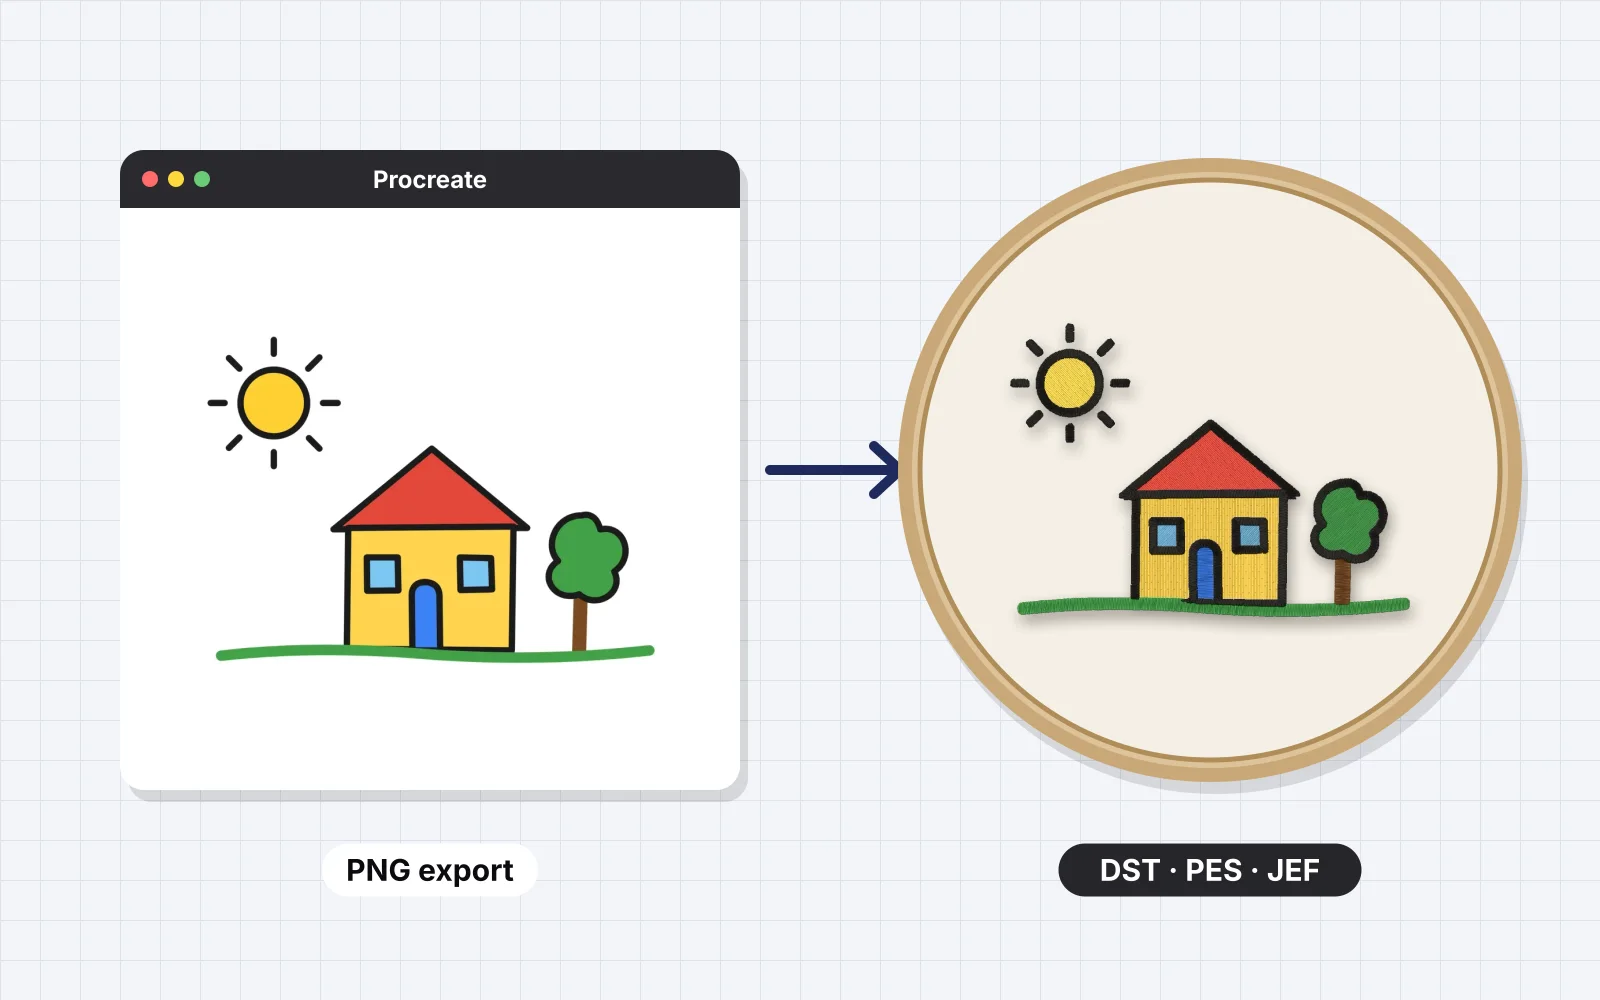
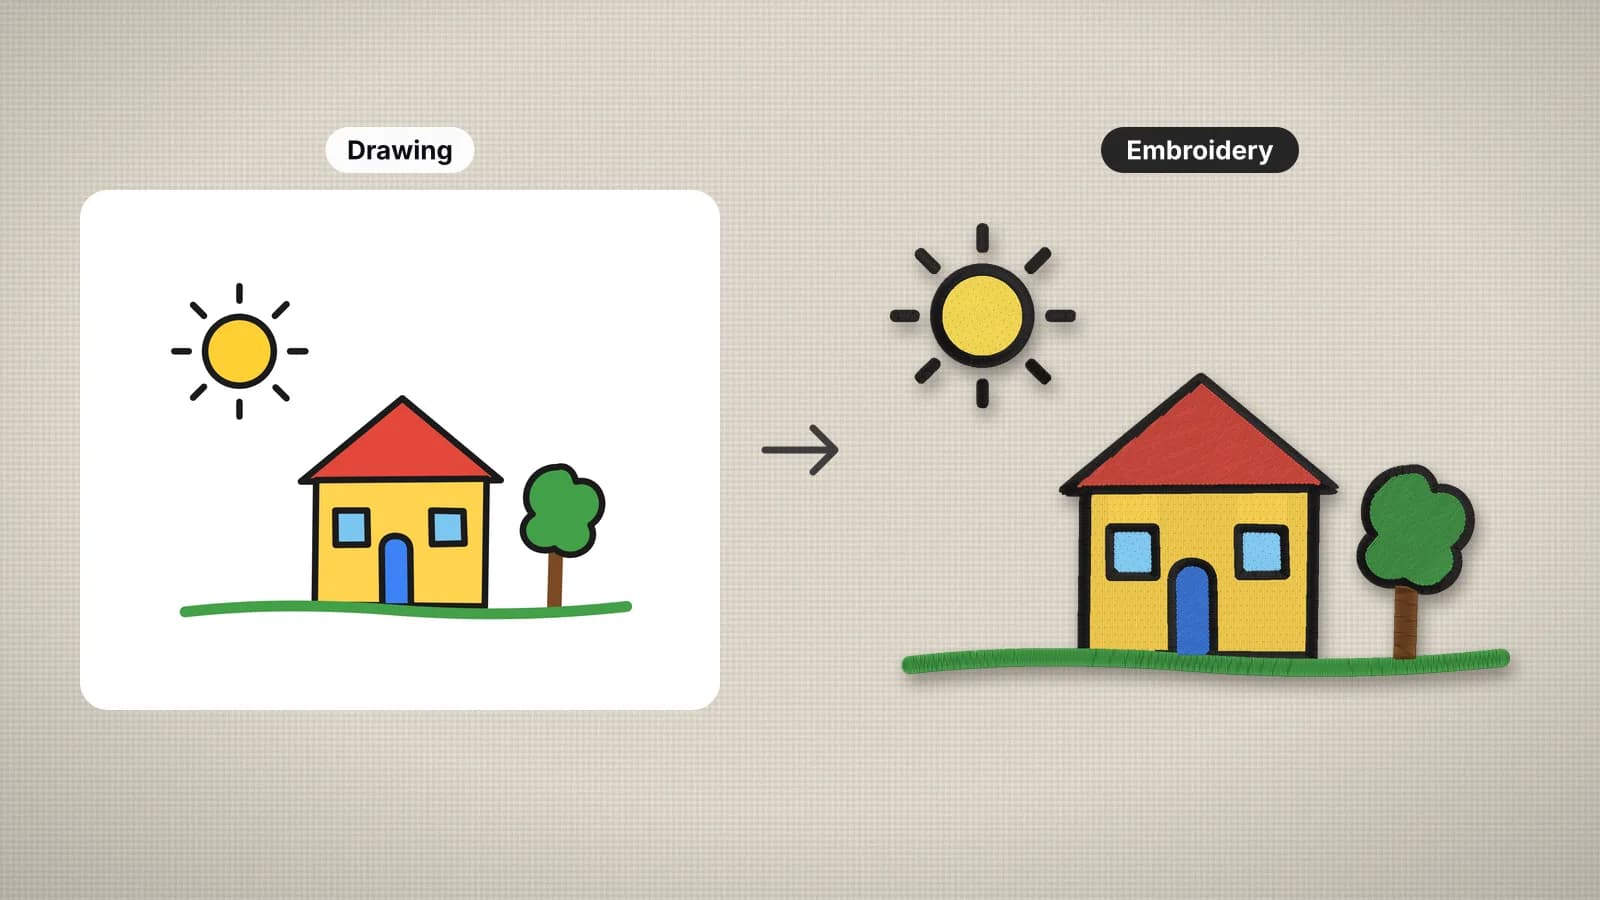
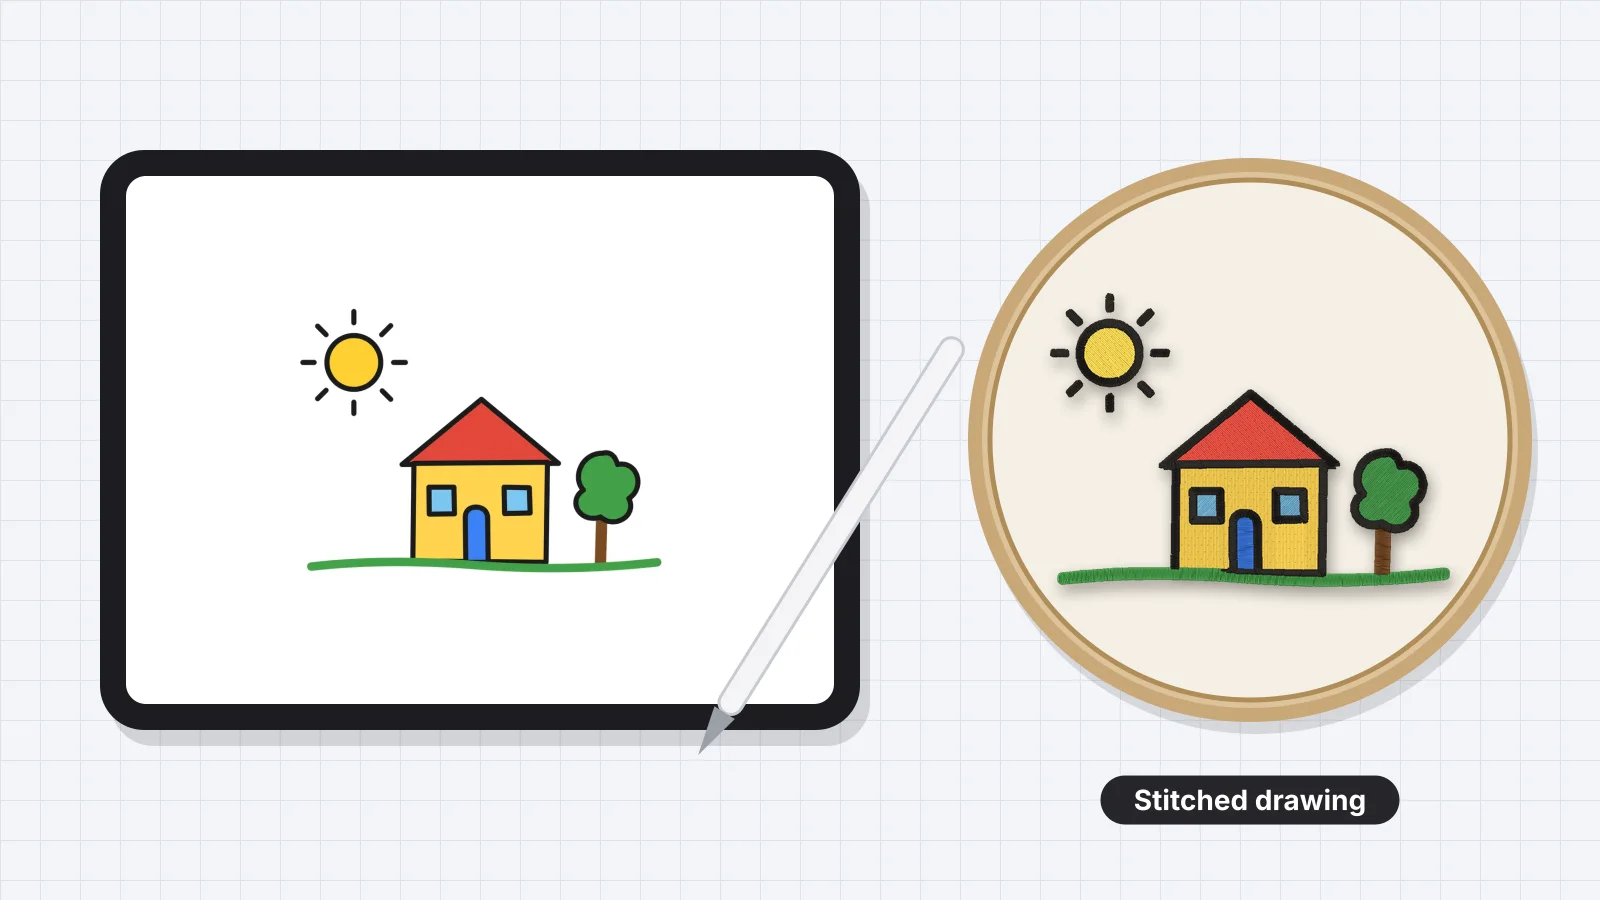
Procreate is where a lot of embroidery designs start: patches, pet portraits, line art for sweatshirts and logos for small shops. But an embroidery machine can't read a .procreate file or a PNG. It needs a stitch file that says where every stitch goes, and getting from one to the other is called digitizing.
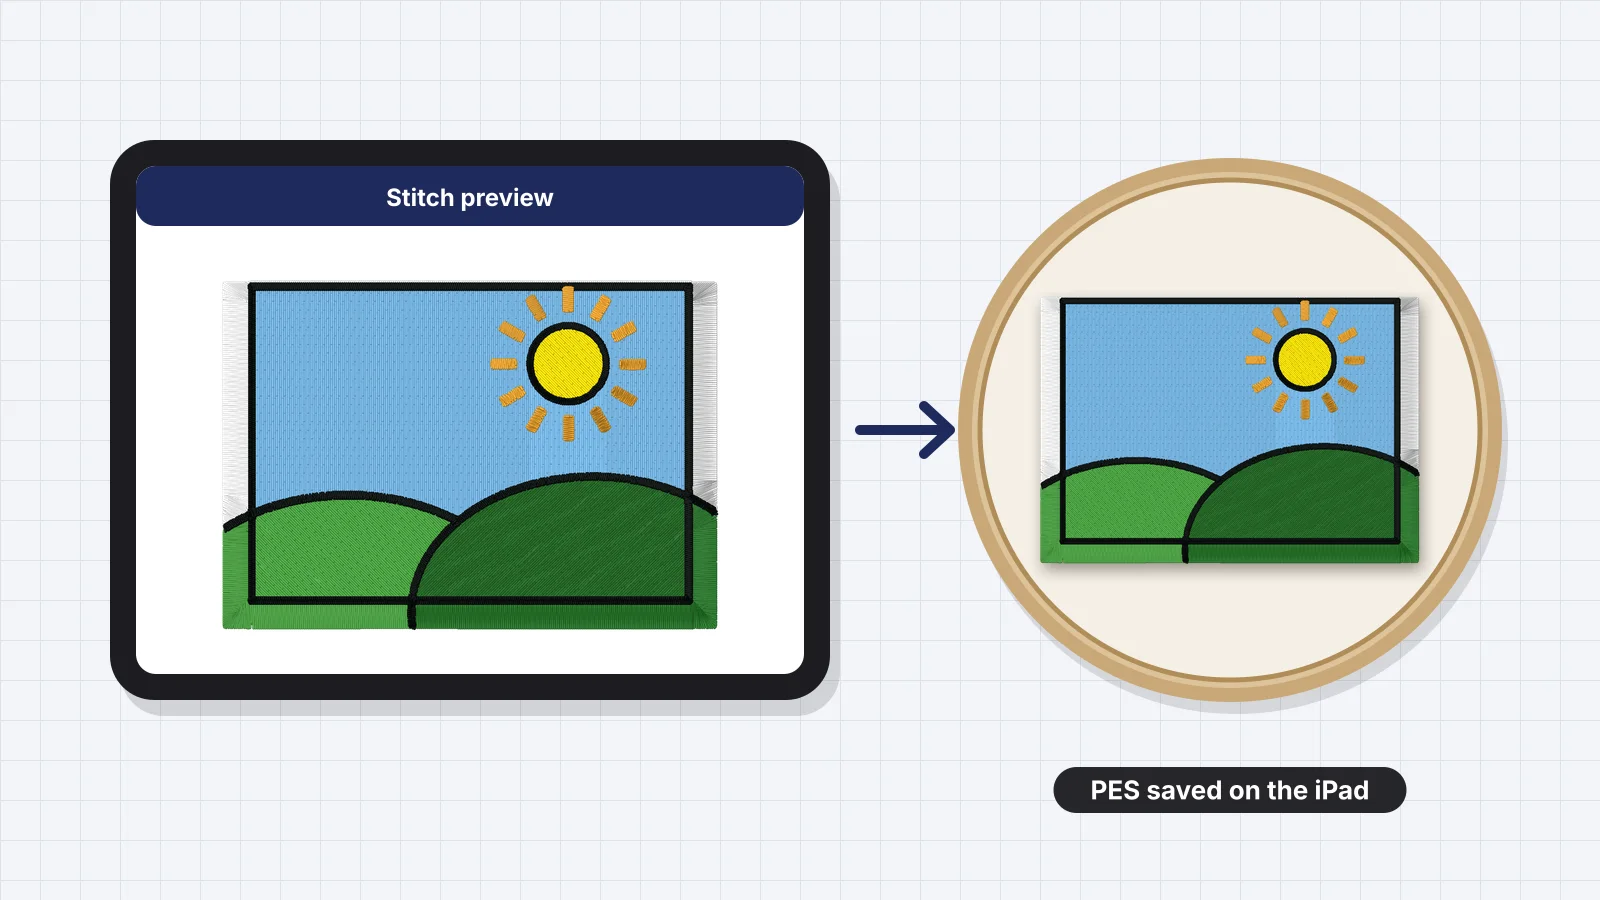
How you draw decides how cleanly that conversion goes. This guide covers canvas setup, brushes that digitize well, line weights, colors, exporting and digitizing, and the differences between line art and filled illustrations. Embrizo's digitizer runs in Safari on the same iPad, so you can go from drawing to machine file without a computer.
How a drawing becomes stitches
A digitizer reads your drawing as flat areas of color. Each color becomes a thread, and the width of each shape decides its stitch type. At the final stitched size:
| In your drawing | Becomes | Notes |
|---|---|---|
| A line about 0.5 mm wide or thinner | A single running stitch | Fine and delicate; can sink into textured fabric |
| A line or shape about 1–6.5 mm wide | A satin column | Smooth and shiny; 1.5–4 mm looks best for outlines |
| A shape wider than about 6.5 mm | Fill (tatami) stitches | Rows of stitches covering the area |
| Texture, grain or soft brush edges | Extra colors and specks | Avoid them unless you want a deliberately rough look |
| Gradients and shading | Bands of separate thread colors | Use 2–3 flat tones instead |
The 6.5 mm point is Embrizo's default maximum satin width, which you can change. The satin vs fill guide explains the trade-offs.
Setting up the canvas
- Decide the stitched size first. A left chest design is usually 75–100 mm (3–4 in) wide and a center chest design 100–200 mm (4–8 in); the left chest size guide covers placement too.
- In the gallery, tap + and create a new custom canvas. Choose millimeters or inches, enter that size and set 300 DPI.
- If 300 DPI gives fewer than 2,000 px on the long side, which it does for anything under about 170 mm (6.7 in), raise the pixel size to 2,000 px instead.
- Use the sRGB color profile, which matches what browsers and digitizers expect.
- Keep an eye on layers: Procreate limits the number of layers by canvas size and device, so very large canvases give you fewer.
| Final size | At 300 dpi | Canvas to use |
|---|---|---|
| 75 mm (3 in) | 900 px | 2,000 px on the long side |
| 100 mm (4 in) | About 1,200 px | 2,000 px on the long side |
| 5 × 7 in (127 × 178 mm) | 1,500 × 2,100 px | 1,500 × 2,100 px or larger |
| 8 × 10 in (203 × 254 mm) | 2,400 × 3,000 px | 2,400 × 3,000 px |
Add a guide layer with a rectangle the size of your hoop's sewing field, such as 130 × 180 mm for a 5 × 7 in hoop, and hide it before you export. Embrizo's hoop templates give the fields for common hoops.
Try it with your own design
Sign up free, upload an image and get a stitch preview in under a minute.
Drop your image here
PNG, JPG, SVG, PDF or AI · stays on your device
Not sure what to expect? See real examples or how it works.
Brushes that digitize well
| Brush | Use it for | Why |
|---|---|---|
| Inking brushes such as Studio Pen or Technical Pen | Outlines and lettering | Solid edges and an even width |
| Monoline, in the Calligraphy set | Line art with a constant weight | No taper, so lines stay wide enough to satin |
| ColorDrop fills | Flat color areas | One exact color with no texture |
| Pencils, charcoal, painting and textured brushes | Sketching on a layer you hide | Grain and soft edges turn into specks and extra colors |
| Airbrushes and soft blending | Nothing in the final art | A gradient can't be sewn as one thread |
- Turn up StreamLine in Brush Studio for smoother curves, which become smoother satin edges.
- Watch tapered ends. Pressure taper makes line ends finer than 0.5 mm, where they switch to a running stitch. Press evenly or reduce pressure sensitivity for outlines.
- Keep opacity at 100%. Semi-transparent strokes blend with what's under them and create in-between colors.
- Fill with a reference layer. Set the line layer as Reference and use ColorDrop on a layer underneath, so fills meet the lines without gaps or halos.
Line weights and flat colors
| Element | Minimum at the final size | Notes |
|---|---|---|
| Outline sewn as satin | 1 mm (0.04 in) | 1.5–3 mm looks bolder and covers the edges of fills |
| Fine line sewn as running stitch | About 0.5 mm or thinner | Becomes a single line of stitches |
| Gap between two lines | 1 mm | Closer lines merge into one |
| Smallest dot or detail | About 1.5–2 mm | Smaller marks disappear or turn into a knot of stitches |
| Capital letters | 5 mm (0.2 in) tall | Use bold, simple letter shapes |
| Colors | 2–8 flat colors | Each one is a thread change |
To check line weights in pixels, divide the canvas width in pixels by the design width in millimeters. On a 2,000 px canvas for a 100 mm design, 1 mm is 20 px, so a satin outline needs to be at least 20 px wide. The quickest real check is to upload a test export and look at the stitch preview at the final size: lines shown as a single row of stitches are too thin for satin.
Choose colors with thread in mind. Shades a few steps apart look different on screen but come out as one thread, or as two threads that barely differ. A limited palette from the embroidery color palettes keeps things clean. Keep each color on its own layer, and skip blend modes, reduced layer opacity, shadows and glows.
Hiding the background and exporting a PNG
- Hide any sketch, guide or reference-photo layers.
- Untick the Background color layer at the bottom of the Layers panel so the background is transparent.
- Zoom in and erase stray marks and specks, which become tiny stitch islands.
- Open Actions (the wrench), then Share, and choose PNG under Share Image.
- Save the image to Files or Photos.
Export a PNG, not a JPEG. PNG keeps the transparent background and exact colors; JPEG fills the background with white and adds compression fringes around edges that can turn into extra colors.
Digitizing the PNG in Embrizo
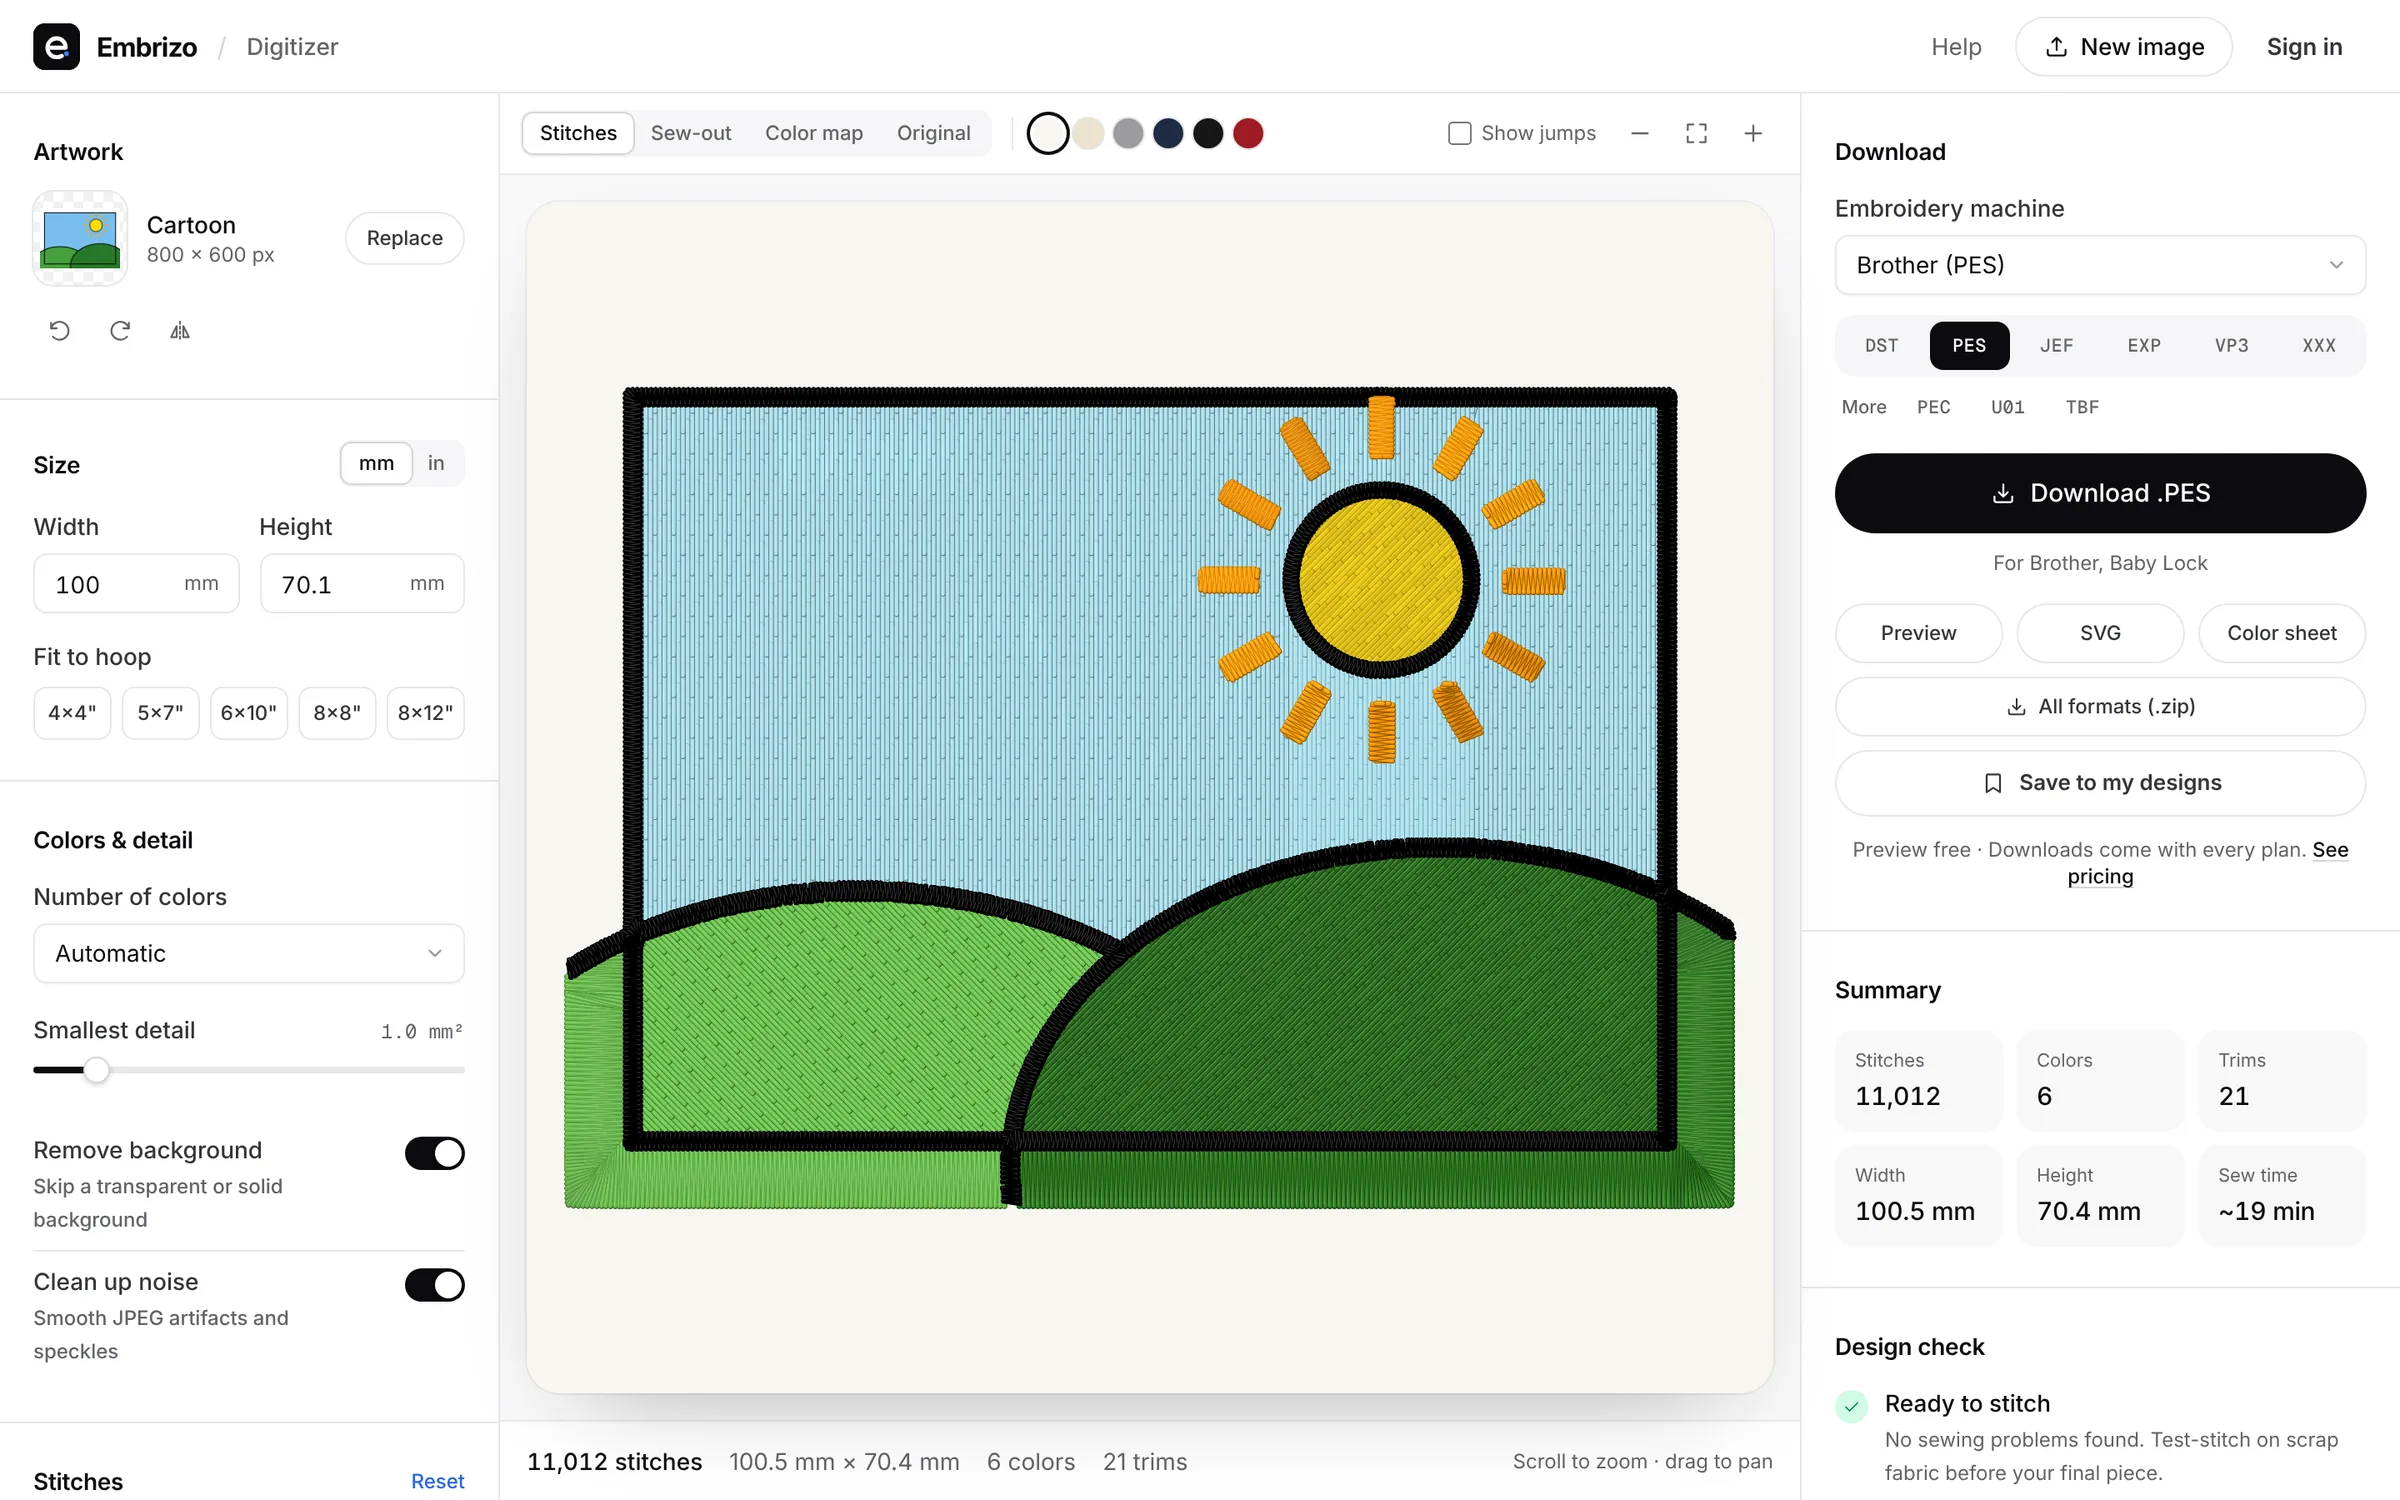
- Open Embrizo's digitizer in Safari on the same iPad, or on any computer, and upload the PNG from Files or Photos. The Procreate to embroidery file page sums up the route.
- Set the size to the size you drew at, in millimeters or inches.
- Pick the fabric preset for your item, such as woven, knit, or fleece and towels.
- Check the color list: each Procreate color should be one thread. Merge any that split, and match threads to the Brother or Janome chart.
- Set the stitch type for a color if you want to override the automatic choice, for example outline for line art.
- Look at the stitch preview and the sew-out simulation, then save the file in your machine's format. Saving machine files needs a plan.
To get the file from the iPad to the machine, follow the steps in how to digitize embroidery on an iPad.
Line art vs filled illustrations
| Line art | Filled illustration | |
|---|---|---|
| Draw with | A monoline or inking brush, 1–3 mm at the final size | ColorDrop fills, with or without outlines |
| Stitches | Running and satin; a low stitch count | Mostly fill; a higher stitch count |
| Settings to check | Outline or satin per color, light or standard underlay | Fill angle, standard or heavy underlay, outline width |
| Good for | Tees, sweatshirts and minimal designs | Patches, emblems, totes and pillows |
| Watch for | Lines too thin or too close together | Too many colors and tiny details |
When a filled shape has an outline, make the outline at least 1.5 mm wide so the satin covers the edge of the fill. The drawing to embroidery guide has more on both styles.
Practice on a free design
167 ready-to-sew designs in every machine format, free with an account.
Fixing common Procreate problems
| Problem in the preview | Cause | Fix in Procreate |
|---|---|---|
| Rough, jagged satin edges | A textured brush | Redraw the line with an inking or monoline brush |
| Specks and tiny islands | Stray marks or brush grain | Zoom in and erase, or raise Smallest detail in the digitizer |
| A thin halo around fills | Soft edges left by ColorDrop | Raise the ColorDrop threshold, or fill with a reference layer |
| Lines missing or sewn as single stitches | Lines under about 0.5 mm at the final size | Thicken them to 1 mm or more |
| Two colors became one thread | Colors too similar | Pick shades further apart, or merge them on purpose |
| The whole design is too dense | Large filled areas | Leave fabric showing, or switch some areas to outline |