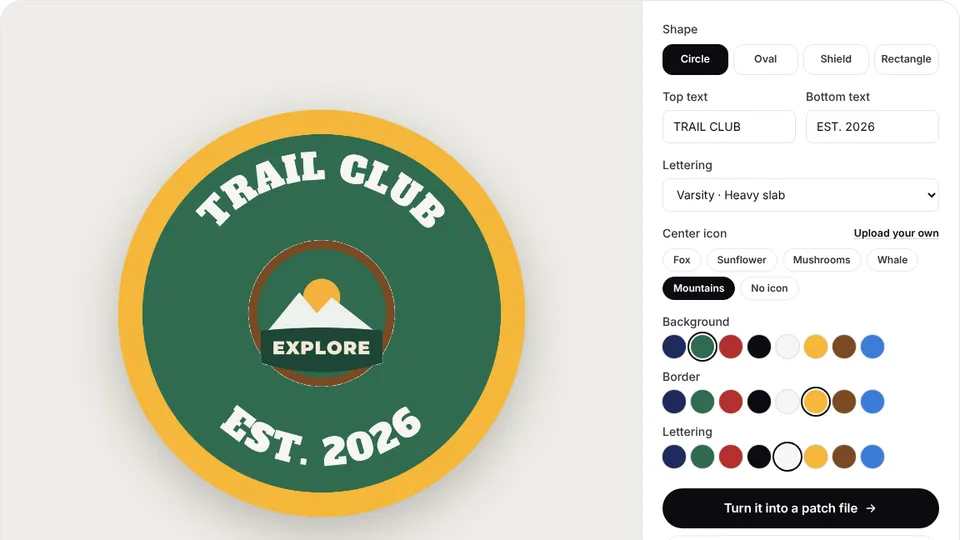
 Free toolEmbroidery patch designerDesign a round, oval, shield or rectangle patch with arched text, an icon and a border, then digitize it.Open the tool
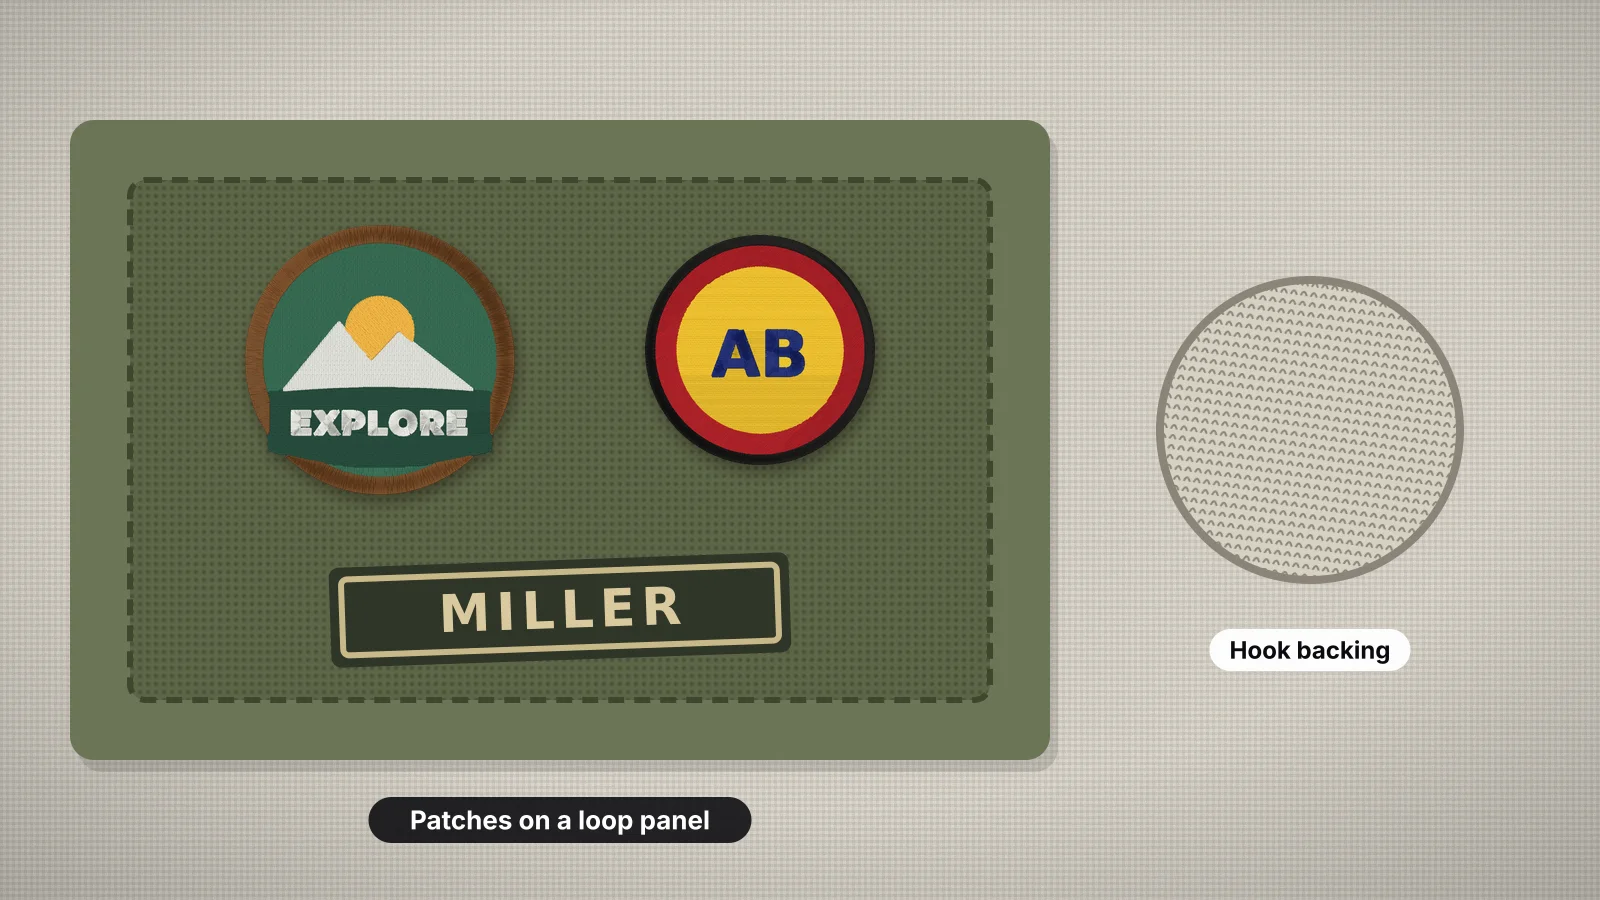
Morale patches, team and club patches, flag patches and name tapes all work the same way: an embroidered patch with the hook side of a fastener on the back, pressed onto a loop panel on a backpack, plate carrier, cap or jacket and swapped in a second. Velcro is a trademark of Velcro IP Holdings for its own brand of fastener, so the rest of this guide uses the generic name, hook and loop.
This guide is for anyone making them on a home or small-shop embroidery machine. It covers sizes, designs that read from a few feet away, fabric and stabilizer, cutting and sealing, hook tape, name tapes and selling. For the basics of any embroidered patch, start with how to make embroidered patches.
What size are hook-and-loop patches?
The most common sizes are 3 × 2 in and 3.5 × 2 in rectangles, 2 × 2 and 3 × 3 in squares, a 3 in circle, 2 × 3 in flags and 1 × 5 in name tapes. There's no single standard, so measure the loop panel on the gear first: a patch should sit inside it with a little loop showing round the edge.
| Patch | Size | Stitches if fully filled, about | Hoop | Typical use |
|---|---|---|---|---|
| Morale patch | 3 × 2 in (76 × 51 mm) | 4,000–6,000 | 4 × 4 in; several per 5 × 7 | Packs, caps, plate carriers and range bags |
| Wide morale patch | 3.5 × 2 in (89 × 51 mm) | 4,500–7,000 | 4 × 4 in | A slogan, or an icon with a line of text |
| Small square | 2 × 2 in (51 × 51 mm) | 2,500–4,000 | 4 × 4 in; several per 5 × 7 | Blood type, call signs and small icons |
| Large square or circle | 3 × 3 in (76 × 76 mm) or 3 in round | 5,000–7,000 | 4 × 4 in | Team, club and unit-style badges |
| Flag patch | 2 × 3 in (51 × 76 mm) | 4,000–6,000 | 4 × 4 in | Uniform sleeves and small loop panels |
| Name tape | 1 × 5 in (25 × 127 mm) | 1,500–3,000 with the twill showing | 5 × 7 in, since 127 mm is too long for a 4 × 4 | Last names on packs, vests and uniforms |
A fully filled patch gets its stitch count from its area. Letting the twill show as the background, with only the border and lettering stitched, roughly halves the count and gives a softer patch. The stitch count calculator estimates any size.
Size a patch to the smallest loop panel it will go on. A 3.5 in patch that overhangs a 3 in panel catches on straps and peels off at the corners.
How do you design a hook-and-loop patch?
Design it to read from a few feet away: a satin border about 3–4 mm wide, one to three lines of bold text, simple shapes and two to four thread colors. People usually see a patch on a pack or a sleeve, not up close.
- A thick border. A 3–4 mm satin border covers the cut edge and gives you a line to cut along. On rectangles, round the corners with a radius of about 3–5 mm (1/8–3/16 in); the satin bunches at sharp corners.
- One to three lines of text. On a 3 × 2 in patch, one line of capitals 8–12 mm tall reads from several feet away; three lines need letters of at least 6 mm. Leave about 3 mm between the text and the border.
- Bold fonts. Block capitals and condensed sans-serifs hold up at patch sizes. Thin scripts, serifs and outlined letters break up.
- Two to four colors. Few colors look cleaner. Many tactical patches also come in a subdued version, such as tan on coyote brown or black on gray.
- Simple shapes. Silhouettes, icons and flags work; photos, gradients and fine linework don't.
The patch designer lays out a circle, oval, shield or rectangle patch with a border, text and an icon, then sends it to the digitizer, where you set the finished size. For your own artwork, draw the border as a ring about 3–4 mm wide at the final size, and the patch embroidery file converter digitizes it with full-coverage fills and the ring as a satin border.
Try it with your own design
Sign up free, upload an image and get a stitch preview in under a minute.
Drop your image here
PNG, JPG, SVG, PDF or AI · stays on your device
Not sure what to expect? See real examples or how it works.
What fabric and stabilizer do you stitch patches on?
Stitch most hook-and-loop patches on polyester or cotton twill hooped with a heavy cut-away stabilizer, so the patch stays flat and firm after it's cut out. Hook tape on the back adds some stiffness, but a patch stitched on a soft backing still curls at the corners.
| Base | Stabilizer | Result | Good to know |
|---|---|---|---|
| Polyester twill | Heavy cut-away, about 2.5–3 oz, or two layers of medium | The classic patch: firm and flat, with edges that seal with heat | Match the twill to the patch background, so a slight gap doesn't show |
| Cotton twill | Heavy cut-away | A matte look; the edge needs seam sealant | Cotton doesn't melt, so a hot knife won't seal it |
| Felt | Medium cut-away or tear-away | Soft and cheap; doesn't fray | Less crisp than twill |
| A stiff patch backing | A firm non-woven patch or badge backing, hooped with the twill | Very stiff, close to a bought patch | Sold by embroidery suppliers; test it with your needle first |
| No fabric: a free-standing patch | Two layers of heavy water-soluble stabilizer, such as OESD Badgemaster | All thread; stiffer or softer depending on how much stabilizer you rinse out | Needs a file made for it, with a dense underlay that ties the stitches together |
Free-standing patches work like free-standing lace: the underlay replaces the fabric, so they take more stitches and a file made for it, which is why most makers stitch on twill. Use 40 wt polyester thread, which stands up to sun and sweat better than rayon, and a 75/11 sharp needle, or an 80/12 through two layers of stabilizer.
Patches from a patch factory usually have a merrowed edge: a thick, rolled overlock border sewn by a separate merrow machine after the patch is cut out. An embroidery machine can't sew that edge, so home and small-shop patches use a satin border, which looks just as finished on a rectangle or circle. The merrow border entry explains the difference.
How do you stitch, cut and seal the patches?
Hoop the twill and stabilizer drum-tight, stitch the patches, then cut each one out just outside the satin border and seal the edge. Making several patches per hooping saves time:
- Digitize at the finished size with the woven fabric preset, and make sure the background is filled if the patch is fully stitched.
- Lay out several copies. The hoop layout tool repeats one patch across a hoop, sewn color by color, so a 5 × 7 in hoop makes a batch of small patches in one run.
- Hoop the twill over the stabilizer, smooth and tight, or the border will miss the fill.
- Stitch. Fills sew first, then details, and the satin border last, over the edges of the fill.
- Unhoop and cut close around each border with small curved scissors.
- Seal the edge. Run a hot knife or heat-cutting tool along polyester twill, dab seam sealant on cotton twill, and leave felt as it is. Test on a scrap first, and keep the hot tip off the satin.
- Press the patch flat from the back before you add the hook.
Cut in two passes: rough-cut each patch out of the sheet first, then trim close to the border. Short, controlled cuts near the satin keep the edge clean; one long cut from the sheet is where most nicks happen.
How do you attach hook tape to a patch?
Sew a piece of sew-on hook tape to the back of the patch, trimmed about 1–2 mm inside the edge, with a straight stitch just inside the satin border. The hook (the stiff, scratchy side) goes on the patch and the loop (the soft side) goes on the gear, the same arrangement as on uniforms, packs and plate carriers.
| Method | How | Durability | Watch out for |
|---|---|---|---|
| Sew-on hook tape, sewn after | Stitch around the edge on a sewing machine, through the hook tape and the patch | The best; the standard on bought patches | The stitches show on the front, so sew in the border color, on the satin |
| Hook tape sewn in the hoop | A patch file with a stop after the border and a final running stitch: flip the hoop, tape hook tape to the back, and the last pass stitches it on | Good, with a neat outline on the front | Needs a file digitized with that extra step; use painter's tape rather than clear tape, and slow down |
| Adhesive-backed hook tape | Peel and stick to the patch | Poor on fabric: it lifts with heat, sweat and use | The glue gums up a sewing needle; if you must sew through it, use a non-stick needle |
To sew it on, use a sewing machine with a 90/14 or 100/16 jeans or heavy-duty needle; for adhesive-backed tape, Schmetz recommends its Super Nonstick needles, sold in 90/14 and 100/16, for hook and loop tape. Use polyester thread in the border color and a stitch length of about 3 mm, and sew slowly around the patch on the satin just inside the edge, so the stitches sink in. Sew-on hook tape comes in widths such as 1, 2 and 4 in: cut 2 in tape to length for a 3 × 2 in patch, trimming a hair off each long edge, cut 4 in tape to shape for squares and circles, and round the corners so they don't poke out.
The loop side on the gear. Many packs, caps and plate carriers already have loop panels. To add one, sew a piece of loop tape a little larger than your patches onto a bag, jacket or cap, before assembly if you're making it; on a finished item, sew round the edge on a free-arm sewing machine or by hand. Adhesive loop is for hard surfaces such as cases and helmets, not fabric.
How do you make name tapes for uniforms and bags?
A name tape is a strip of twill about 1 × 5 in with a last name in block capitals, usually hook-backed for packs, vests and plate carriers with a loop panel on the chest or above a pocket. U.S. Army OCP name tapes, for example, are sold at 1 × 5 in.
- Letters: condensed block capitals about 12–15 mm (1/2–5/8 in) tall fit a 1 in tape.
- Long names: a 5 in tape leaves about 115 mm of lettering width inside a border. Long names go to a condensed font such as Tall, or to a smaller letter height.
- Edges: many name tapes have no satin border, just a heat-sealed cut edge on polyester twill. A border is optional and adds stitches.
- Regulation uniforms specify the tape and thread colors, font and size, so check the current regulation (for the Army, DA PAM 670-1) before making tapes to wear on duty. Packs, kids' gear and team bags have no such rules.
For a whole team, paste the names into batch name embroidery: it digitizes up to 30 names per batch in the same font, height and thread, and flags any that run wider than the width you set, such as 115 mm. Then repeat each tape across a 5 × 7 in or larger hoop with the hoop layout tool, or put a satin border round it with the embroidery frame maker. For oval and rectangle name patches on work shirts, see embroidered name patches.
Can you sell hook-and-loop patches?
Yes, and they make a good small product: light, cheap to ship and quick to stitch, typically selling for about $7–$15 each, as long as the designs are your own or you have permission to use them. Ready-made hook patches at large retailers often sell for about $7–$10, and original designs from small makers usually sell for more.
- Who buys them: hikers, airsoft players, first responders, veterans, clubs and teams. Custom name tapes and call-sign patches sell well, because buyers can't find their own name on a shelf.
- Price from your time. A 3 × 2 in patch takes about 6–10 minutes to sew at home-machine speeds, plus cutting, sealing and backing, so batch them per hooping. The embroidery pricing calculator works out a price per piece.
- Know when to order from a factory. Patch factories typically charge about $2–$4 a patch at 50 pieces for a small hook patch, often with a 50-piece minimum per design. For 100 or more of one design a factory is usually cheaper; for names, one-offs and small runs, stitching them yourself wins.
- Stay clear of other people's marks. Branch emblems and unit insignia belong to the services: the Army Trademark Licensing Program says anyone using Army marks on goods for sale needs a license, and the other branches run their own programs. Sports teams, brands and cartoon characters are protected too; embroidery design copyright explains the basics.
Caps with a loop panel take the same patches, and patches sewn or pressed straight onto caps are a product of their own; how to make patch hats covers sizes and attaching them.
Practice on a free design
167 ready-to-sew designs in every machine format, free with an account.



Making hook-and-loop patch files with Embrizo
Embrizo makes the stitch file; the cutting, sealing and backing are up to you. For hook-and-loop patches it covers:
- Design: lay out a rectangle, circle, oval or shield patch with text, an icon and a border in the patch designer, or upload your own artwork to the digitizer.
- Size and fabric: set the finished width, such as 3 in for a 3 × 2 in patch, and pick the woven preset for twill.
- Full coverage: areas that match the image background are left unstitched by default, so switch the background color on in the color list for a fully stitched patch, or leave it off to let the twill show.
- Checks before you stitch: the stitch preview and design check flag details too fine to stitch, text that's too small and high stitch counts.
- Batches: batch name embroidery for name tapes and the hoop layout tool for sheets of patches.
- Any machine: files come as DST, PES, JEF, EXP, VP3, XXX, PEC, U01 and TBF.
What it doesn't do: it doesn't sew merrowed edges, add a stop and final pass for hook tape, or cut patches out. Digitizing and previews are free with an account; downloading files needs a plan.