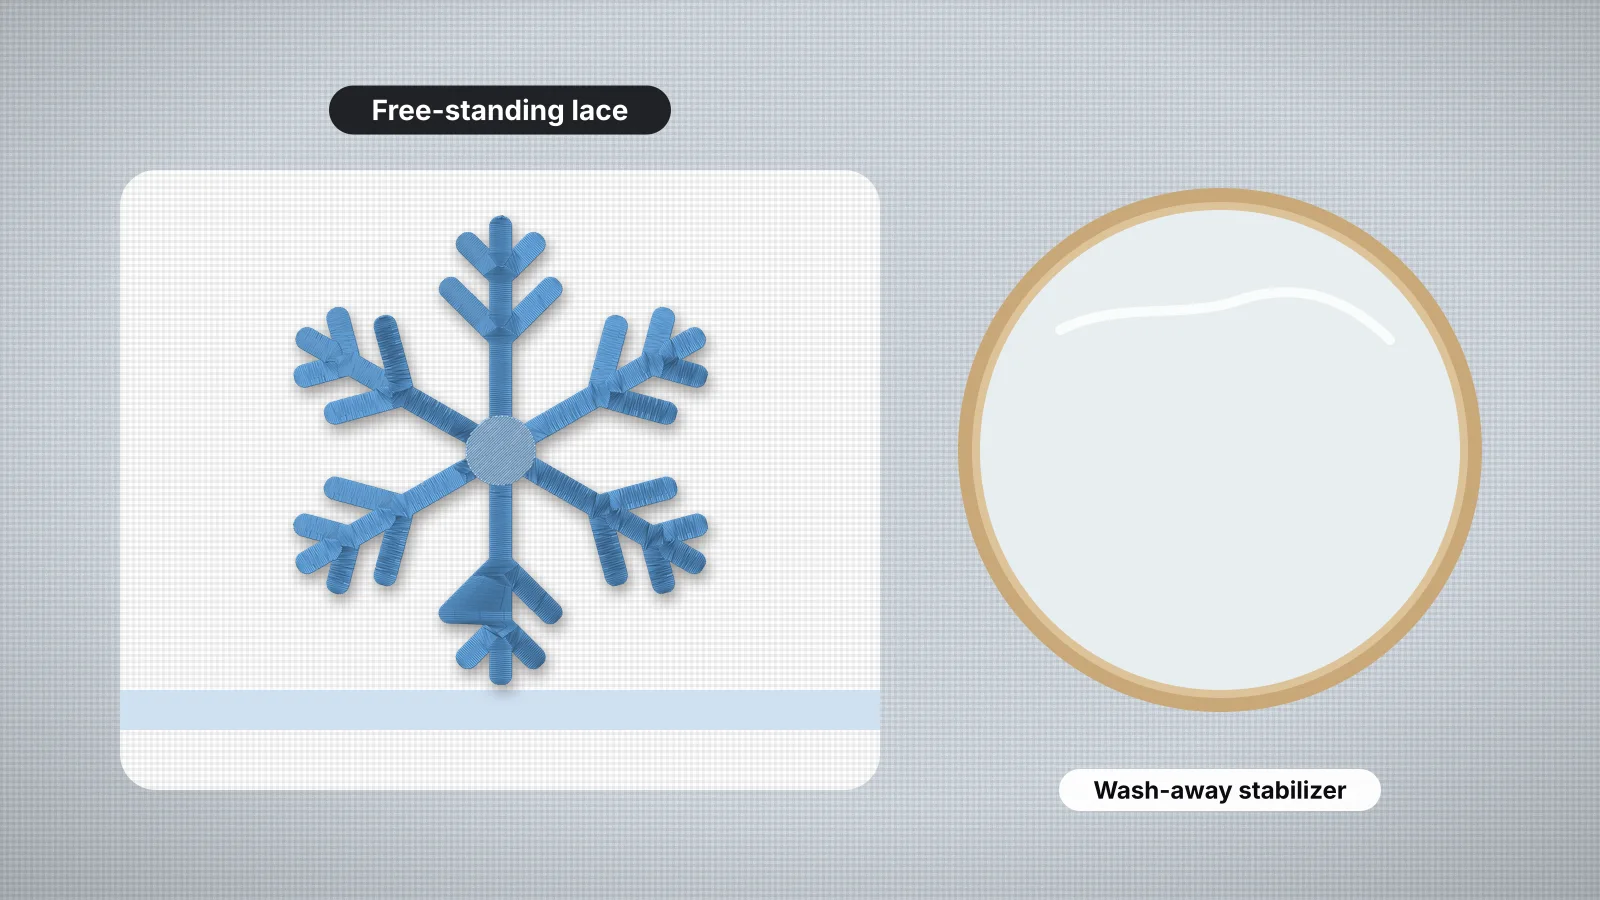
Free-standing lace, usually shortened to FSL, is lace made entirely by the embroidery machine. You stitch it on a stabilizer that dissolves in water, rinse the stabilizer away, and what's left holds together on its own: snowflakes, ornaments, bookmarks, earrings, doilies, edgings and 3D pieces that are laced or sewn together afterwards.
The machine side is simple once the setup is right. The hard part is the design: an ordinary embroidery file falls apart once its backing is gone, so FSL needs files made for it. This guide covers what an FSL design needs, the stabilizer and thread, stitching, rinsing and shaping, and the failures you're most likely to see.
What makes a design free-standing lace
In ordinary embroidery the fabric holds the stitches together. In FSL there's no fabric, so the stitches have to hold each other, and a lace design is built differently from one made for a shirt:
| Compared | Ordinary design | Free-standing lace design |
|---|---|---|
| What holds it together | The fabric and the backing | The stitches themselves, locked into each other |
| Underlay | Light, to anchor the top stitches to the fabric | A connected grid that every later stitch is sewn into |
| Open areas | Bare fabric | A net of crossing stitches, or open space framed by satin |
| Edges | Often a single satin outline | Satin sewn over the grid so the edge can't pull away |
| The back | Hidden, so the bobbin thread can be any color | On show, so the bobbin thread matches the top |
The grid is what matters. Lace designs typically start with a lattice of running stitches that crosses itself and links every part of the design, then build fills and satin columns on top of it. Any area that isn't tied into that grid drops away from the rest in the rinse. The underlay entry explains how underlay works in ordinary designs.
You can't turn an ordinary design into lace by stitching it on wash-away. Without the connecting grid, the satin and fill unravel or fall apart once the stabilizer dissolves. Use a design sold or labeled as FSL.
Where FSL designs come from
Most embroiderers buy FSL designs from designers who specialize in lace, and some machines include a few built in. Digitizing lace yourself takes desktop software with lace tools and a lot of test sew-outs. Before you buy or stitch one, check:
- It's labeled free-standing lace, not just a lace look or lace effect, which are made to sew on fabric.
- It fits your hoop with room to spare. Lace needs a margin of stabilizer all round, and a smaller hoop holds the stabilizer tighter.
- The thread it was made for. A thread finer or heavier than the designer used changes how the grid fills in.
- Any assembly notes. Boxes, bowls, baskets and 3D ornaments are stitched in flat pieces and joined after rinsing.
Embrizo's digitizer doesn't make free-standing lace. It digitizes artwork to sew on fabric, with underlay that anchors stitches to a backing, not a grid that holds itself together. It's the right tool for the parts of a lace project that sit on fabric, such as a name on a tea towel with a lace edging, but not for the lace itself.
Try it with your own design
Sign up free, upload an image and get a stitch preview in under a minute.
Drop your image here
PNG, JPG, WebP or SVG · stays on your device
Stabilizer: fibrous wash-away
FSL is stitched on water-soluble stabilizer alone, and the kind matters:
| Wash-away type | What it's like | Use it for |
|---|---|---|
| Fibrous, fabric-like wash-away | A soft non-woven that holds dense stitching without perforating | Free-standing lace, in one or two layers |
| Clear film wash-away | A thin film that perforates and tears under dense stitching | Toppings on towels and fleece; only light, open lace, in several layers |
| Tear-away or cut-away | Doesn't dissolve | Never for FSL: it stays trapped in the stitches |
- Hoop it drum-tight. Wash-away has no grain to hold it, so any slack lets the grid shift and the outlines miss.
- Add a second layer for large or dense lace, or when one layer starts to perforate or pull out of the hoop.
- Cut it larger than the hoop so the rings grip it all the way round.
- Keep it dry until you're done. Damp hands, steam and humid storage start to dissolve it, so store it sealed.
Wash-away is also the usual backing for organza and tulle, where the fabric stays and only the backing rinses out; the sheer fabric stabilizer page covers that.
Thread, needle and machine setup
- The same thread top and bobbin. Both sides of lace show, so wind bobbins from the same thread as the top, or use bobbin thread in a matching color. White bobbin thread shows as specks on colored lace.
- Wind several bobbins first. Lace uses a lot of bobbin thread, and stopping mid-design to wind another is where shifts happen.
- Use the thread weight the design was made for, usually a standard embroidery thread. Polyester stands up well to rinsing and handling; the thread guide compares types.
- A new needle. A 75/11 suits most lace with 40-weight thread, and a dull needle drags and perforates the stabilizer. The needle guide covers sizes.
- Slow the machine down. Dense stitching on bare stabilizer flexes more than fabric does, and many embroiderers sew lace below their usual speed.
- Balance the tension. Top and bobbin threads should meet in the middle so neither side looks loopy. Check the thread tension entry for how to read it.
Sew a small piece first, such as a single snowflake ornament, to check your stabilizer, tension and speed before you start a large doily or a 3D project.
Stitching, rinsing and shaping
- Hoop one or two layers of fibrous wash-away drum-tight, and wind matching bobbins.
- Stitch the design, watching the first color: the grid should lie flat without drawing the stabilizer in.
- Unhoop and trim the excess stabilizer close to the lace, leaving a narrow margin round the edge.
- Rinse in lukewarm water. For soft lace, soak until all the stabilizer has gone and rinse again; for crisp lace, rinse briefly so some stays in.
- Blot it in a towel, then pin or press it flat on a dry towel or a foam board while it's damp. Shape 3D pieces over a form, such as a small bowl or a bottle.
- Let it dry completely before you assemble, hang or gift it.
How much stabilizer you leave in decides how the lace feels. Fully rinsed lace drapes; lace with a little stabilizer left dries firmer, which suits ornaments, bowls and earrings. Some embroiderers dissolve scraps of wash-away in a little water and brush it on as a stiffener. If the lace comes out sticky or too stiff, soak it again.
Common FSL failures and fixes
| Problem | Likely cause | Fix |
|---|---|---|
| The lace falls apart in the rinse | Not a true FSL design, or areas not tied into the grid | Use a design made for FSL; check the grid goes down first in a stitch preview |
| Outlines miss the fills | The stabilizer shifted or stretched in the hoop | Hoop tighter, use a smaller hoop or a second layer, and slow down |
| The stabilizer perforates and tears | Film wash-away, a single layer under dense stitching, or a dull needle | Fibrous wash-away, two layers and a new needle |
| Specks of bobbin thread on the front | Tension out of balance, or a contrasting bobbin thread | Matching bobbin thread, and rebalance the tension on a test |
| Lace curls or ripples after drying | Pulled in during stitching, or dried without shaping | Soak again and pin it flat to dry; hoop tighter next time |
| Lace feels stiff or sticky | Stabilizer left in the stitches | Soak longer in lukewarm water and rinse again |
| Gaps open between parts | Thread finer than the design was made for, or a grid that shifted | Use the intended thread weight and a firmer stabilizer |
Open a new lace file in the sew-out simulator before you stitch it: you can watch the grid go down first and spot sections sewn on bare stabilizer. The problems and fixes guide covers faults that aren't specific to lace.
For the parts of a project that sit on fabric, such as a motif on a towel above a lace edging, upload your artwork to the digitizer and pick the fabric preset. Digitizing and previewing are free with an account.