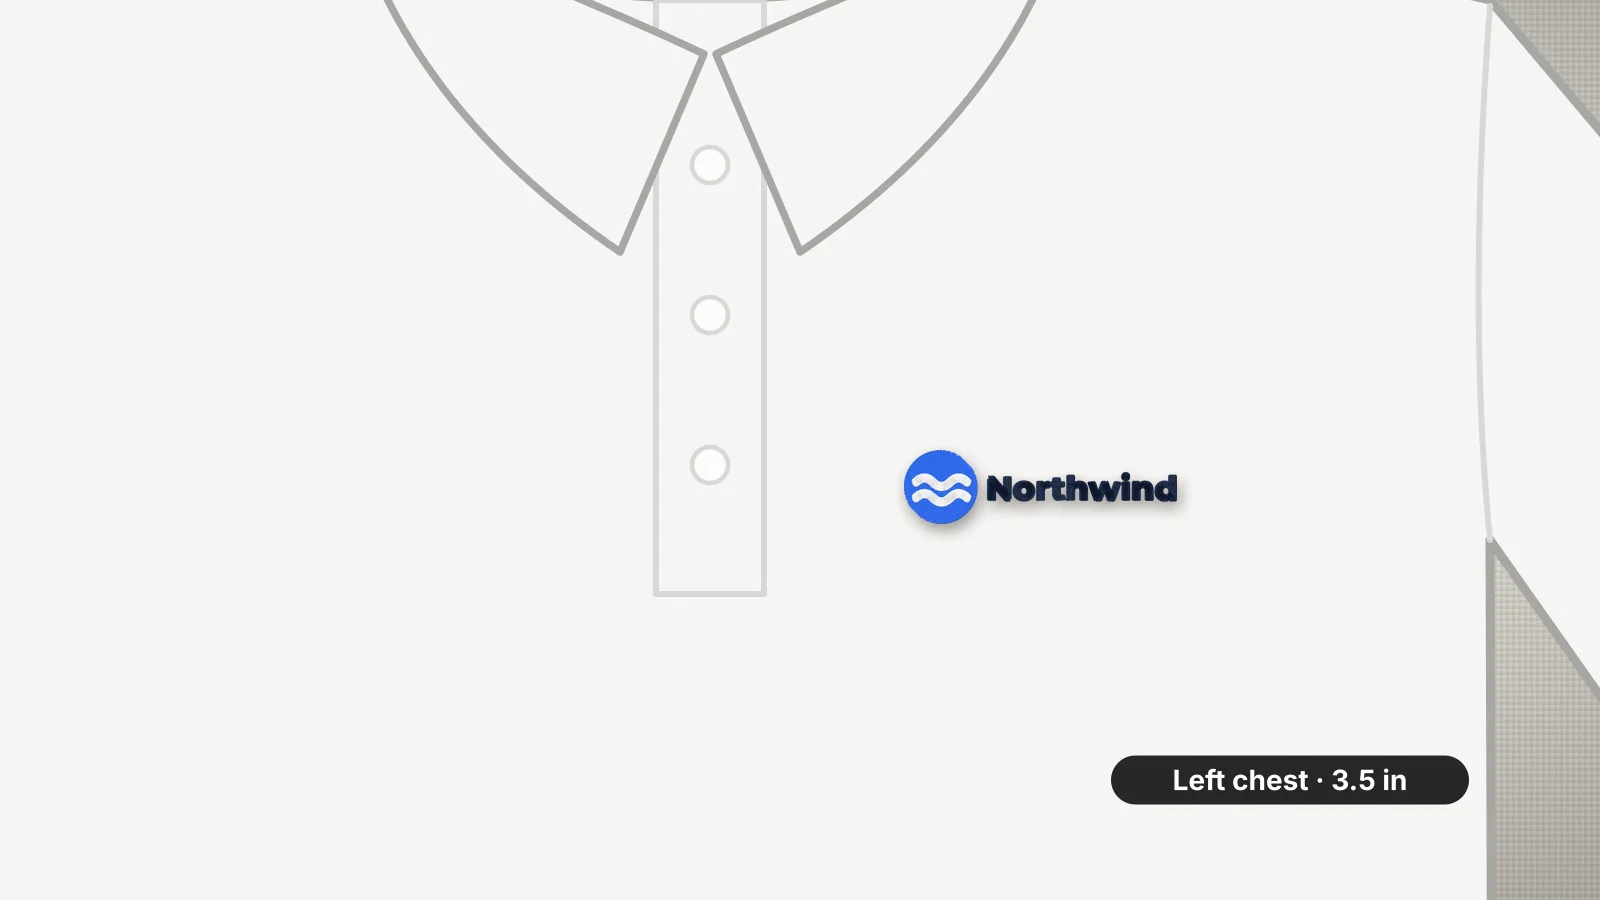
The polo is the uniform shirt: staff shirts, club shirts, golf days and corporate orders, almost always with a logo on the left chest. It's a forgiving placement, but the fabric isn't. Most polos are piqué, a knit with a honeycomb texture that stretches, swallows thin stitches and shows every hoop mark.
Four habits handle it: size the logo for the chest, hoop the knit flat without stretching it, back it with cut-away or no-show mesh, and keep lettering bold enough for the texture. To get a file sized for the chest, start with the left chest logo embroidery file page.
Logo size and placement on a polo
| Placement | Design size | Where it usually sits |
|---|---|---|
| Left chest | 3–4 in (75–100 mm) wide, up to about 3 in (75 mm) tall | About 7–9 in below the shoulder seam at the collar; about 3.5–5 in from the center front |
| Right chest | 2–3.5 in (50–90 mm) wide | Mirrors the left chest; often a name or a second logo |
| Sleeve | 2.5–3.5 in (65–90 mm) wide | Outside of the sleeve, about 2–4 in below the shoulder seam, clear of the hem band |
| Back of the neck | 2–4 in (50–100 mm) wide | Centered, about 1–2 in below the collar seam |
| Kids' left chest | About 2.5–3 in (65–75 mm) wide | Measured the same way; the distances shrink with the garment |
On adult polos, 3.5 in (90 mm) wide is the most common left chest size. A wide, short logo suits the space better than a tall one, because a tall logo runs down toward the armhole. On fitted women's polos, many shops place the logo a little higher and closer to the center. The embroidery placement guide covers every standard position.
Measuring and marking the left chest
- Lay the polo flat and button the placket, so the front sits the way it's worn.
- Measure down from where the shoulder seam meets the collar on the wearer's left side, and mark the height for the center of the logo.
- Measure across from the center of the placket and mark the center line of the logo, keeping its inner edge clear of the placket with an inch or so to spare.
- Mark the center with a cross in chalk or water-soluble pen, with the arms of the cross square to the placket.
- Hold a printout of the logo at actual size on the mark. If you can, look at it on a person: an inch higher or lower changes how it looks.
For a team or staff order, make a placement template from card with the neckline shape and the logo position cut out. Lay it on every shirt, so each logo lands in the same spot across sizes.
Try it with your own design
Sign up free, upload an image and get a stitch preview in under a minute.
Drop your image here
PNG, JPG, WebP or SVG · stays on your device
Backing and topping for piqué
Piqué is a knit, so it needs a backing that stays in: cut-away or no-show mesh. Tear-away lets the logo distort once it's removed, usually after the first wash. How heavy depends on the design:
| Design | Backing | Topping | Needle |
|---|---|---|---|
| Light: text, outlines, open designs | No-show mesh (about 1.5 oz) | For lettering under about 6 mm | 75/11 ballpoint |
| Medium: a typical logo | Medium cut-away (about 2.5 oz) | For lettering under about 6 mm | 75/11 ballpoint |
| Dense: full fills, badges | Heavy cut-away (about 3 oz) | Optional | 75/11 ballpoint |
| Thin performance polo | No-show mesh, fusible if possible | Not usually needed | 70/10 or 75/11 ballpoint |
No-show mesh is the go-to on white and light-colored polos, because regular cut-away can shadow through. A water-soluble topping on the front keeps thin satin from sinking into the honeycomb; tear away the excess afterwards and dab off the rest. The stabilizer finder gives the same advice for each fabric and density.
Hooping a polo around the placket
- Button the placket, and slide the outer ring inside the shirt from the bottom hem so only the front layer goes in.
- Lay the backing on the ring, smooth the front over it and press the inner ring in with the cross on the hoop's center marks.
- Keep the knit flat and smooth, not stretched. Stretched piqué relaxes after unhooping and puckers around the logo.
- Check that the hoop edge isn't sitting on a button or the placket's seam, which can stop it closing evenly.
- Roll the back and sleeves away from the needle, and check underneath by hand that only the front and backing are under the needle.
A 4×4 in hoop fits most left chest logos with room to spare. On small sizes, the hoop can end up pressing against the collar or placket; a magnetic hoop is easier to position there, and it leaves fewer of the shiny rings called hoop burn, which polyester polos show easily. A shot of steam usually lifts hoop marks that do appear.
Small text and fine detail on piqué
Lettering is where polos catch people out. The honeycomb texture swallows thin strokes, so text that reads fine on twill can break up on piqué. Plan on capitals about 6 mm (0.25 in) tall or more in a bold sans-serif, 1–2 mm taller than on a smooth woven, with strokes at least about 1 mm wide.
- Drop or move the tagline. A tagline that's 3 mm tall on a 3.5 in logo won't survive. Move it to the sleeve or back of the neck, or leave it off.
- Use a topping for anything under about 6 mm.
- Choose the knit preset in the digitizer, which adds heavy underlay and extra pull compensation, so letters stay on top of the texture and outlines meet their fills.
- Avoid thin outlines around filled shapes. A hairline outline on piqué looks broken.
The small text guide has minimum sizes by font style, and the best fonts guide suggests styles for workwear.
Setting up the logo file
- Start from the cleanest version of the logo: an SVG, or a PNG at least 1,000 px across.
- Open the digitizer, sign in with your free account and add the logo. The image is processed in your browser.
- Set the width, usually 3.5 in (90 mm), and choose the knit preset, or stretch for thin performance polos.
- Reduce the colors to the threads you'll use and read the design check. It flags details under about 0.8 mm and lettering under about 5 mm.
- Check the stitch count. A 3.5 × 2.5 in logo with about half its area stitched usually comes to roughly 4,000–6,000 stitches; a fully filled badge of that size, about 6,400.
- Download your machine's format, or DST for a multi-needle machine. Digitizing and previewing are free with your account; downloads need a plan.
- Sew a test on a spare polo or a scrap of the same piqué.
Pricing a staff order? The stitch count is the starting point for the embroidery pricing calculator, and the pricing guide works through a 24-polo example.
Finishing and washing
- Trim the backing about 1/4 in (6 mm) from the stitches, rounding the corners so they don't poke through the knit.
- Remove the topping: tear off the excess and dab the rest away with a damp cloth.
- Press from the back on a padded surface, with a pressing cloth and low heat on polyester and performance polos.
- Wash inside out and avoid high dryer heat, which helps the knit and the stitches keep their shape.