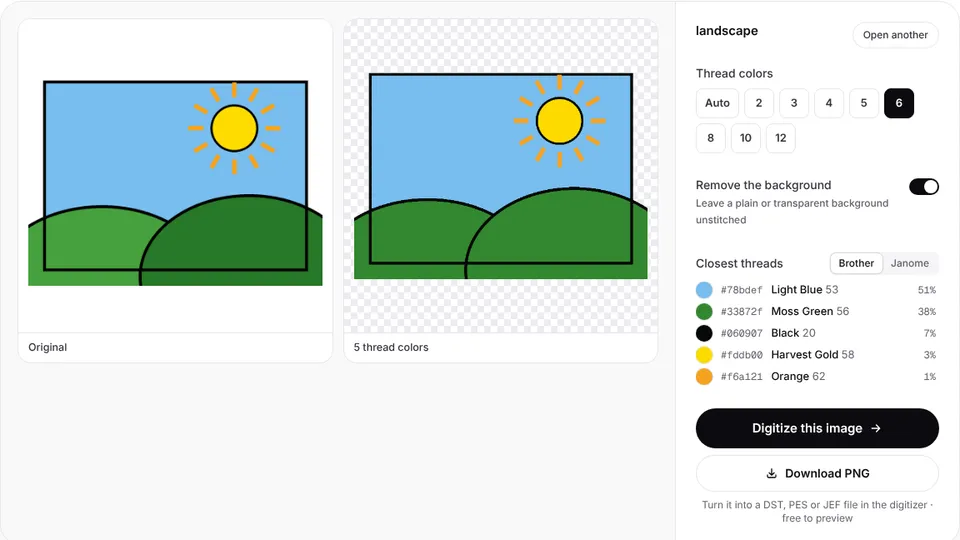
 Free toolImage color reducerReduce a picture to a few flat thread colors, with the closest Brother or Janome threads.Open the tool
This guide is for anyone on a single-needle machine who spends more time rethreading than stitching: a gift maker with a six-color design, an Etsy seller with 30 names to run, a small shop between orders. Every stop you remove saves about a minute on every piece, and one more chance of a threading mistake.
You'll learn to count the stops a design really has, which tricks remove them and how many each saves, which shades to merge and which to keep, how to batch orders by color, and when a multi-needle machine is the better fix. If you're still choosing a machine, single vs multi-needle machines compares the two first.
Why does every color change cost time on a single-needle machine?
A single-needle machine holds one thread, so at every color change it stops and waits while you rethread the whole path by hand, which takes about a minute each time and longer if you've stepped away. The stitching itself is often the quick part: a 6,000-stitch design sews in under 10 minutes at 700 stitches a minute, and five color changes can add five more.
| Part of a color change | Typical time | What can go wrong |
|---|---|---|
| The machine stops and trims | A few seconds; many machines trim automatically | A long tail left on top, or a jump thread to cut by hand |
| Taking off the old thread | 10–15 seconds | A cut end left in a guide catches the new thread |
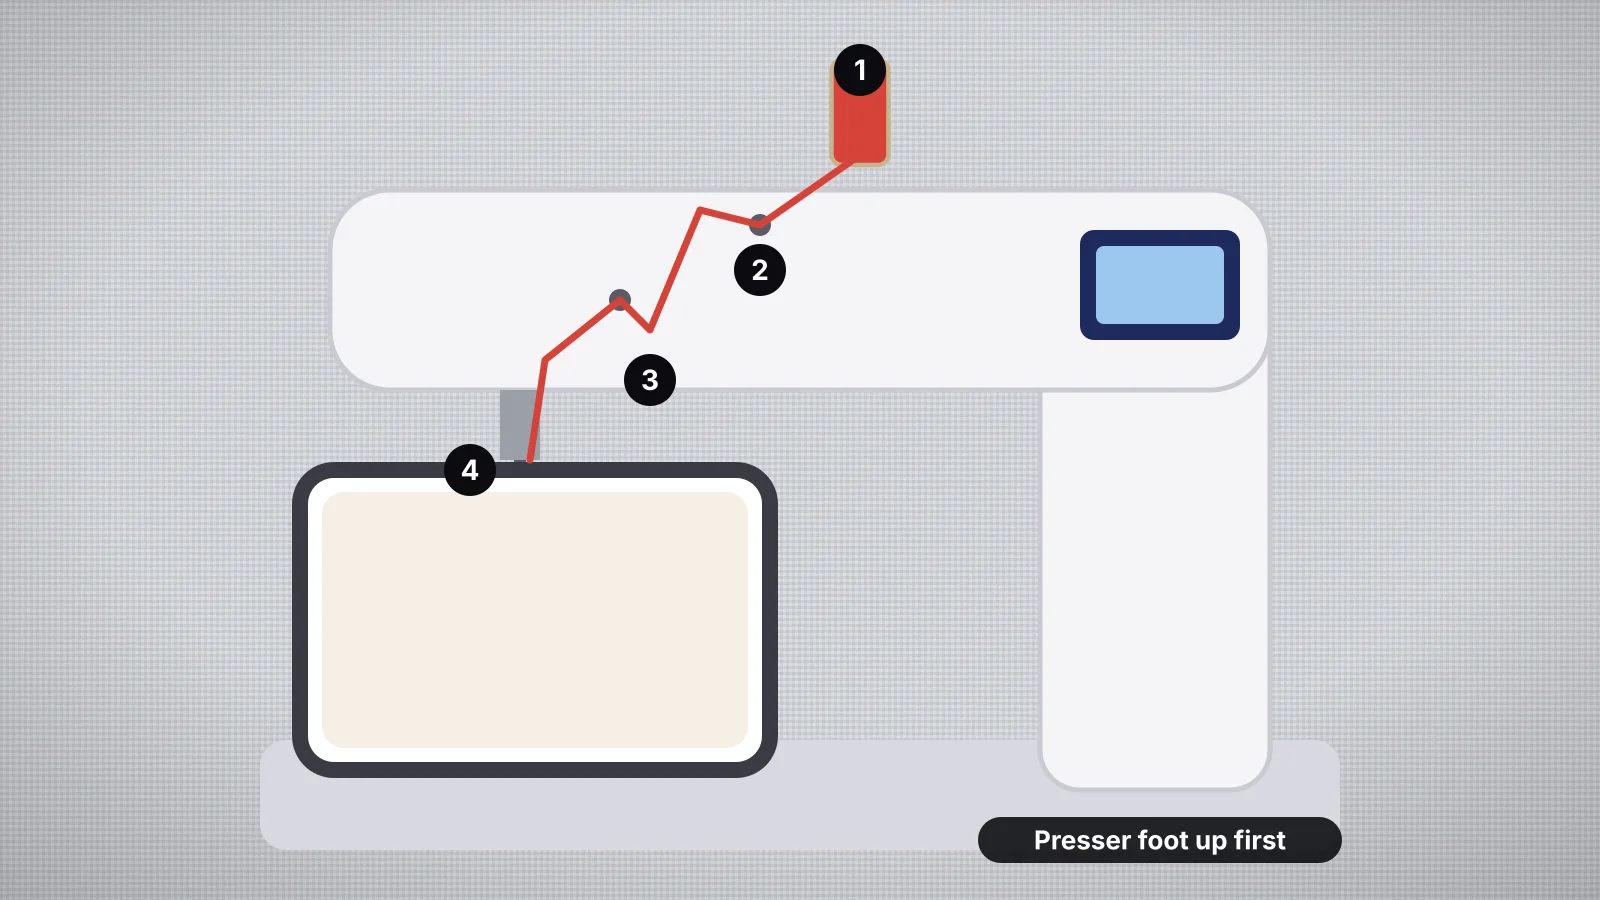
| Threading the new color through the guides, tension discs, take-up lever and needle | 30–60 seconds | Missing the tension discs or the take-up lever gives loops and birdnests |
| Catching the tail and restarting | 5–10 seconds | A loose tail gets stitched into the design on top |
Each change also adds a tie-off and a tie-in, so more stops mean more thread ends to trim. And threading mistakes cluster at color changes, because that's when you thread in a hurry: raise the presser foot so the tension discs open, and check the take-up lever every time. How to thread an embroidery machine covers the path and the mistakes that cause birdnests.
On one gift, a few extra stops hardly matter. Across an order they add up: 30 tea towels with a five-color design need about 150 thread changes, since every new towel starts back at the first color. That's about two and a half hours of rethreading on top of the stitching.
Count the waiting, not just the threading. If you leave the room while a color sews, set a timer from its stitch count: at 700 stitches a minute, a 2,100-stitch color takes about 3 minutes. A machine that waits 10 minutes at each stop costs more than the rethreading.
How many color changes does a design really have?
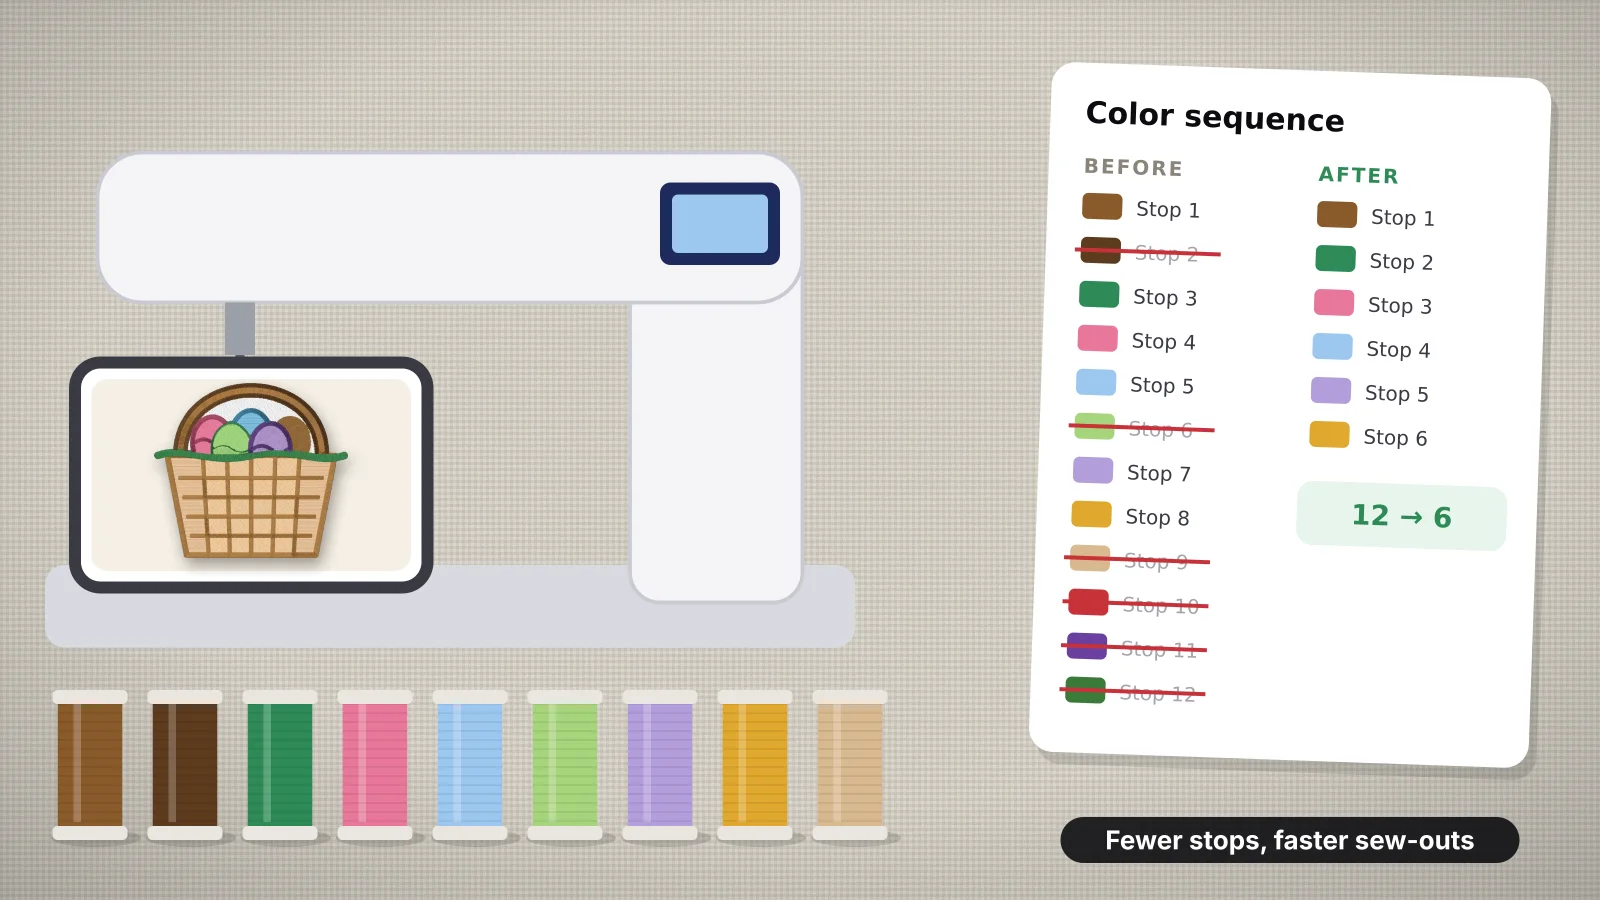
Count the color stops, the blocks in the sewing sequence, not the number of different threads: a design with four colors can have seven stops if a color comes back. A stop is one stretch of stitching in one thread, and the color change between two stops is where the machine halts. If the first color is already on the machine, the thread changes per piece are the stops minus one. Two places show the stops:
- On the machine screen. Most machines with a color screen list the sequence before you sew, one line per stop, so a color that comes back is listed twice.
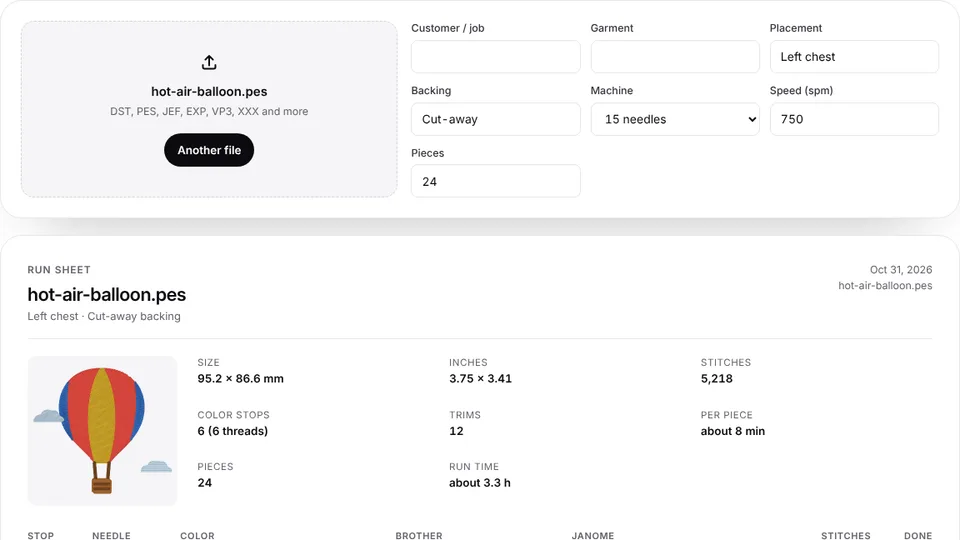
- On a run sheet. The embroidery run sheet turns a stitch file into a printable sheet with every color stop in order.
Here's a typical badge as drawn, shape by shape, and the same badge regrouped:
| Stop | As drawn: 7 stops | Regrouped: 5 stops | Navy lettering: 4 stops |
|---|---|---|---|
| 1 | Navy background | Navy background | Navy background |
| 2 | Red banner | Red banner | Red banner |
| 3 | Navy banner outline | Gold star | Gold star |
| 4 | Gold star | White lettering | Navy lettering, outlines and border |
| 5 | Navy star outline | Navy outlines and border | — |
| 6 | White lettering | — | — |
| 7 | Navy border | — | — |
Navy still sews twice in the middle column, and it has to: the background goes down first and the outlines go on top of everything. That's the rule behind every regrouping. Two stops of one color can become one only if nothing sewn between them has to lie on top of the first or under the second. Separate objects, such as letters, copies of a motif or shapes that don't touch, can always be grouped. Sew the lettering in navy instead of white and it joins the outlines in the last stop, for 4 in all.
Some machines regroup for you. Many Brother machines with an embroidery editing screen have a thread color sorting setting that rearranges a combined layout so each color sews together, which helps when you put several designs or names in one hoop; Brother notes it doesn't work on overlapping patterns. For a single layered design, the order has to be right in the file.
Try it with your own design
Sign up free, upload an image and get a stitch preview in under a minute.
Drop your image here
PNG, JPG, SVG, PDF or AI · stays on your device
Not sure what to expect? See real examples or how it works.
Which tricks save the most color changes?
Simplifying the artwork and grouping each color into one stop save the most on one design; several items per hoop and batching by thread save the most across an order:
| Trick | Example | Stops saved |
|---|---|---|
| Simplify the artwork before digitizing | A JPG logo that digitizes at 11 colors, cleaned up to its real 4 | Up to 7 a piece |
| Sew each color in one stop | The badge above, regrouped from 7 stops | 2 a piece |
| Switch off a color that matches the fabric | A navy background on a navy cap | 1 a piece |
| Merge near-identical shades | Two greens in the leaves that look the same in thread | 1 per pair merged, more if they alternate |
| One thread for outlines and text | Black outlines and dark gray lettering, both sewn in black | 1 a piece |
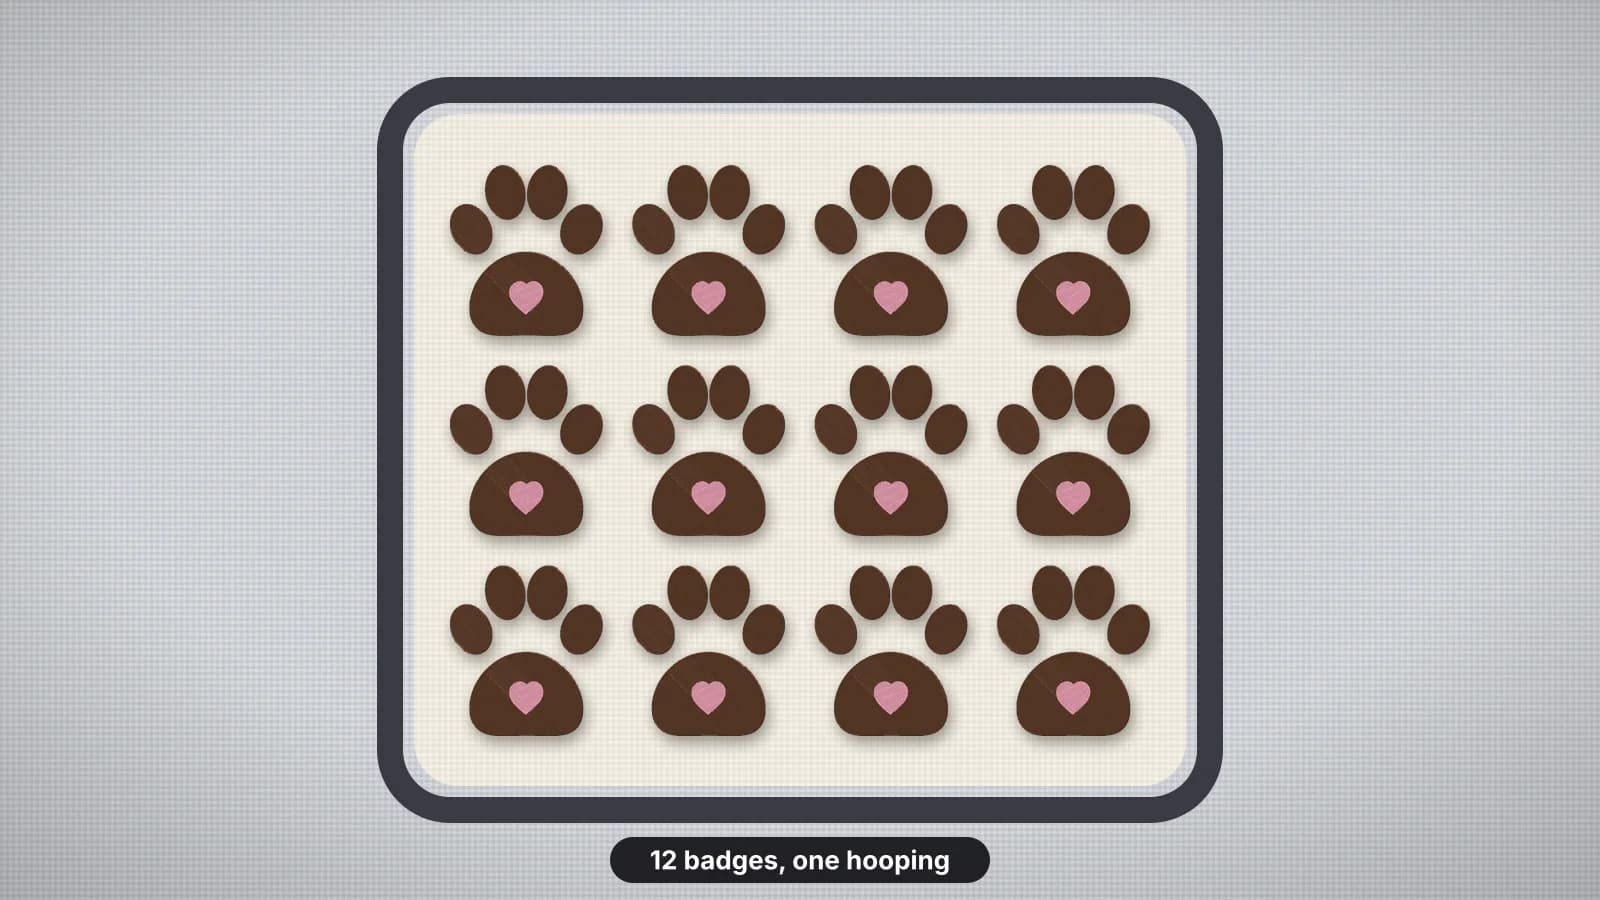
| Several items in one hoop, sewn color by color | Four coasters with a three-color design | 9 per hooping: 3 stops instead of 12 |
| Batch personalized orders by thread color | 20 one-color names in 4 thread colors | Up to 16: 3 changes instead of up to 19 |
| Start each job on the thread already threaded | A white-thread job right after one that ended on white | 1 a job |
The savings stack. A design simplified from 9 stops to 5 and run 30 times saves 120 thread changes, about two hours, before you change anything else about the order.
How do you simplify artwork colors before digitizing?
Cut the artwork down to the flat colors you actually want in thread, usually 3–6 for a logo or a gift motif, before it goes into the digitizer. Most extra stops come from colors nobody chose:
- JPG noise and soft edges. Compression and anti-aliasing leave in-between shades around every edge, which can read as colors of their own.
- Gradients and drop shadows. A smooth fade turns into bands of three or four threads. Use one flat color, or two clearly different ones.
- Photo detail. Reduce a photo to a handful of flat areas first, then decide which ones carry the picture.
- The background. A box behind the design becomes a stop of its own unless you remove it.
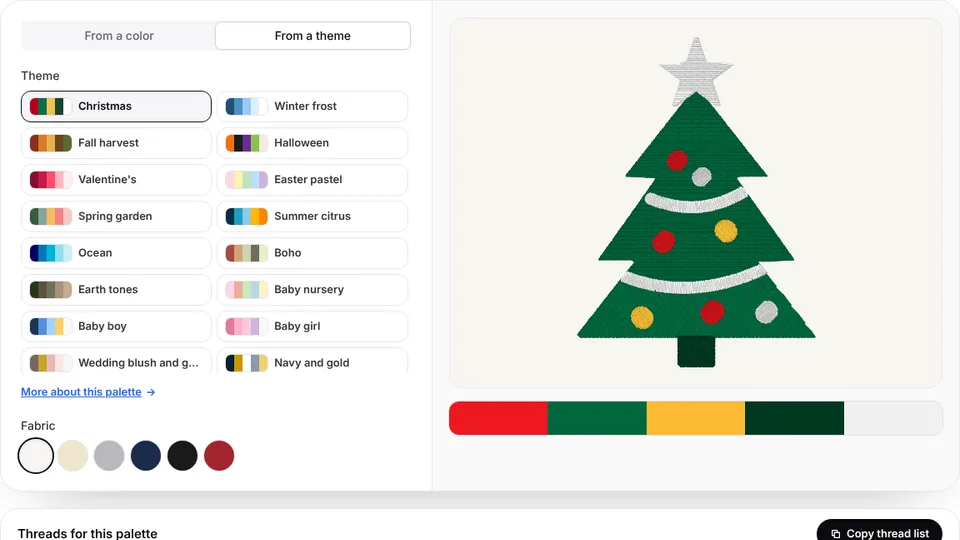
The reduce image colors tool cuts a picture down to a few flat thread colors before you digitize, with the closest Brother or Janome threads, so you see a four- or five-color version first. To plan a small set of threads that work together, the embroidery color palette generator builds one from a color or theme, with thread codes.
| Design | Colors that usually do the job |
|---|---|
| Name or monogram | 1–2 |
| Simple business logo | 2–4 |
| Cartoon, clip art or a child's drawing | 4–6 |
| Florals and wreaths | 4–7, with two greens at most |
| Illustrated pet portrait | 6–10 |
Fix the artwork, not just the settings. If a logo file holds two blues, a digitizer gives you two blue stops. Clean it once in the artwork and every future size and format comes out right.
Which colors should you merge, and when are two shades worth keeping?
Merge colors that look like the same thread from arm's length; keep two shades when the difference shows shape, depth or a brand color. Judge it on a stitch preview at the real size, from about 3 ft (1 m) away, since that's how people see a shirt or a towel. Merge when:
- Two shades sit next to each other in the thread chart, such as two greens in a leaf or two near-blacks in an outline. Sheen and stitch direction already make one thread look like two shades, so a second spool often adds nothing you can see.
- A color has only a few hundred stitches. A speck of highlight in its own color costs a full minute for a few seconds of sewing. Merge it into the nearest color or the outline.
- The lettering and the outlines are both dark. Pick one thread, usually black, navy or dark brown, for every outline, all the text and the small details, so they sew as one stop at the end.
- A color matches the fabric. White on a white towel or navy on a navy cap can be switched off and left to the fabric.
Keep two shades when:
- They make the shape. A light and a dark petal, or the shadow side of a pet's face, looks flat in one color.
- It's a brand color. A logo with two blues keeps both if the brand guide has both.
- It keeps text readable, such as a light outline around dark letters on a dark shirt.
- It's the accent that makes the design, such as the red berries on a wreath or the eyes in a portrait. Small doesn't always mean optional.
When you match colors to a real thread chart, look for two colors that land on the same or neighboring threads: those are the easiest merges. Thread color matching shows how Embrizo matches each color to the Brother or Janome chart.
How do you batch embroidery orders by color?
Group the work so each thread stays on the machine as long as possible: several items in one hoop sewn color by color, personalized pieces sorted by thread, and jobs lined up so the next one starts on the color already threaded.
- Several items in one hoop. Four coasters, patches or labels in a 5×7 hoop, sewn color by color, need one stop per color instead of one per color per item. How to embroider multiple items in one hoop covers the layout and stabilizer, and the hoop layout tool fills a hoop with copies of one design in that order.
- Sort personalized orders by thread. Run every navy name, then every pink one. Write the thread on each order ticket so the sort takes a minute.
- Offer a short thread menu. Eight to twelve colors for customers to choose from means more orders share a thread, and those spools stay in stock.
- Chain the jobs. If one job ends on white and another starts with white, sew them back to back.
- Batch the bobbin too. A bobbin change isn't a color stop, but it takes time. Run the light-fabric jobs on white bobbin thread together, then the dark ones on black.
Batching doesn't change the stops inside a design: each piece of a five-color design still needs five colors. It removes the changes between pieces and jobs, which for one-color names is nearly all of them.
When is a multi-needle machine worth it?
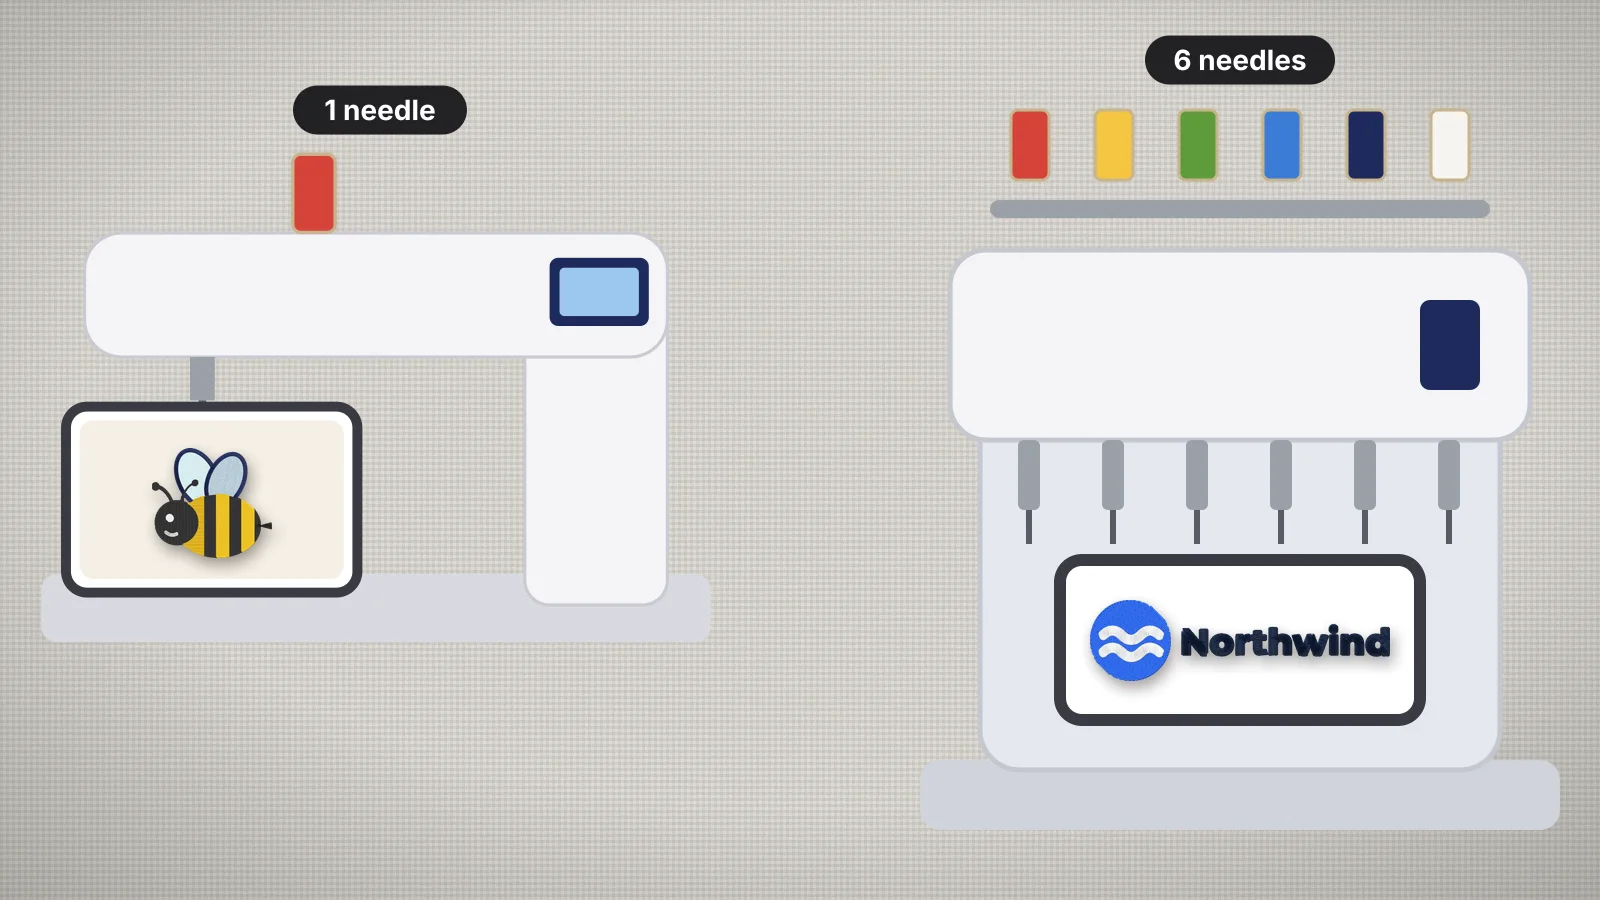
A multi-needle machine is worth it when thread changes cost you hours a week rather than minutes a day, typically once you run repeat orders of multi-color designs or a lot of caps. It holds a thread on each needle and switches between them itself, so a color stop takes seconds and needs nobody standing by.
Work out your own number: pieces a week × thread changes a piece × about one minute. Sixty pieces a week with four changes each is four hours a week, roughly 200 hours a year spent rethreading. Home and prosumer multi-needle machines with 6–10 needles cost about $5,500–$13,000 in 2026, such as the Ricoma EM-1010 from about $5,500 and the Janome MB-7 at about $6,000; how much an embroidery machine costs has the full range.
- Repeated stops get cheap. Navy sewn twice is the same needle twice, a few seconds each.
- Distinct colors still count. A seven-color design on a six-needle machine still needs one manual rethread.
- Keep common colors on fixed needles, such as black, white and navy, so most jobs need no rethreading.
- Simplifying still pays. Fewer colors mean fewer trims and tie-ins on any machine.
If you sew a few pieces a week, the tricks above cost nothing and a new machine costs thousands. The single vs multi-needle guide compares fields, speeds, caps and models.
Practice on a free design
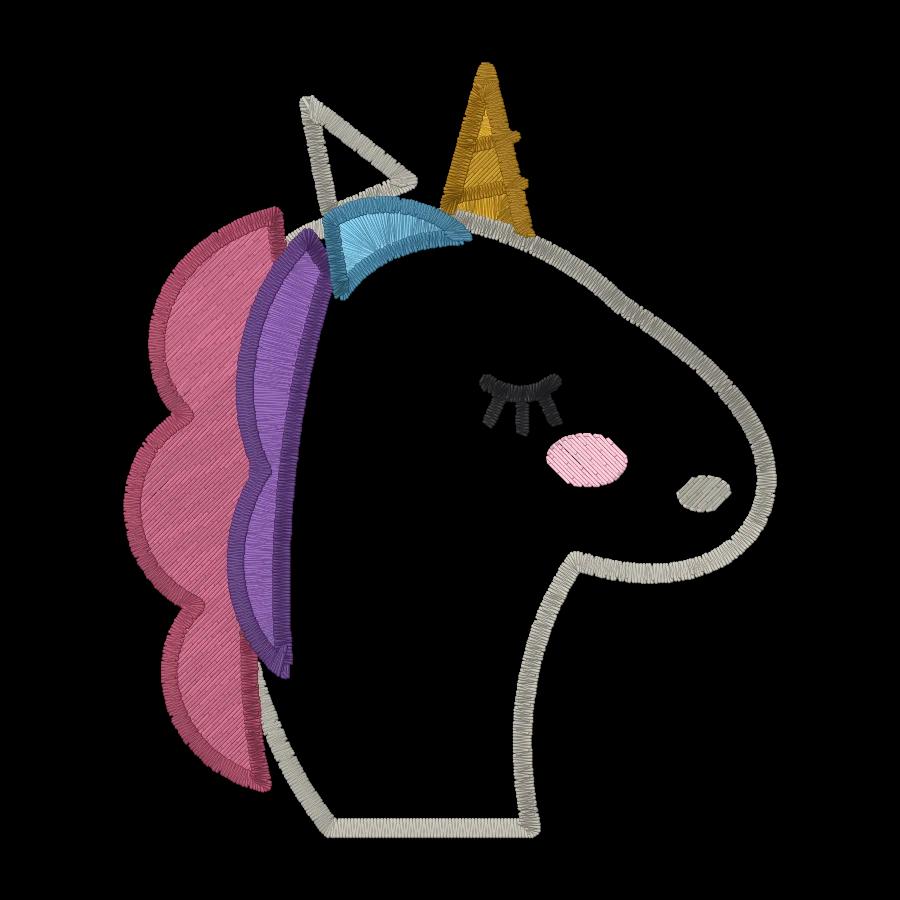
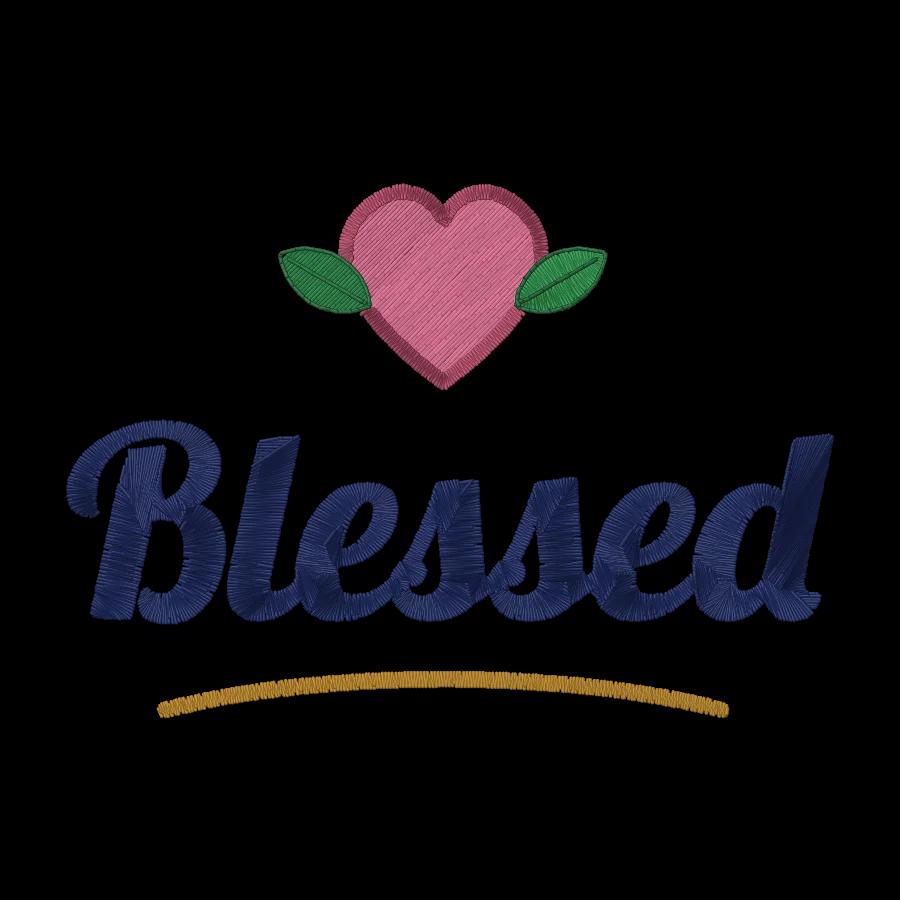
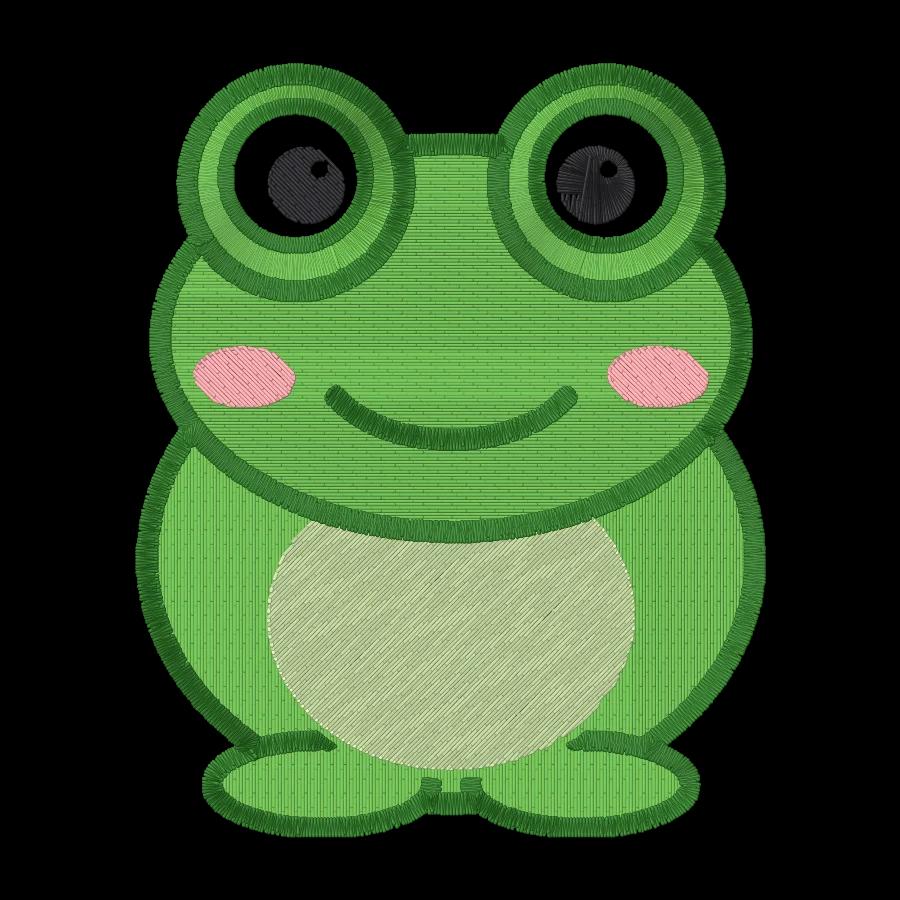
167 ready-to-sew designs in every machine format, free with an account.

How to cut color changes in Embrizo
Embrizo's digitizer handles most of this while it makes the file, so the stops are already low when the design reaches your machine. Upload your artwork to the digitizer, then:
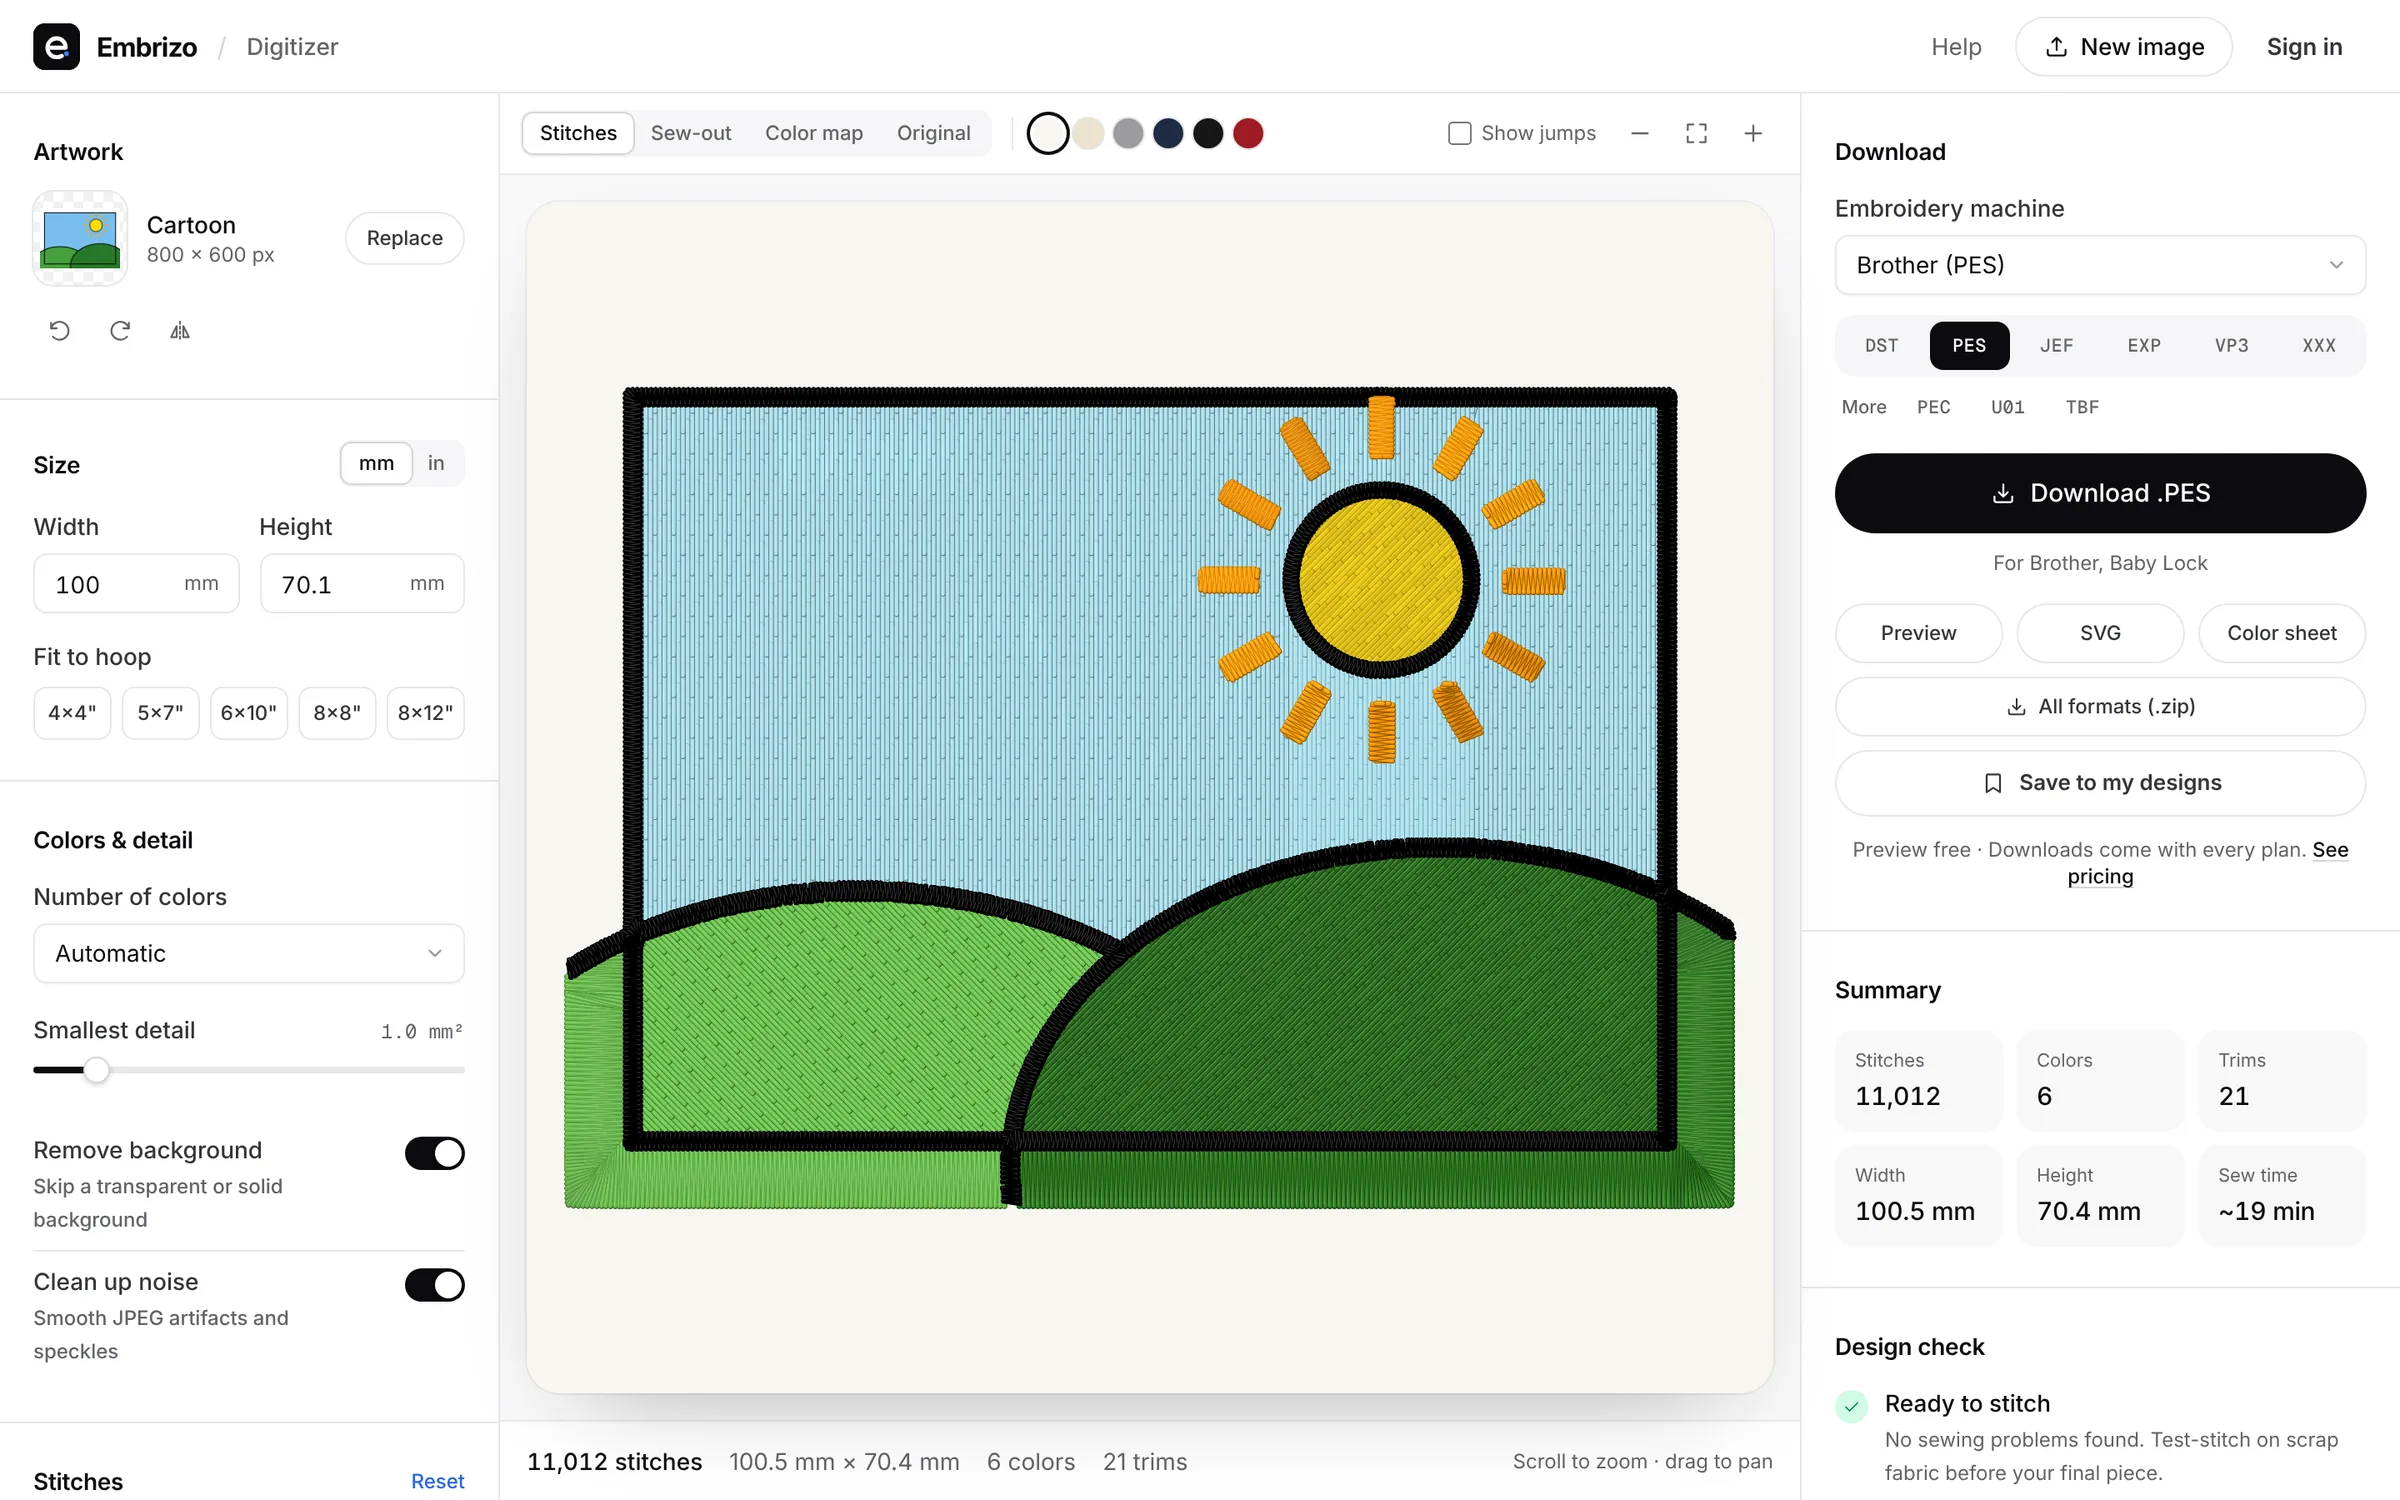
- Set Max colors. Leave it on Auto, or type a number, such as 4, to cap how many thread colors it picks from the artwork.
- Read the color list. Each color shows its stitch count and the stitch types it came out in, before you download. A color with only a few hundred stitches is a candidate to merge.
- Merge or switch off. Merge any color into another, such as a second green into the first, or switch a color off, such as a background that matches the fabric.
- Pick the threads. Match the colors to the Brother or Janome thread chart, or keep the image's exact colors, and swap any color by hand, for example to give the lettering the same thread as the outlines.
- Let it order the sewing. It sews large areas first and small details and outlines last, keeps all objects of one color together, and orders the stops so each color is sewn once where it can.
- Download and print the sequence. Save DST, PES, JEF, EXP, VP3, XXX, PEC, U01 or TBF, then put the file through the run sheet for a printable color sequence to keep by the machine.
What it can't do: sew a layered color in one stop when another color has to go on top of it in between, like the navy badge above, or batch separate orders for you. Digitizing and previews are free with an account; downloading files needs a plan. The embroidery file editor changes the thread colors of a file you already have but keeps its stops, so redigitizing from simplified artwork is the way to fewer stops.