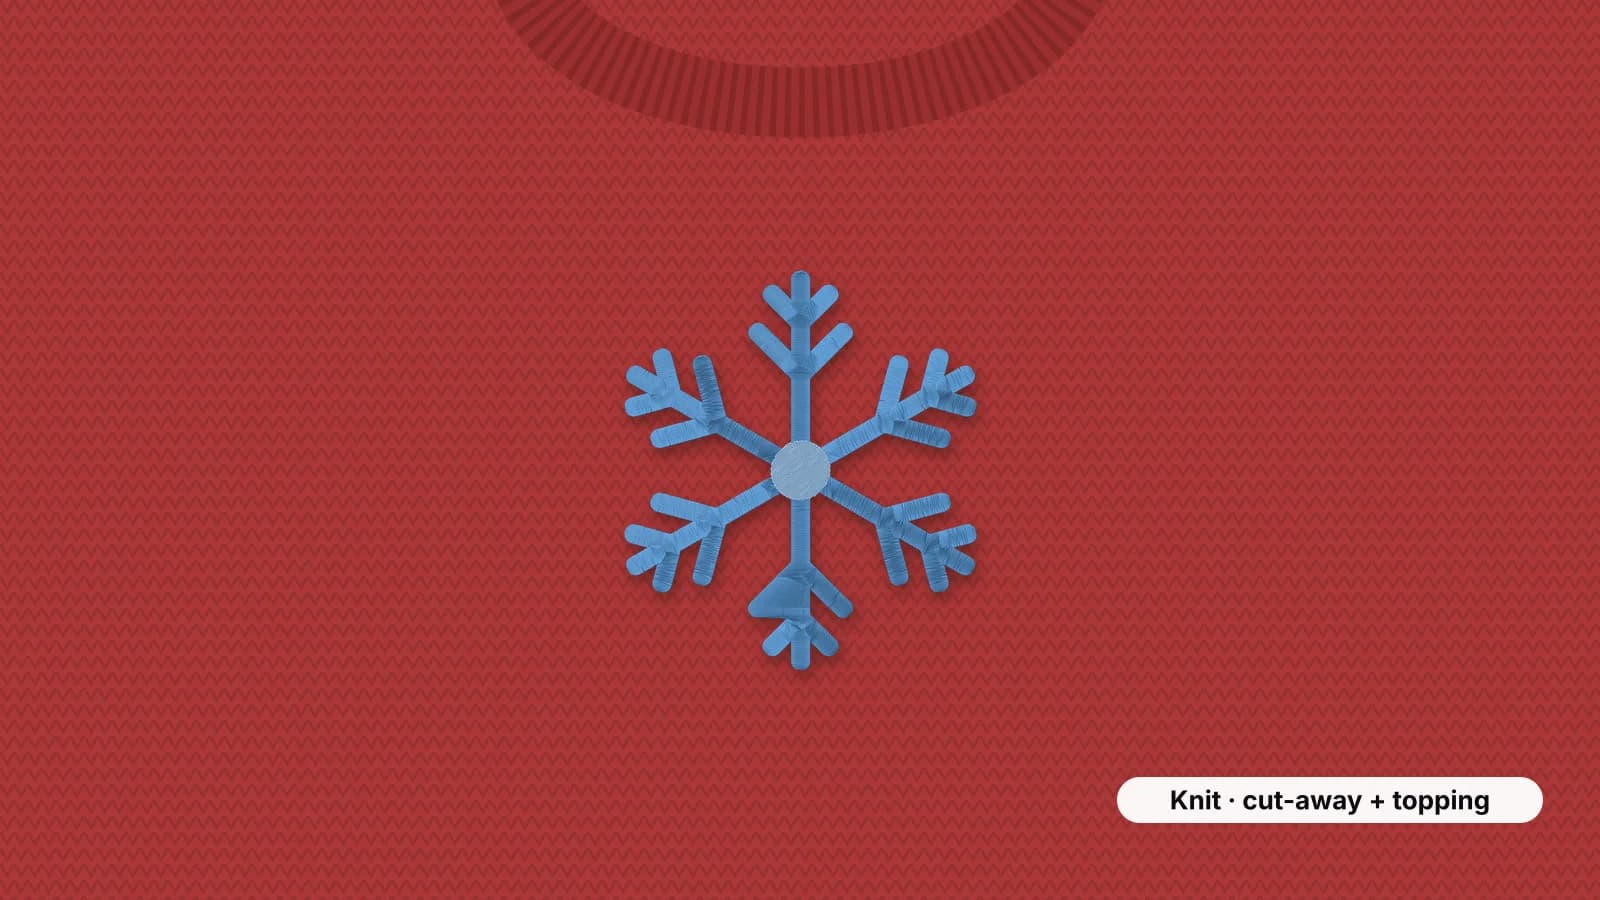
A sweater is a lovely thing to embroider, from a snowflake on a winter jumper to initials on a cardigan or a small motif on a fine crew neck. It's also a knit with more texture and give than a T-shirt: the surface is made of visible loops that swallow thin stitches, and the fabric stretches and springs back, which is exactly what it should keep doing after you've embroidered it.
The approach depends on the knit. Fine, smooth knits behave a lot like a heavier T-shirt. Chunky and cable knits need a topping, heavy underlay and bold, simple designs, and some are better with a patch. This guide covers both, plus backing, keeping the stretch, hooping and placement.
Fine knits vs chunky knits
| Knit | Examples | What it needs | Designs that work |
|---|---|---|---|
| Fine gauge | Merino, cashmere and fine cotton crew necks; fine cardigans | No-show mesh, a topping for small text, a 75/11 ballpoint | Light designs, monograms and small logos |
| Medium gauge | Everyday acrylic and cotton jumpers, holiday sweaters | Light or medium cut-away, a topping, heavy underlay | Bold motifs, and lettering about 6–7 mm tall or more |
| Chunky or cable knit | Hand-knit looks, cables, deep ribs | A topping, heavy underlay, floating instead of hooping | Simple, bold shapes, or a patch sewn on |
Look closely at the surface before you plan the design. If you can see gaps between the knit stitches, thin satin and fine detail will sink into them, and the bigger the knit stitches, the bigger and simpler the design has to be. On cable knits, put the design on a flat area if there is one, not across the cables.
Topping and cut-away
- A water-soluble topping on top holds the stitches on the surface while the design forms, so lettering and satin edges stay crisp instead of sinking between the loops. On chunky knits, use two layers or a heavier film. Tear off the excess afterwards and dab or rinse away the rest.
- A cut-away underneath stays in the sweater and keeps supporting the stitches through wear and washing. Tear-away comes out, and a knit left without support lets the design stretch out of shape. No-show mesh is the soft, thin choice for fine knits and pale colors; a light or medium cut-away suits heavier designs.
- A fusible backing stops a knit stretching while you hoop, on cotton and acrylic sweaters that tolerate an iron. On wool and delicate fibers, test first at low heat and press from the inside.
In the digitizer, choose the knit preset. Its heavy underlay builds a base that flattens the knit before the top stitches go on, and extra pull compensation keeps outlines meeting their fills. The stabilizer finder gives backing and topping for knits at each design density.
Try it with your own design
Sign up free, upload an image and get a stitch preview in under a minute.
Drop your image here
PNG, JPG, WebP or SVG · stays on your device
Keeping the sweater's stretch
Thread doesn't stretch. Wherever there's embroidery, the knit underneath can't stretch either, and a large, dense design becomes a stiff panel in a garment made to move. Ways to keep the sweater soft and wearable:
- Keep designs small and open on fitted areas, such as the chest of a close-fitting sweater. Outlines, lettering and motifs with gaps flex far more than solid fills.
- Lighten the density a step for larger fills. The knit preset already spaces fill rows a little wider than the woven preset, and the stretch preset goes further for very stretchy knits.
- Trim the cut-away about 1/4 in (6 mm) from the stitches with rounded corners, so the supported area is no bigger than it needs to be.
- Hoop without stretching. A knit stretched in the hoop relaxes afterwards, and the design puckers around its edges. Flat and smooth, never tight.
Before stitching a sweater you care about, test the design on a similar knit, such as an old or secondhand sweater. Knits vary more than most fabrics, and one test shows whether the topping, backing and size are right.
Hooping a sweater without distorting it
- Lay the sweater flat, find the center front by folding it in half and mark the center of the design with chalk or a water-soluble pen.
- Choose the method: float the sweater on hooped sticky backing, or use a magnetic hoop, which clamps knit without forcing it into a ring. A standard hoop works on fine knits if you're gentle.
- Slide the hoop or backing inside through the bottom hem, so only the front layer is under the needle, and smooth the knit on without pulling it.
- Lay the topping over the design area, and let the machine sew a basting box around it if it can. It holds a floated knit flat while it stitches.
- Roll the back, sleeves and ribbing out of the way, clip them to the hoop edge and check underneath by hand.
Ribbed cuffs, hems and necklines stretch the most, so keep designs off them, or float them very gently. Wool can show hoop marks; a shot of steam usually lifts them.
Where designs go on a sweater
| Placement | Design size | Good to know |
|---|---|---|
| Left chest | 3–4 in (75–100 mm) wide; often smaller on fine knits | About 7–9 in below the shoulder seam at the collar; the classic spot for initials or a small logo |
| Center chest | 4–8 in (100–200 mm) wide | Top about 3–4 in below the collar; holiday motifs and short words |
| Cardigan front | About 2–3 in (50–75 mm) | On one front panel, clear of the button band and buttonholes |
| Upper sleeve | 2.5–3.5 in (65–90 mm) wide | Outside of the sleeve, about 2–4 in below the shoulder seam; float it, since the sleeve is a narrow tube |
| Near the hem | About 2–3 in (50–75 mm) | Above the ribbing, to one side; a quiet spot for a small motif |
A snowflake or other winter motif on the chest is the classic holiday look. The free snowflake design is about 84 × 95 mm (3.3 × 3.7 in) in two blues, and the Christmas designs include a reindeer and a mitten. Each fits a 4×4 in hoop, so it sits as a small center chest motif; press Customize to open its artwork in the digitizer and stitch it larger. Standard sizes are on the center chest and left chest pages.
Setting up the file and sewing
- Measure the sweater flat and choose the placement and size.
- Open the digitizer, sign in with your free account and add the design. Choose the knit preset, or stretch for very stretchy knits.
- Set the size and read the design check. On medium and chunky knits, keep lettering at least about 6–7 mm tall and remove hairline details.
- Check the stitch count. If a fill is large, lighten the fill density a step.
- Download your machine's format. Digitizing and previewing are free with your account; downloads need a plan.
- Float or hoop the sweater with cut-away underneath and topping on top, fit a 75/11 ballpoint, or an 80/12 ballpoint on thick knits, and test on a similar knit.
- After stitching, trim the cut-away, tear off the topping and dab or rinse away the rest. Lay the sweater flat to dry.
Washing an embroidered sweater
- Follow the sweater's care label. Wool that shrinks or felts in a hot wash pulls in around the embroidery, and polyester thread doesn't shrink with it, so the design puckers.
- Wash inside out on a gentle or wool cycle, or by hand, and lay flat to dry.
- Don't wring or hang a wet sweater. The weight stretches the knit, and the stitched area can't stretch with it.
- Press from the inside with a pressing cloth, never directly on the stitches.
For sweatshirts and hoodies, which are fleece rather than knitwear, see the hoodie guide, and for thin jersey, the T-shirt guide.