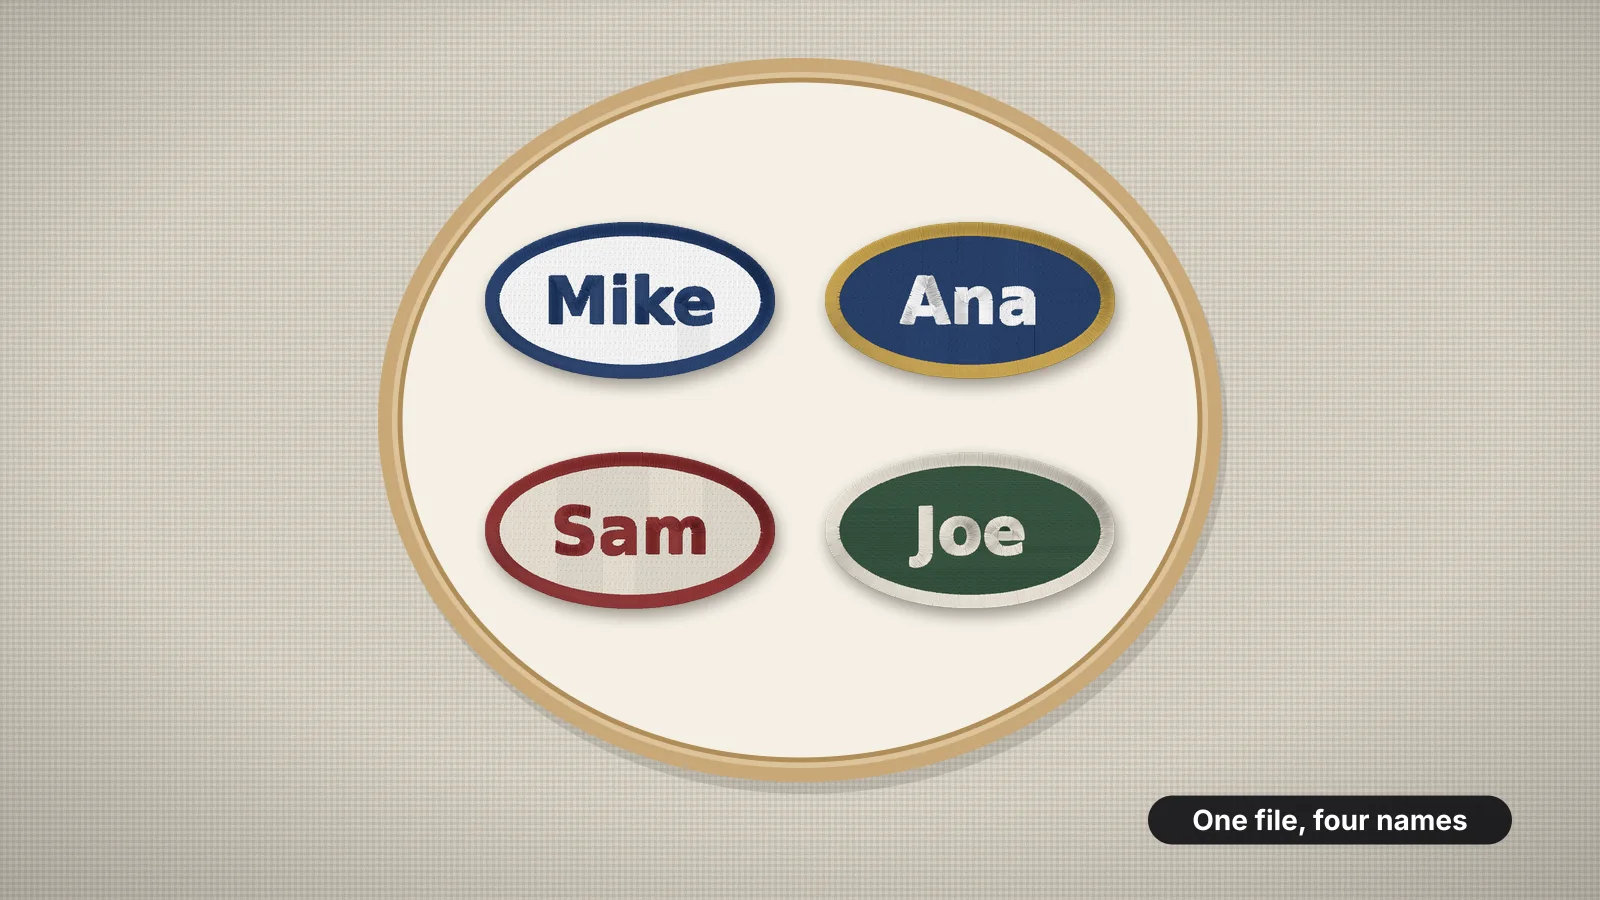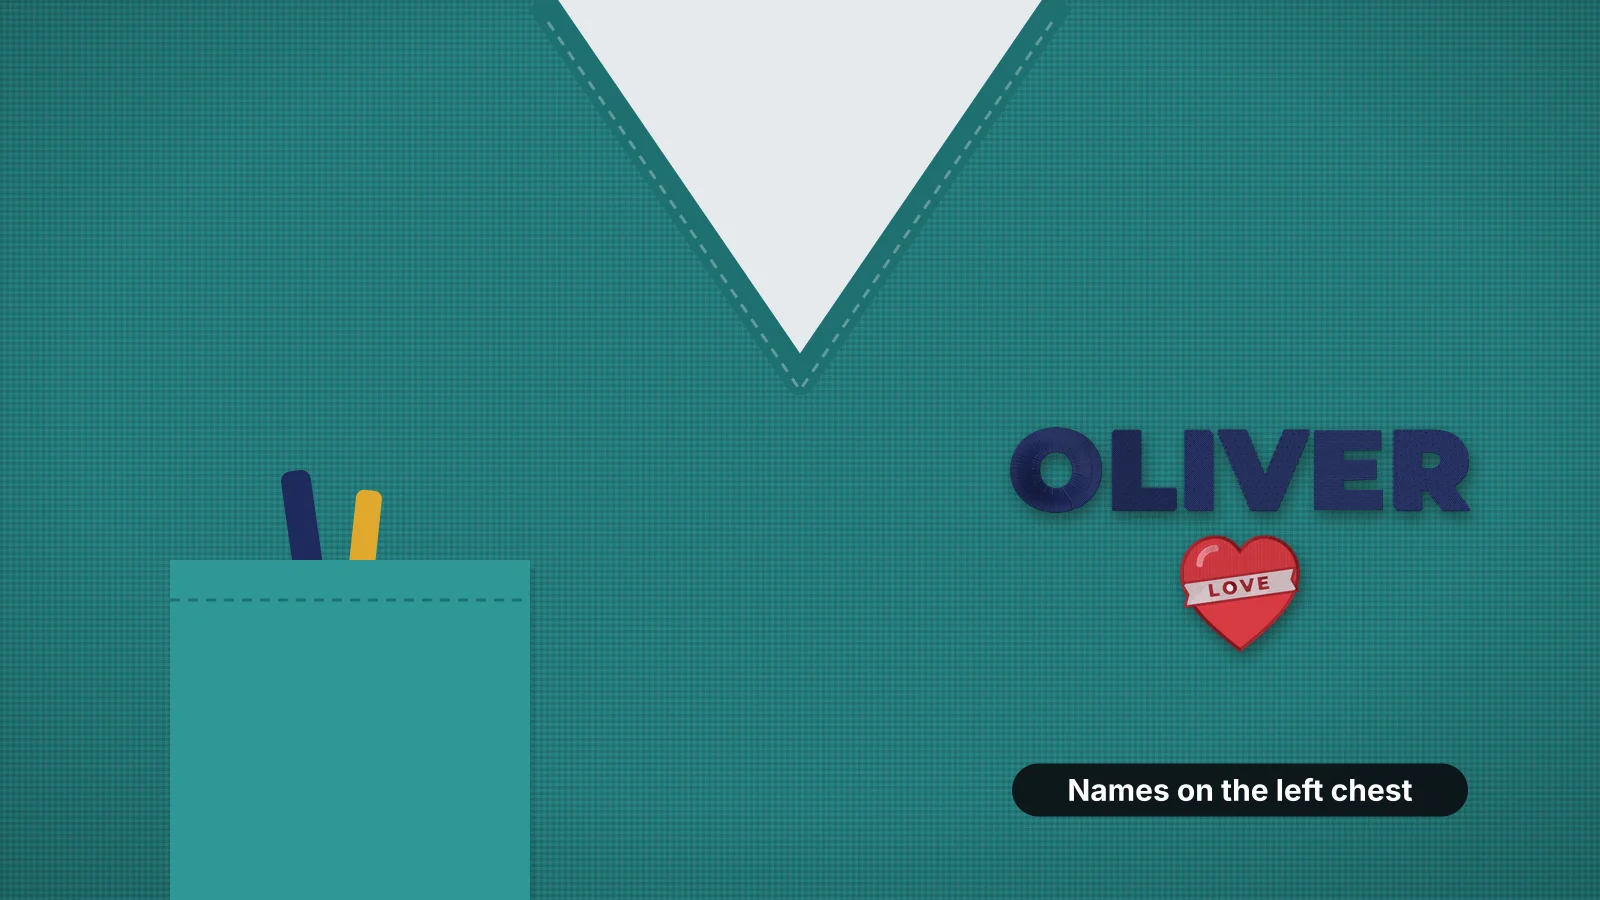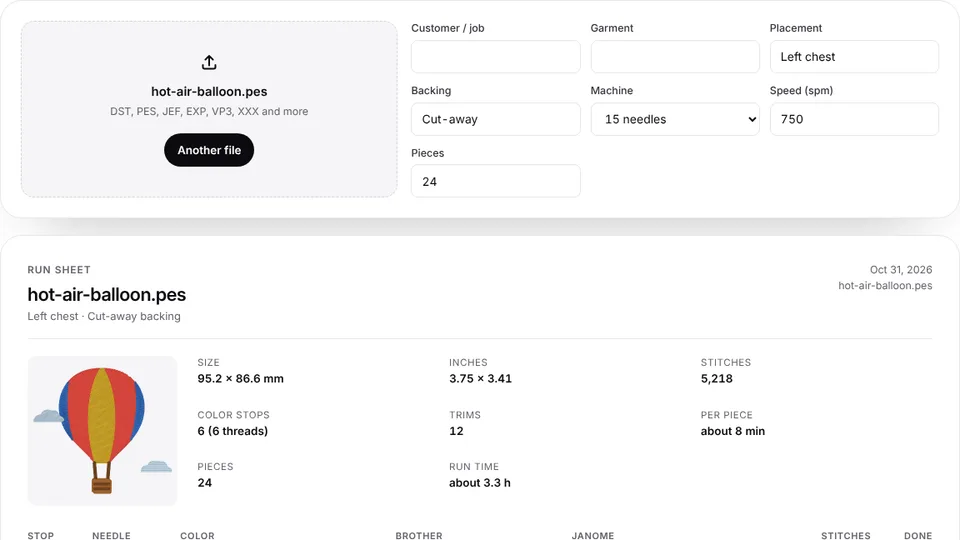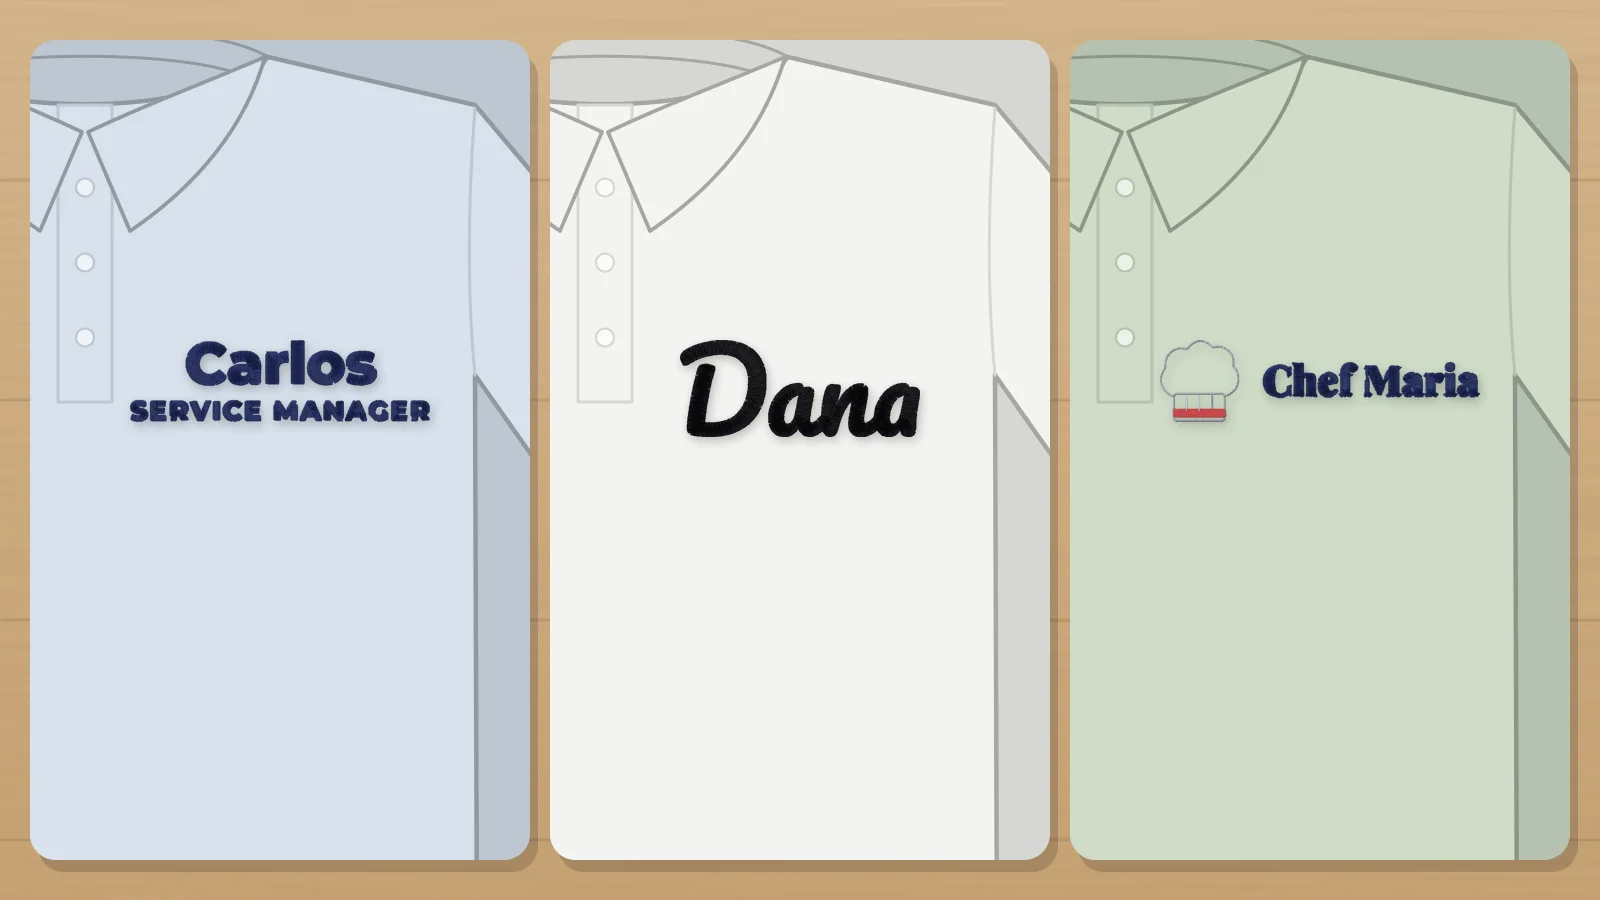
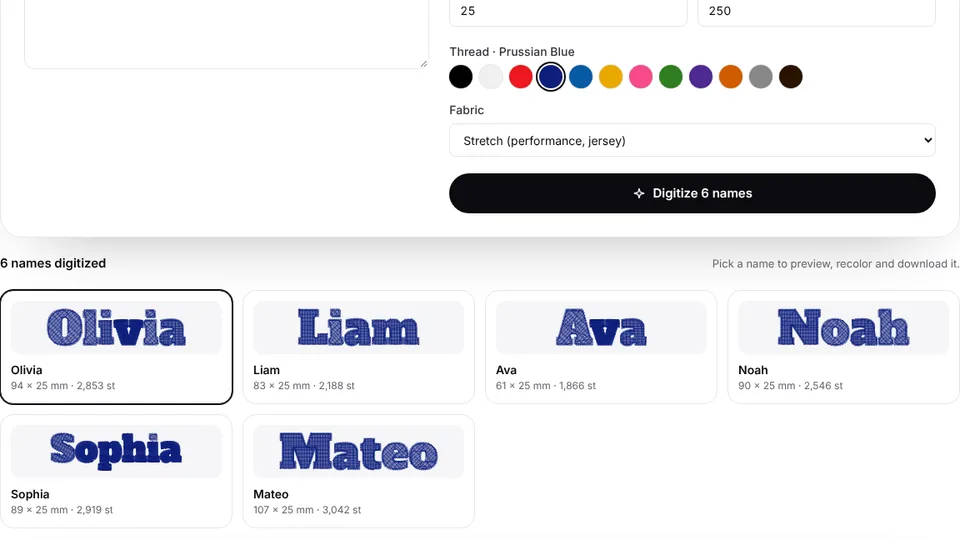
 Free previewBatch name embroideryPaste a list of names and digitize each one in the same font, height and thread, with width checks.Open the tool
Names on uniforms are everyday work for embroidery shops: auto shops, restaurants, clinics, salons, cleaning companies and contractors all reorder them as staff change. The design is simple, a name and maybe a job title, but it has to be readable from across a counter, consistent across the whole team, and tough enough for weekly or industrial washing.
This guide covers placement, sizing, fabrics and running a team order. The work shirt name maker lays out a name and title for the left chest or the strip above a pocket and checks both lines are big enough to stitch.
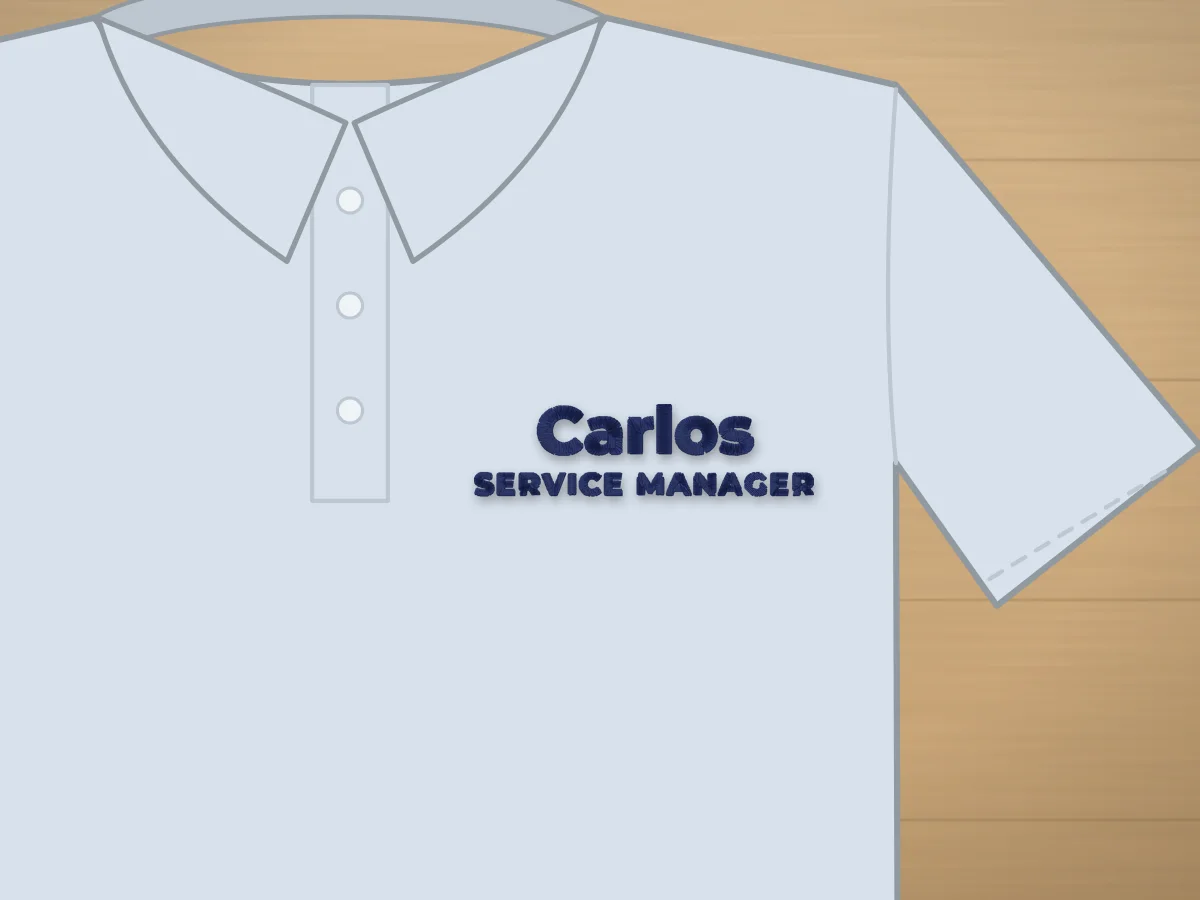 Free design makerWork shirt name embroidery design makerType the name, pick lettering and an icon, and see it sized for the item. Then turn it into a file for your machine.Make yours
Where the name goes
| Garment | Placement | Design size |
|---|---|---|
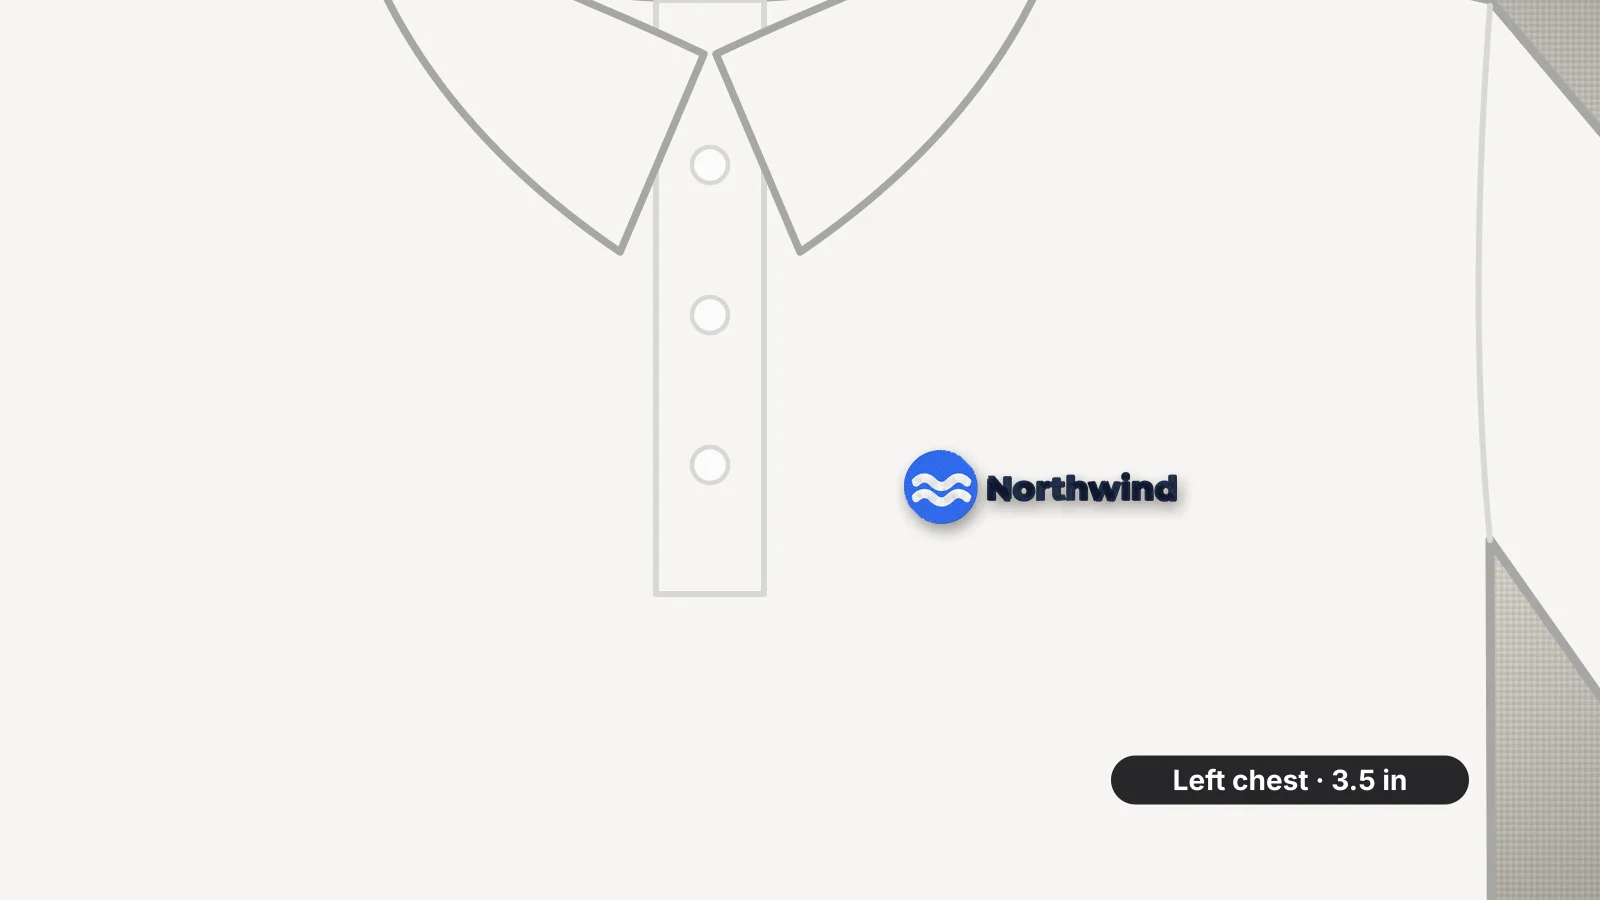
| Polo or knit work shirt | Left chest, 7–9 in below the shoulder seam at the collar, 3–4 in from the center | 3–3.5 in wide |
| Button-up work shirt with pocket | Centered about 0.5 in above the pocket | 3–3.5 in wide, up to 1.25 in tall |
| Chef coat | Left chest, clear of the double row of buttons | 3–3.5 in wide |
| Scrubs top | Left chest | 2.5–3 in wide |
| Apron | Middle of the bib | 3–4 in wide |
The company logo usually goes on the opposite chest, a sleeve or the back, so names and logos don't compete. Keep the name's placement identical across the team: measure from the same seams on every shirt, or use a placement template.
Lettering that reads from a distance
- Capitals 8–12 mm tall for the name, so it reads from 6–10 feet away; job titles can be 5–6 mm.
- Block or classic lettering for most trades; script suits salons, bakeries and cafes.
- One thread color that contrasts with the shirt: white or gold on dark shirts, navy or black on light ones.
- First name only, or first name and last initial, keeps the size up. Long names fit better on two lines than in tiny letters.
Satin lettering looks crisp but long satin columns can snag on rough work. For tradespeople, keep letters bold and compact, or use a fill stitch for very wide capitals.
Try it with your own design
Sign up free, upload an image and get a stitch preview in under a minute.
Drop your image here
PNG, JPG, SVG, PDF or AI · stays on your device
Not sure what to expect? See real examples or how it works.
Stabilizer, needle and thread by fabric
| Fabric | Stabilizer | Needle |
|---|---|---|
| Poly-cotton twill work shirt | Medium cut-away or tear-away | 75/11 sharp |
| Cotton pique polo | No-show mesh cut-away | 75/11 ballpoint |
| Performance polyester polo | No-show mesh cut-away, light topping | 75/11 ballpoint, lighter density |
| Chef coat (twill) | Medium cut-away | 75/11 sharp |
| Scrubs (poly-cotton or stretch) | No-show mesh cut-away | 75/11 ballpoint on stretch |
Use polyester embroidery thread for uniforms: it is colorfast and stands up to hot washes and bleach far better than rayon, which matters when shirts go through an industrial laundry. See the stabilizer for polo shirts and performance fabric pages for more.
Running a team order
- Collect every name, job title, shirt size and spelling in one spreadsheet or form, and have the customer sign it off.
- Make the first design to set the font, size and color, then make the rest in the same style with the batch name tool.
- Stitch one sample and get it approved before running the order.
- Sort shirts by size and name, and check each name against the list before hooping.
- Print a run sheet with the order, thread colors and placement, so a reorder months later matches.
Practice on a free design
167 ready-to-sew designs in every machine format, free with an account.
Direct embroidery or name patches?
Direct embroidery looks cleaner, can't peel off and lasts as long as the shirt. Name patches make sense for rented or shared uniforms, high staff turnover or very heavy fabrics, since a patch can be sewn or stuck on and taken off later. The embroidered name patches guide covers patch sizes and backings.