 Free toolLettering size calculatorSee how tall your letters will be at a given width, per font, and whether they'll sew cleanly.Open the tool
A memory pillow turns a loved one's shirt into something to hold: the plaid or the faded flannel they always wore, with the pocket and buttons kept in place and their name and dates stitched above the pocket. It's one of the most meaningful things an embroidery machine makes, and one where there's rarely a second chance, because there's only one shirt.
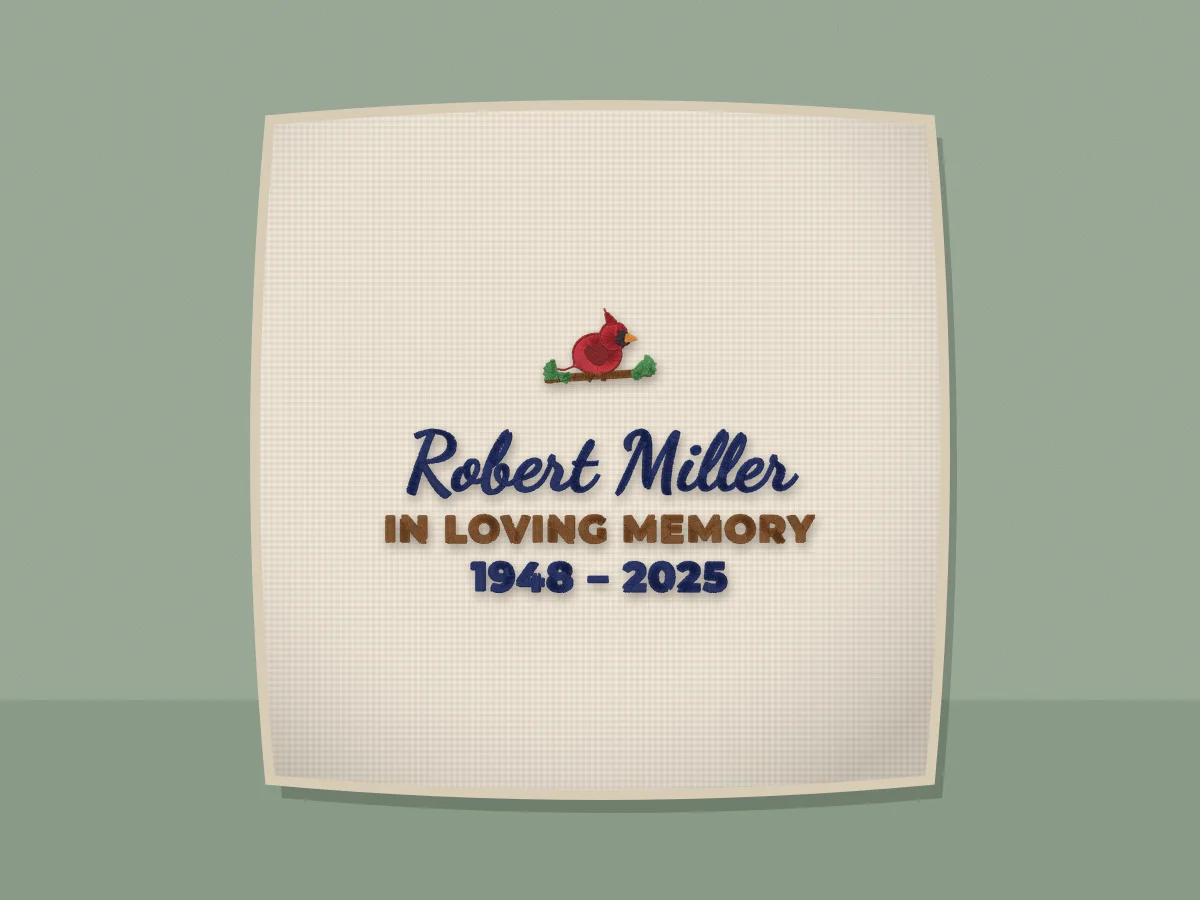
This guide covers the shirt, cutting, interfacing, wording, sizes, motifs and handwriting, sewing, bears and quilt squares, and orders. The In loving memory design maker lays out the name, words and dates with a motif, so you see the design before anything touches the shirt.
Which shirt makes the best memory pillow?
A woven cotton or flannel button-down is the easiest and most recognizable: the plaid, buttons and pocket say whose shirt it was at a glance. T-shirts and polos work too, with more stabilizing. Look for:
- The shirt they wore most, even if it's faded. A favorite flannel says more than a crisp one from the back of the closet.
- Enough clean fabric: a small stain can often hide under the pocket or the embroidery.
- Details worth keeping, such as the pocket, placket or a logo. Plan the square around them.
- A lookalike to practice on, such as a thrift-store shirt of similar fabric, never the real one.
| Shirt | Pillow it makes, about | Good to know |
|---|---|---|
| Men's button-down, M–XL | 16 in (40 cm); 18 in (45 cm) from larger sizes | Placket down the middle, pocket on one side; the back panel can often come from the shirt's back |
| Women's or smaller shirt | 14 in (35 cm) | Darts and shaping leave less flat fabric, so measure flat across the chest |
| Child's shirt | 12 in (30 cm) | Or set it as a panel on a larger pillow |
| T-shirt | 14–18 in (35–45 cm) | Needs fusible interfacing first; center the logo or print |
| Several shirts | 16–20 in (40–50 cm), pieced | Cut squares or strips from each and piece the front before embroidering |
Washing removes a loved one's scent, which some families want to keep, so ask first. If they'd rather you didn't, skip the prewash and press gently.
How do you cut a memory pillow around the pocket and placket?
Plan the square while the shirt is buttoned and whole, embroider, then cut: the extra fabric gives the hoop something to hold. For a 16 in pillow, mark a 17 in (43 cm) square, which leaves ½ in (12 mm) seam allowances.
- Button the shirt and lay it flat, front up, and baste the placket closed just inside its edge so it can't gape or shift while you hoop.
- Center the square on the placket, squared to the placket and the plaid, not the curved hem.
- Keep the pocket at least 1.5 in (40 mm) inside the cutting line, and leave it open: families often tuck in a photo or a note.
- Check the buttons. One that lands in the seam allowance has to come off before sewing; move the square or sew the button back on afterwards.
- Mark the embroidery area above the pocket or on the other side of the placket, at least 1 in (25 mm) inside the seam line all round.
- Fuse the interfacing, embroider, then cut the square out, centered on the stitching.
Keep every scrap. Sleeves, cuffs, the collar and the back make the pillow back, piping, a memory bear or a matching square, and many families want the leftovers returned.
Try it with your own design
Sign up free, upload an image and get a stitch preview in under a minute.
Drop your image here
PNG, JPG, SVG, PDF or AI · stays on your device
Not sure what to expect? See real examples or how it works.
How do you stabilize a knit, flannel or thin shirt for embroidery?
Fuse a lightweight woven interfacing to the back of the whole pillow front before you embroider, then hoop with a stabilizer as usual. It stays in for good, stopping knits stretching and thin shirting puckering, and giving flannel a firm base. A woven cotton fusible such as Pellon SF101 Shape-Flex is a common choice.
| Shirt fabric | Interfacing | Stabilizer for the embroidery | Needle |
|---|---|---|---|
| Cotton or poly-cotton shirting, oxford, chambray | Lightweight woven fusible | Medium tear-away, or cut-away under denser designs | 75/11 sharp |
| Flannel | Lightweight woven fusible | Medium cut-away, with a water-soluble topping on brushed flannel | 75/11 sharp |
| T-shirt or polo knit | Woven fusible for a firm pillow, or a knit fusible | No-show mesh cut-away | 75/11 ballpoint |
| Thin rayon or silky shirt | Very light woven or tricot fusible | No-show mesh; light designs only | 70/10 or 75/11 sharp |
| Denim or heavy work shirt | Usually none | Medium cut-away | 80/12 or 90/14 sharp |
- Press, don't slide. Fuse with a press cloth at the interfacing's setting, lifting the iron rather than sliding it, and test on the inside of the hem first: some blends and printed logos melt.
- Cut-away never shows inside a pillow, so use it whenever you're unsure. A pillowcase hem is different, since its inside shows; see how to embroider a pillowcase.
- Pick the preset. In the digitizer, use Woven for shirting and flannel, and Knit for T-shirts and polos.
What should a memory pillow say?
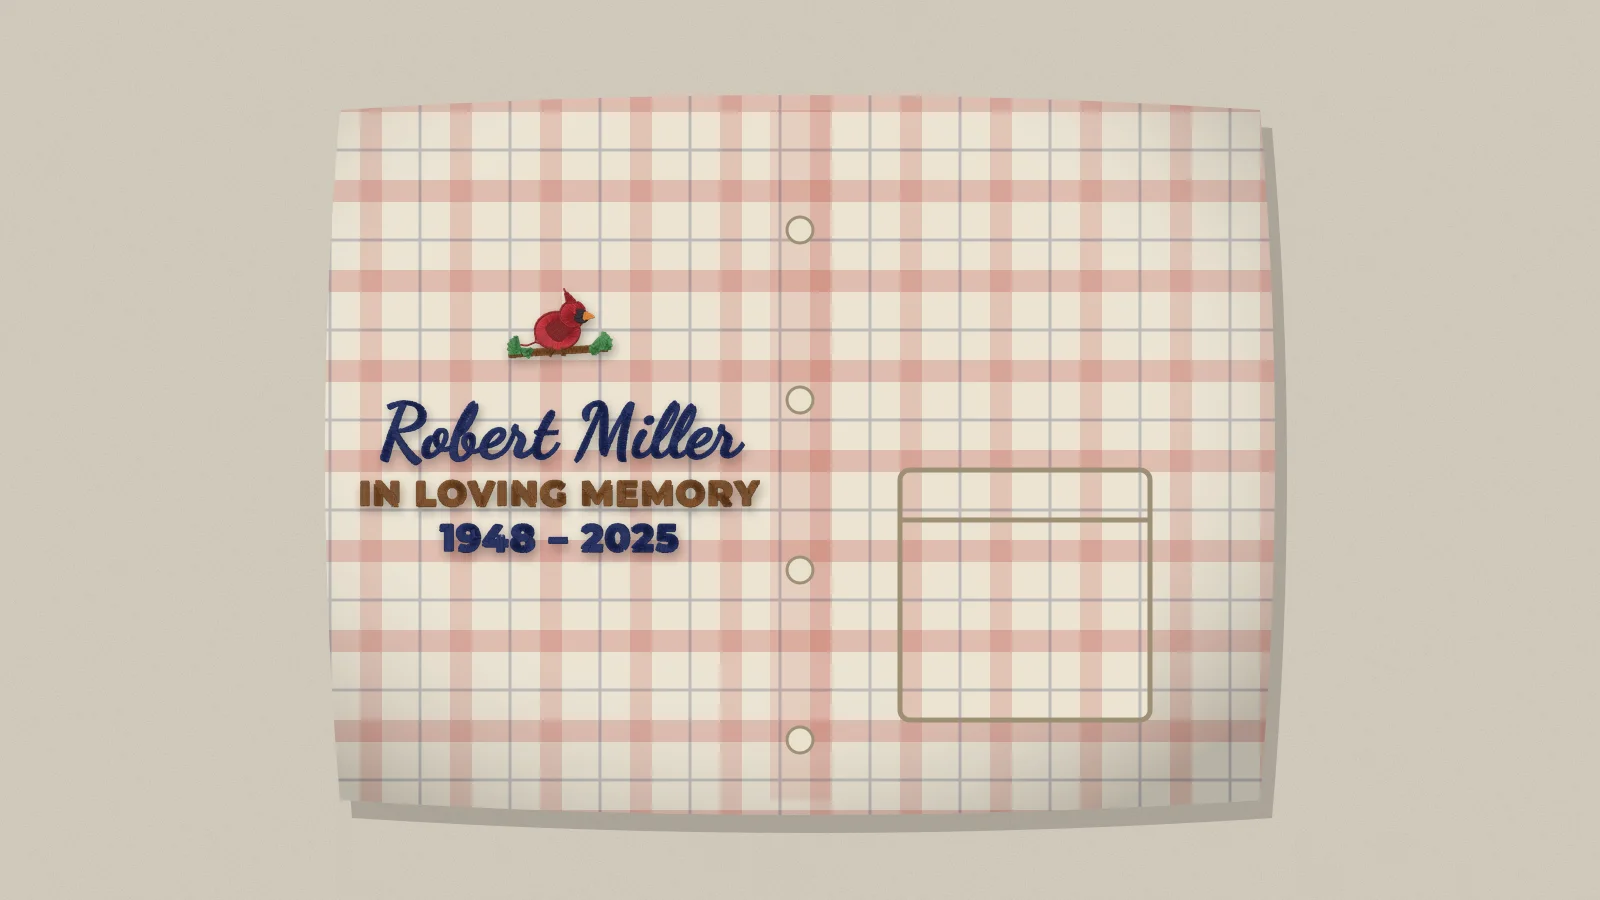
Keep it short: the name the family used, a few words and the years. Three lines fit above a pocket:
| Style | Example | Lines |
|---|---|---|
| Name and years | Robert Miller / 1948 – 2025 | 2 |
| In loving memory | In loving memory / Robert Miller / 1948 – 2025 | 3 |
| What they were called | Dad, Pops or Grandpa Joe, with the years | 2 |
| A short phrase | Forever in our hearts, Love you always or Until we meet again | 1–2 |
| Full dates | March 3, 1948 – June 9, 2025 | 1, in small capitals |
| Their own words | Something they always said | 1–2 |
- Check every detail in writing: the spelling, a middle initial or a nickname, and the dates. Compare them with the funeral program or obituary if there is one, and send a proof.
- Ask, don't assume, about faith wording, a cross or a verse, and whether they'd like a formal name or the one everyone used.
- Several pillows from the same shirts? Grown children often each want one. Agree the wording once so the set matches.
Let the family take their time, keep messages short and kind, and don't hurry a proof. The In loving memory maker sets out the name, words and dates with a cardinal, dove or heart, so you can send a clear proof the same day.
How big should the name and dates be, and where do they go?
Above the pocket, keep the design about 3.5–4.5 in (90–115 mm) wide, about the pocket's width, with script capitals of at least 12 mm for the name and capitals about 6–8 mm for the words and dates:
| Placement | Design size, about | Name | Words and dates |
|---|---|---|---|
| Above the pocket | 3.5–4.5 in (90–115 mm) wide, up to about 2 in (50 mm) tall | Script capitals 12–15 mm | Capitals 6–8 mm |
| Centered on the other half | 4–5 in (100–125 mm) wide | Script capitals 15–20 mm | Capitals 7–10 mm |
| Across the front, no placket | 5–7 in (125–180 mm) wide on a 16 in pillow | Script capitals 20–35 mm | Capitals 8–12 mm |
| Memory bear or quilt square | 2–4 in (50–100 mm) | Script capitals 12 mm and up | Capitals 5–6 mm, or leave them out |
- Script for the name, capitals for the rest. Flowing or Script for the name; Classic (8 mm and up), Roman (7 mm) or Block (5 mm) for In loving memory and the dates.
- Keep the placket clear. Embroider beside it, not across it: the double layer and the buttons won't hoop cleanly, and the needle can strike a button.
- Hoop to one side. A 5×7 hoop fits between the placket and side seam on most adult shirts; to cross the center, float the front on sticky stabilizer, buttons outside the hoop.
- Pick the thread from the shirt, such as the plaid's darkest line. On a busy plaid, stitch the words on a plain patch and sew it on.
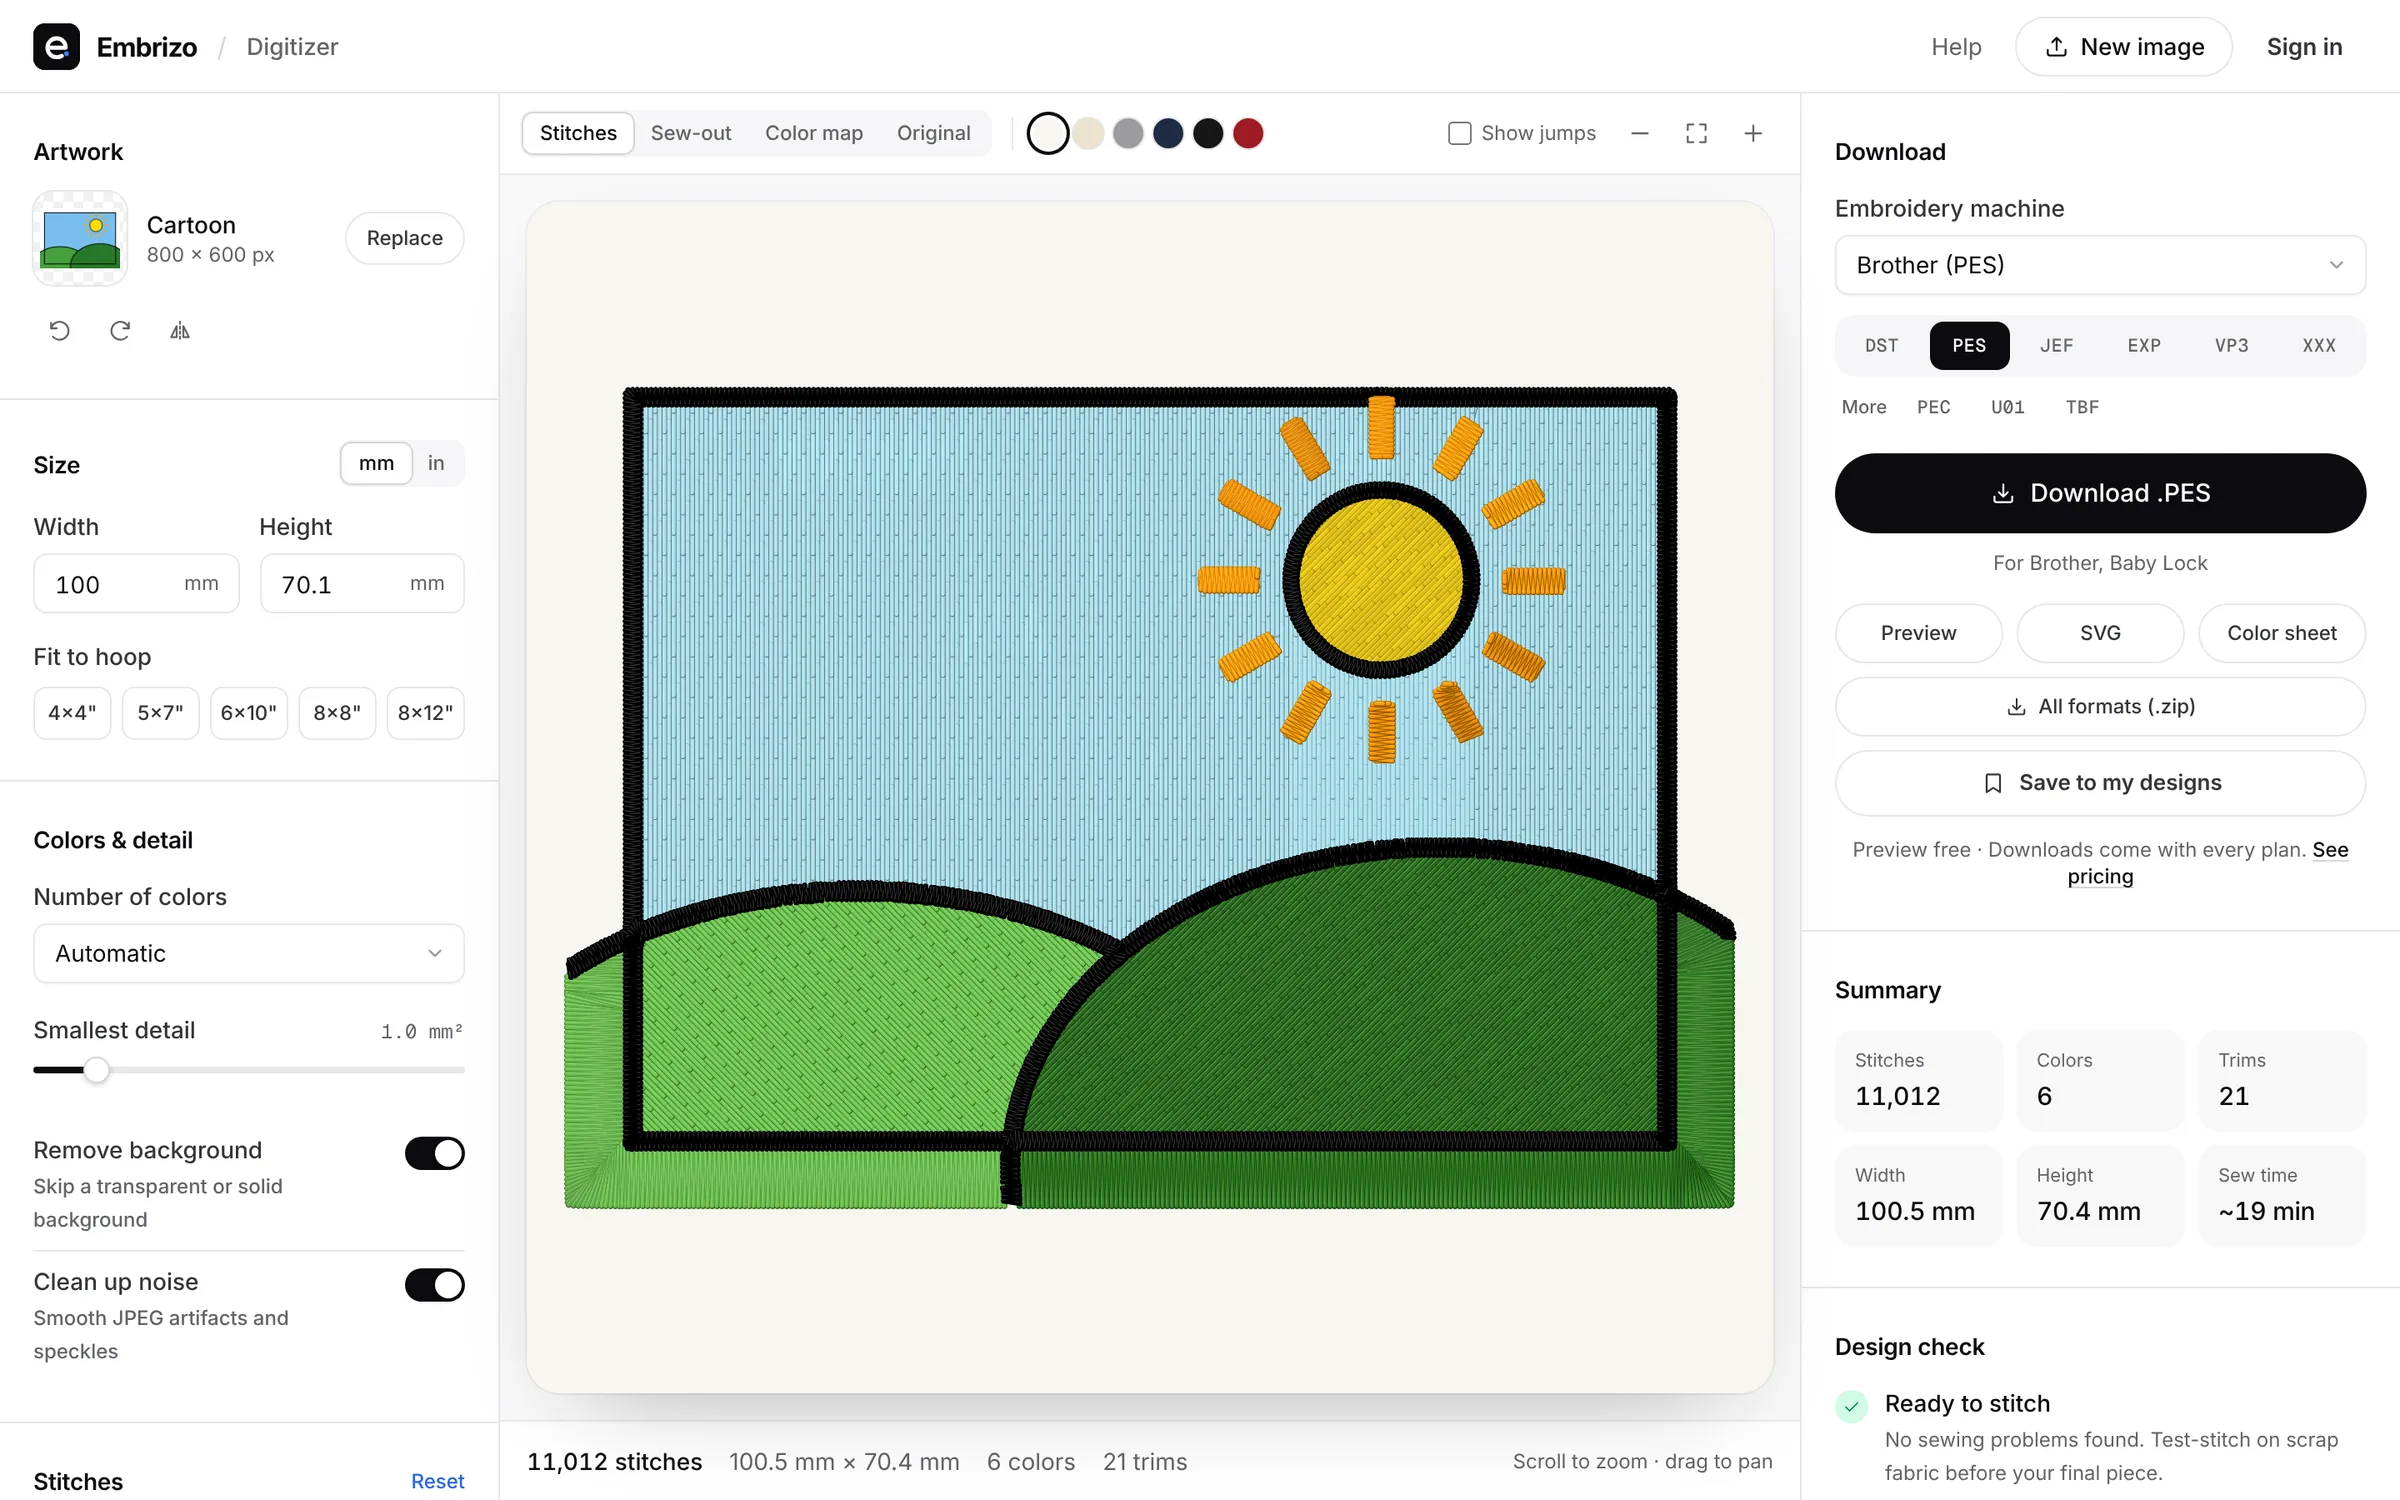
In the In loving memory maker, pick the 4×4 or 5×7 size for above the pocket, or the 7 in pillow front. It warns if the name comes out under 6 mm or a small line under 5 mm; then turn it into an embroidery file, set the final width in the digitizer and check the preview. Digitizing and previews are free with an account; downloading needs a paid plan.
How do you add a cardinal, dove, heart or their handwriting?
A small motif beside or above the words adds meaning without crowding them. Above a pocket, keep it about 1.5–3 in (40–75 mm) across; a full-size cardinal or dove sits better above the words on the other half of the front:
| Motif | Often chosen for | Free design |
|---|---|---|
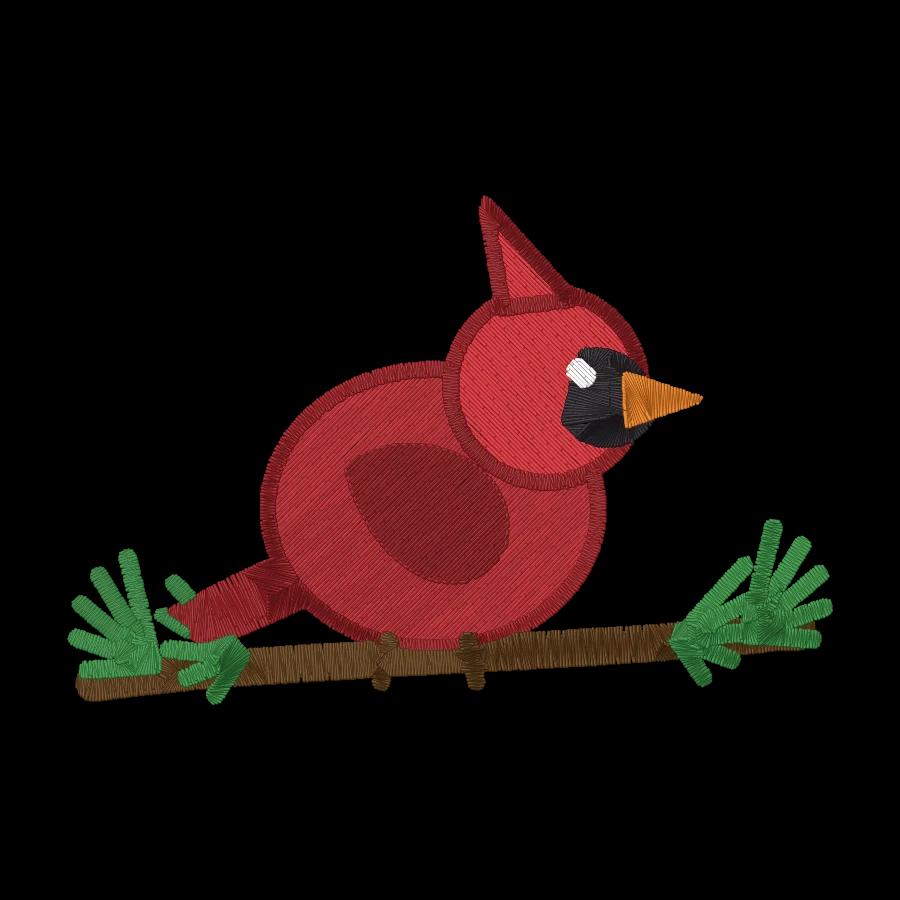
| Cardinal | The saying that cardinals appear when angels are near | Cardinal on a pine branch: about 3.7 × 2.5 in (95 × 63 mm), 7 colors, about 7,800 stitches |
| Dove | Peace and faith | Dove with an olive branch: about 3.7 × 2.8 in (95 × 70 mm), 5 colors, about 5,000 stitches |
| Heart | Love, simply; small enough to sit after a name | The LOVE heart in the maker, or a plain satin heart about 1 in (25 mm) across |
| Butterfly, rose or cross with flowers | A gardener, or a faith piece | All in the free designs and the maker's icons |
- Don't shrink a stitch file more than about 10–20%; for a much smaller motif, use the maker, which draws the icon at your size before it's digitized.
- Count the colors: the cardinal's 7 mean six thread changes on a single-needle machine. On pale fabric, sew the dove's body in light gray.
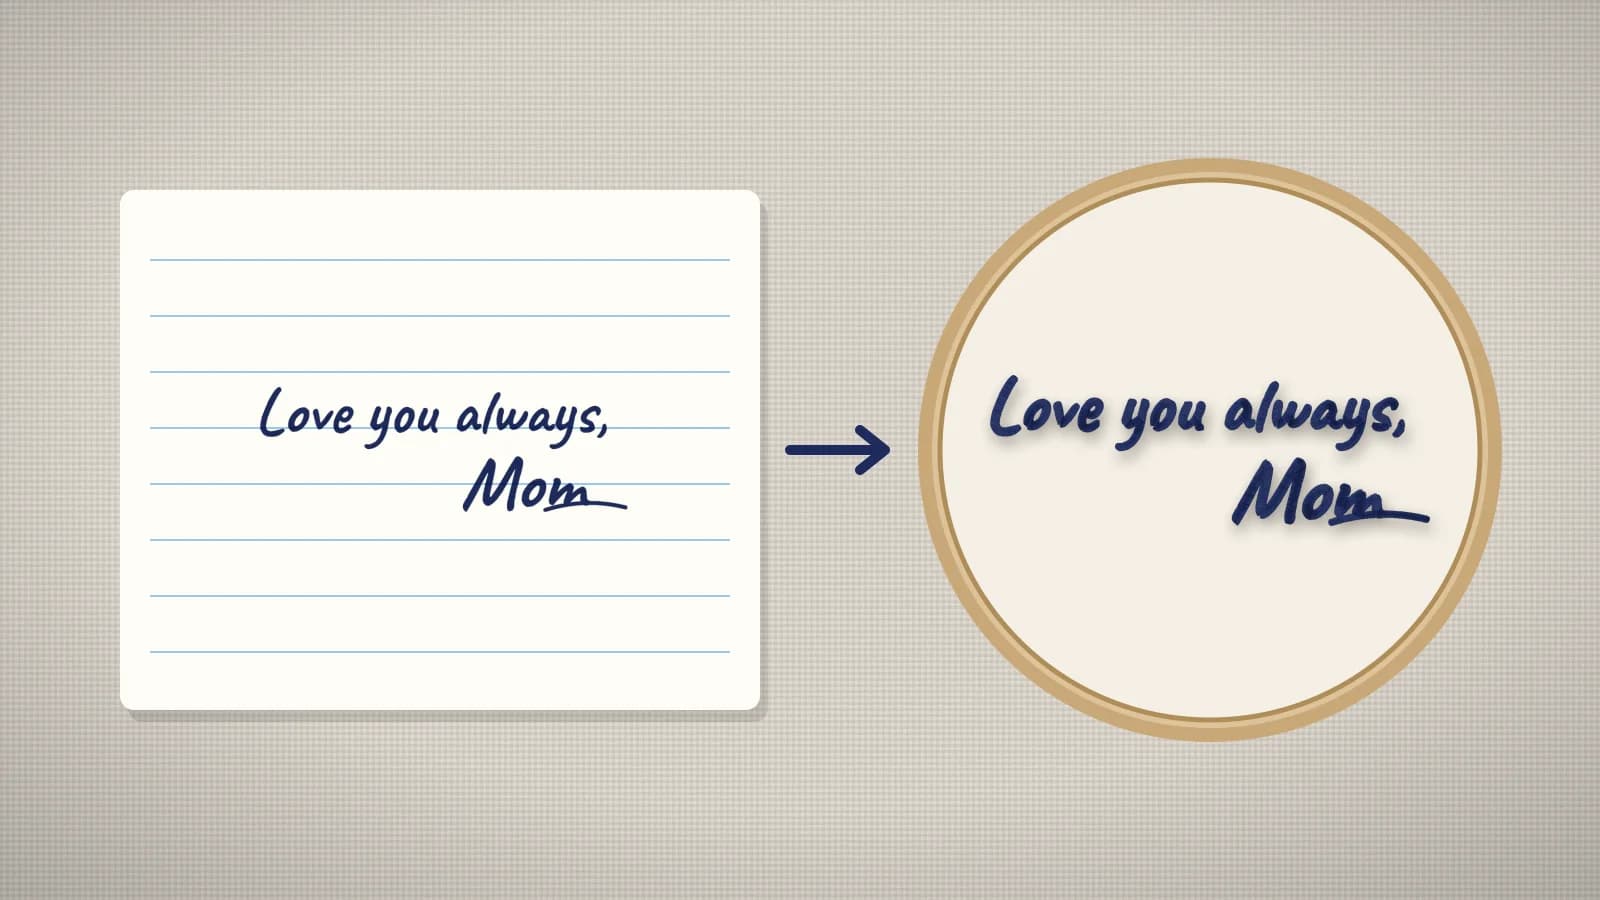
Handwriting from a card makes the most personal pillow of all: Love, Dad in their own hand above the pocket. Scan the card at 300 dpi or photograph it flat in daylight, raise the contrast until the ink is solid and the paper white, and size it so the letters are at least about 6 mm tall; a signature about 3–4 in (75–100 mm) wide fits above a pocket. Fine strokes stitch as running or bean stitch, thick ones as satin. Work from a copy and return the card untouched. How to embroider handwriting covers each step.
How do you sew a memory pillow with an envelope back, zipper or buttons?
Three backs work, all with ½ in (12 mm) seams on a front cut 17 in square for a 16 in pillow:
| Back | How | Best for |
|---|---|---|
| Envelope | Two panels, each 17 × 12 in (43 × 30 cm), with one long edge hemmed; they overlap about 5 in in the middle | The simplest: no zipper, and the cover slips off to wash |
| Zipper | A 14 in (35 cm) zipper in the bottom seam or across the back | A neat, closed back |
| The shirt's own buttons | A plain 17 in back square; the buttoned placket on the front is the opening | A pillow made all from one shirt |
- Trim the stabilizer on the back of the embroidery to about ¼ in (6 mm) from the stitches, then cut the front 17 in square, centered on the design and the placket.
- Cut the back from the shirt's back or a coordinating fabric; interface a knit back too, or it stretches over the form.
- For the buttons back, unpick the placket basting and leave it buttoned; for the others, stitch the placket down for good. Pin front and back right sides together, envelope panels overlapping in the middle.
- Sew all round, pivoting at the corners, then clip the corners and zigzag or serge the raw edges so they don't fray in the wash.
- Turn the cover through the envelope, the zipper or the unbuttoned placket, push out the corners and press from the back, never on the embroidery.
- Insert the form: a 16 in form for a neat pillow, or an 18 in one for a fuller look.
Should you make a memory bear or quilt squares instead?
A bear suits a child or anyone who wants something to hold; quilt squares suit a closet full of shirts. Either way, stitch the piece before you cut it out or sew it in.
| Keepsake | What it needs | Embroidery, about |
|---|---|---|
| Memory bear | One adult shirt for a bear about 15–18 in (38–45 cm) tall; plaid and flannel work well | A name or the years on the tummy, 2–3 in (50–75 mm), or a foot pad, 1.5–2 in, in a 4×4 hoop |
| Quilt or throw squares | Several shirts, with T-shirts interfaced | A name and dates on a center or corner block, at least 1 in inside the finished block |
| Memory quilt label | A square of cotton, or a piece of the shirt | The name, dates and who made it, 4–6 in (100–150 mm) |
| Keepsake hoop | The pocket or a square of the shirt | The name, dates and a cardinal, 1 in smaller than the display hoop |
For a bear, trace the pattern piece that carries the name onto the hooped fabric first, so the stitching lands in the middle of it, then cut the piece out. How to embroider quilt blocks covers sizing blocks around a design, and how to embroider a quilt label covers labels.
Practice on a free design
167 ready-to-sew designs in every machine format, free with an account.


How long does a memory pillow take, and how should you price orders?
Plan on about 2–3 hours a pillow: an hour to plan, fuse and mark, 10–30 minutes of stitching, and an hour to cut, sew and press. For orders, set a processing time you can keep, such as one to three weeks after the shirt arrives, and say it before the family sends anything.
- Ask for the shirt to be sent tracked, with the order name inside, and photograph it on arrival.
- Confirm in writing the wording, dates, placement and whether to wash it, then send a proof.
- Return the leftovers unless told otherwise, and ask before sharing photos of the pillow.
- Orders come in the weeks after a funeral and before Christmas, Mother's Day, Father's Day and anniversaries; post a Christmas last order date.
| Cost | Example | Amount |
|---|---|---|
| Pillow form | A 16 in polyester form | $10.00 |
| Interfacing, stabilizer, thread and zipper | One pillow | $4.00 |
| Your time | About 2 hours of planning, fusing, stitching, sewing and packing, at $25 an hour | $50.00 |
| Packaging | Box and tissue; shipping charged separately | $3.00 |
| Total cost | Before fees and profit | $67.00 |
| Price | $67.00 ÷ (1 − 15% fee allowance − 20% profit) | About $103 |
The 15% fee allowance is a placeholder, not any platform's rate. Charge extra for a motif, handwriting or a rush, and a little less for extra pillows from the same shirts. The embroidery quote generator makes a printable quote for a family ordering several, and the pricing calculator prices the stitching.