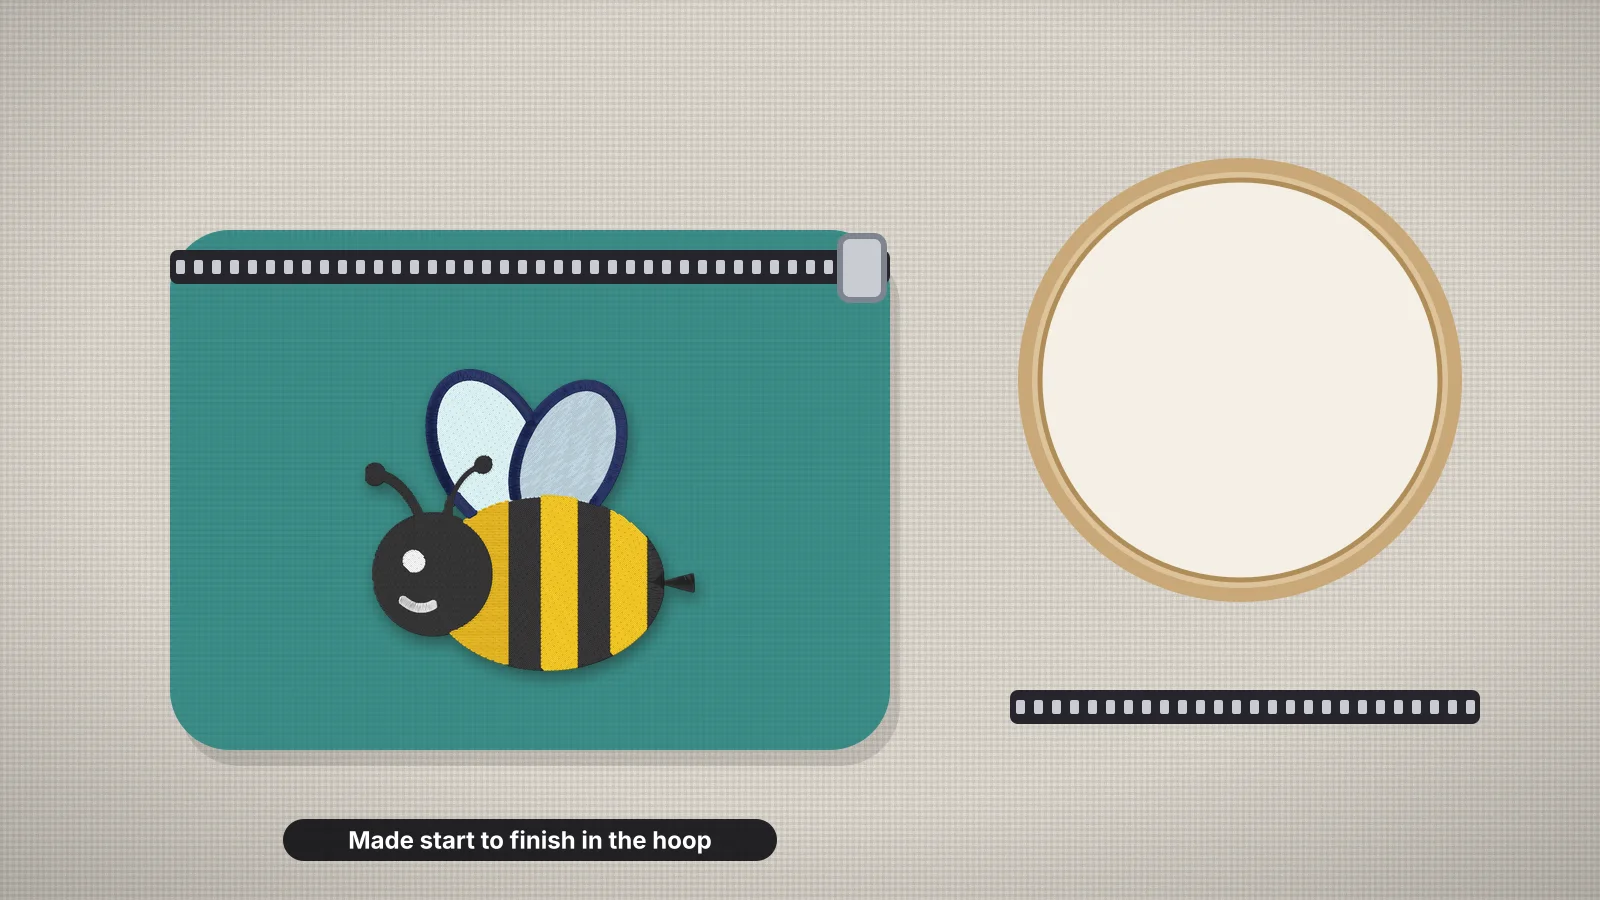
Most embroidery decorates something that already exists. In-the-hoop embroidery, ITH for short, makes the thing itself. The machine stitches outlines, holds each piece of fabric in place, decorates it and sews the seams without the hoop leaving the machine. You add fabric when it stops and trim when the instructions tell you to.
ITH projects are small, quick and good for gifts and craft fairs, and they're a gentle way to learn hooping and stabilizer choices. This guide explains how the steps work, the projects people make most, the stabilizer each needs, a zip pouch step by step and how to get a neat finish.
How an ITH design works
An ITH file is a sequence of steps, each saved as its own color stop, so the machine pauses between them while you add or trim fabric. Step names vary between designers, but most projects use the same building blocks:
| Step | What the machine sews | What you do |
|---|---|---|
| Placement line | A single running stitch showing where a piece goes | Lay the fabric over the line, covering it with some to spare |
| Tack-down | A running or zigzag stitch that holds the piece down | Trim the fabric close to the stitching, if the instructions say so |
| Decoration | The embroidery itself: a motif, a name or a monogram | Change thread colors as usual |
| Zipper or tab placement | A line for a zipper, a ribbon loop or a strap | Tape the zipper or tab in place along the line |
| Back placement | A line for the back piece, often laid face down over the front | Lay and tape the back fabric in place |
| Final seam or edge | A seam, or a satin or bean-stitch edge, through every layer | Unhoop, trim, and turn it or finish the edge |
It's the same trick appliqué uses, extended to whole objects. The pauses are written into the file as color changes, so the machine stops even when the next step uses the same thread.
Read the designer's instructions before you start. They say which pieces go face up or face down, where to trim, and whether a piece is taped to the back of the hoop.
Popular ITH projects
| Project | Typical hoop | Good to know |
|---|---|---|
| Zip pouch or zipper bag | 5×7 in and up | The zipper is sewn in during the design; a zipper longer than the pouch is trimmed afterwards |
| Key fob | 4×4 in, or several in a larger hoop | Vinyl, faux leather or felt, with a webbing or ribbon loop; the hardware goes on after |
| Coaster or mug rug | 4×4 or 5×7 in | A light batting layer gives a quilted look; finished with a satin edge or turned |
| Ornament | 4×4 in | Felt or cotton front and back with a hanging loop sewn in; some are free-standing lace instead |
| Bookmark | 5×7 in or a long hoop | Felt or vinyl, often with a tassel added after |
| Stuffed toy | 5×7 in and up | Left open for turning and stuffing, then closed by hand |
| Card wallet or glasses case | 5×7 in and up | Often vinyl, which doesn't fray, so the edges can stay raw |
Small pieces are often grouped, with several key fobs or ornaments in one larger hooping. Check the hoop size listed with the design against yours; the hoop sizes guide lists the standard fields. For gift ideas through the year, the embroidery ideas pages pair projects with designs.
Try it with your own design
Sign up free, upload an image and get a stitch preview in under a minute.
Drop your image here
PNG, JPG, WebP or SVG · stays on your device
Stabilizer and materials
In ITH the stabilizer is part of the project, usually the base the whole thing is built on. Pick it for how the edges finish:
| Project | Stabilizer | Why |
|---|---|---|
| Raw-edged vinyl, felt or faux leather: key fobs, mug rugs | Medium tear-away | Tears cleanly away from the finished edge |
| Turned items: pouches, toys, lined bags | Medium tear-away, or cut-away for items that need body | Stays inside the seam; trim it close before turning |
| Items where both sides show: coasters, bookmarks | Tear-away, or fibrous wash-away for no trace at all | Removes cleanly from both sides |
| Free-standing lace ornaments | Fibrous wash-away | The lace holds itself together once rinsed |
| Pieces that slip or can't be clamped | Sticky (adhesive) tear-away | Holds each piece without hooping it |
- Hoop the stabilizer, not the fabric. In most ITH projects only the stabilizer is hooped and every piece is laid on top, a form of floating.
- Tape, don't pin. Painter's tape or embroidery tape at the corners, clear of the stitch path, holds pieces down. A pin in the stitch path breaks needles.
- Cut pieces larger than the placement line on every side, so they still cover it if they slide a little.
- Add batting or fusible fleece only where the design asks, for padded coasters and pouches.
The stabilizer guide explains each type, and the glossary has entries on tear-away and cut-away.
Sewing an ITH zip pouch, step by step
Designs differ, so follow the instructions that came with yours. A typical lined zip pouch runs like this:
- Hoop medium tear-away and sew the placement line for the zipper.
- Tape the zipper face up along the line, with the pull outside the stitching area, and let the machine tack it down.
- Lay the front fabric face up over its placement line, against the zipper, and let it tack down. Trim the excess close to the stitching.
- Sew the decoration on the front: a motif, a name or a monogram.
- Lay the back fabric face down over the front and tape it. Some designs also tape a lining piece to the back of the hoop.
- Open the zipper partway, then sew the final seam around the edge.
- Unhoop, tear or trim the stabilizer close to the seam, clip the corners, turn the pouch through the zipper and press.
Open the zipper before the final seam. With it closed, there's no way to turn the pouch right side out.
Tips for a neat finish
- Trim close, but not into the stitches. Curved appliqué scissors get close to tack-down lines without nicking the layer underneath.
- Match the bobbin thread on items where the back shows, such as key fobs, coasters and bookmarks.
- Size the needle for the stack. A 75/11 or 80/12 sharp suits cotton, felt and vinyl, and a 90/14 helps through several thick layers. The needle guide covers sizes.
- Slow down for the final seam through many layers, and on vinyl.
- Keep hardware clear. Zipper pulls, snaps and key rings stay outside the stitch path; add hardware after unhooping.
- Practice on scraps. Sew the project once with spare fabric to learn the steps before you cut the good fabric.
Adding your own design to an ITH project
The decoration step is where you personalize. Some ITH designs leave the front blank so you can add a name or motif from another file, either combined with the ITH file on your machine's screen or in software, or stitched on the front fabric before the project starts.
- A name: set it in text to embroidery, sized to sit inside the placement line with a margin.
- Your own artwork: upload a logo or drawing to the digitizer and set it to the size of the front panel. Digitizing and previewing are free with an account.
- A ready-made motif: the free embroidery designs fit a 4×4 in hoop and download free with an account.
- Combining files: the design combiner puts a name or motif together with another design; the combining guide covers spacing and order.
Embrizo doesn't make the ITH steps themselves. Placement lines, tack-downs and seams are sequences a digitizer builds by hand, as with appliqué, so buy the ITH project from a designer and use Embrizo for the artwork that goes on it.