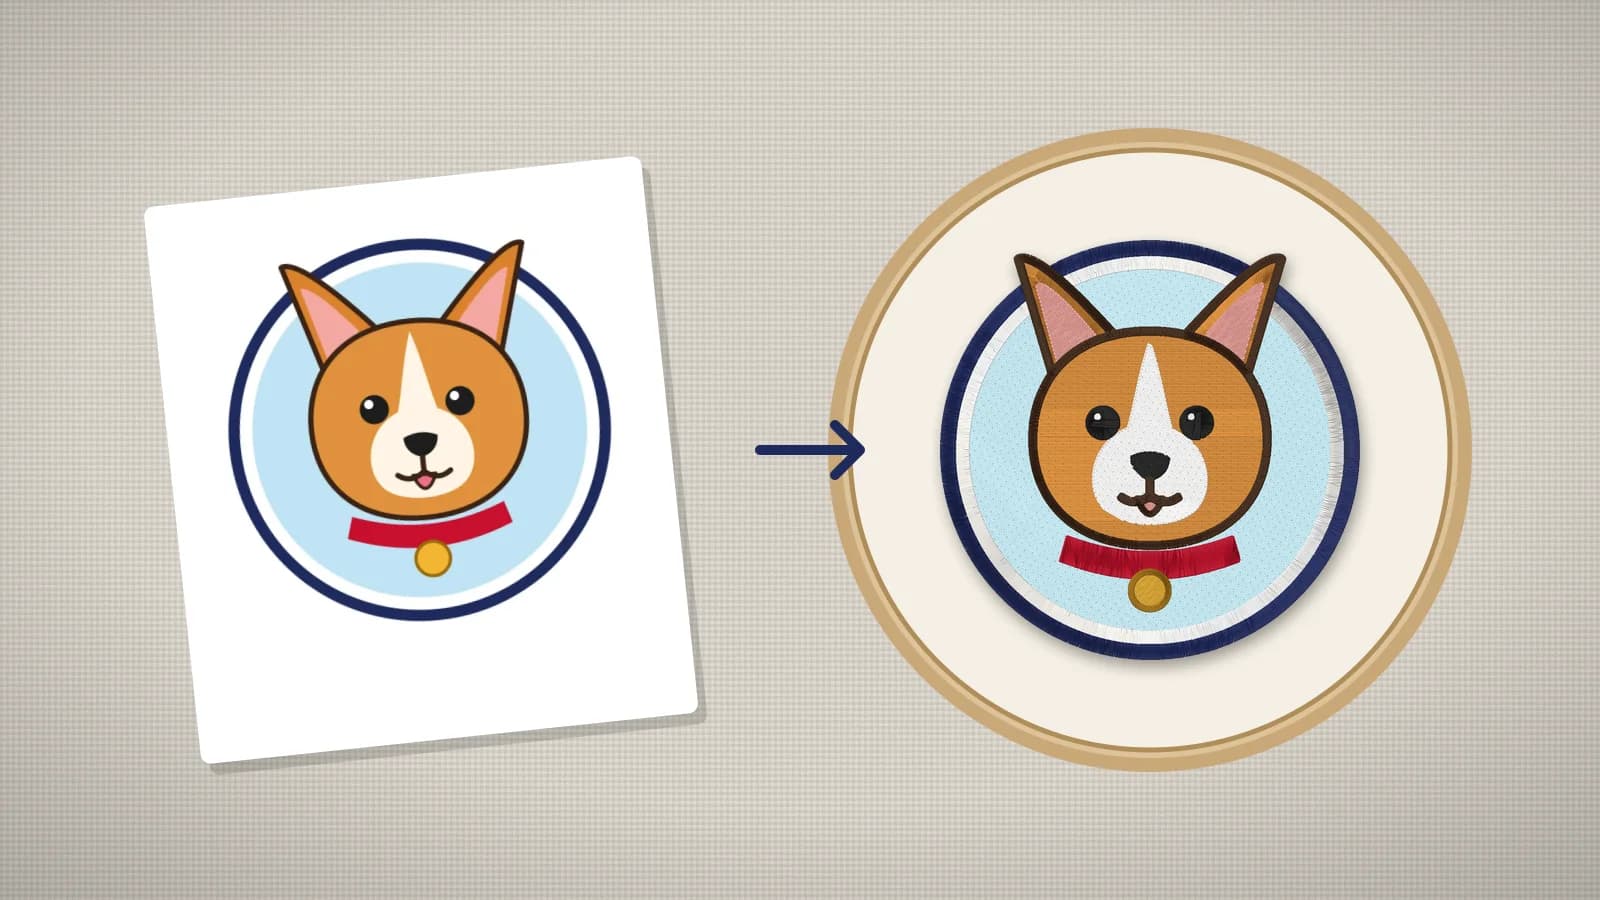
A pet portrait is one of the most-loved embroidery gifts: a dog on a hoodie, a cat on a tote, a memorial pillow for a pet who's gone. It's also one of the trickiest, because a photo of fur holds hundreds of shades and thread has only a handful of colors.
The secret is to simplify before you digitize. This guide covers choosing the photo, turning it into flat colors, picking a size and fabric, digitizing it with Embrizo and finishing it as a gift. The photo to embroidery guide explains the wider trade-offs of stitching photos.
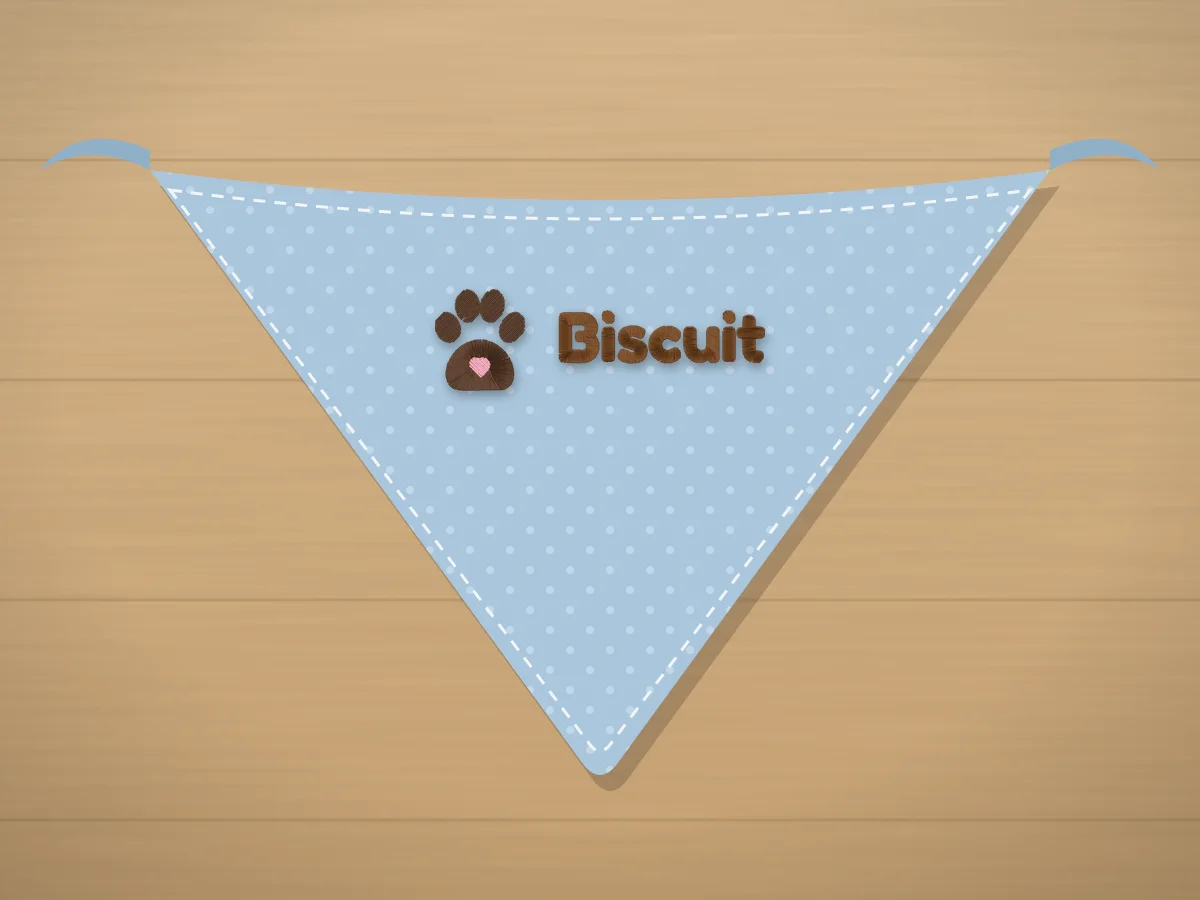 Free design makerPet name embroidery design makerType the name, pick lettering and an icon, and see it sized for the item. Then turn it into a file for your machine.Make yours
Choose a photo that will stitch well
| Look for | Avoid | Why |
|---|---|---|
| The face filling most of the frame | A small pet in a big scene | Detail you can't see at stitch size is lost |
| Even daylight, no harsh shadows | Flash, dark rooms or strong backlight | Shadows become extra colors and blotches |
| Sharp eyes, taken at the pet's eye level | Motion blur, or a tilted view from above | The eyes carry the likeness |
| Clear contrast with the background | A pet the same color as the sofa | The outline has to separate cleanly |
| The original file, ideally 1,000 pixels or more across | A screenshot or a small thumbnail | Small images give ragged edges |
Distinctive markings make a portrait read as your pet: a white blaze, one dark ear, a spotted nose. Pick the photo that shows them clearly, even if it isn't the cutest one.
Simplify the photo to a few flat colors
- Crop to the head and shoulders. A face reads far better in thread than a whole body at the same width.
- Remove the background. Cut the pet out in a photo editor, or start from a photo against a plain wall; the logo background remover handles white or solid backgrounds.
- Reduce the colors. About six to ten colors suits most pet portraits. The image color reducer flattens the photo and lists the nearest Brother or Janome threads.
- Strengthen the outline. A darker line around the face and ears helps the portrait read from a distance.
- Check it. The embroidery image checker flags fine detail and too many colors at your stitch size.
For the crispest result, turn the photo into a simple illustration first: trace it with bold lines and solid colors, or ask an artist for a cartoon portrait. Stitched straight from a photo, a pet comes out bold and poster-like; from an illustration, it comes out crisp and recognizable. How to turn a drawing into embroidery covers drawing for thread, and how to turn AI art into an embroidery file covers prompting an image tool for a flat, sticker-style portrait.
Try it with your own design
Sign up free, upload an image and get a stitch preview in under a minute.
Drop your image here
PNG, JPG, SVG, PDF or AI · stays on your device
Not sure what to expect? See real examples or how it works.
Pick a size for the item
| Item | Typical width | What fits |
|---|---|---|
| Left chest or cap | 2.5–3.5 in (65–90 mm) | A simple cartoon face with few colors |
| Tote bag or pillow | 5–7 in (125–180 mm) | Eyes, nose and markings with some detail |
| Hoodie or sweatshirt front | 8–10 in (200–250 mm) | The most detail, at a higher stitch count |
| Hoop art for framing | Up to your hoop's field, such as 5 × 7 in | A full portrait with a name below |
At the final size, lines under about 1 mm wide won't stitch cleanly and lettering needs to be about 5 mm tall or more. Check your hoop with the hoop size calculator before you digitize; a 5×7 in hoop has a 130 × 180 mm sewing field.
Fabric and stabilizer
| Fabric | Stabilizer | Digitizer preset |
|---|---|---|
| Canvas tote, cotton twill, pillow cover | Medium tear-away, or two layers for dense portraits | Woven |
| T-shirt or polo | Cut-away | Knit |
| Hoodie or sweatshirt | Cut-away, plus a water-soluble topping on fleece | Fleece, towel, sweatshirt |
| Fleece blanket | Cut-away and a water-soluble topping | Fleece, towel, sweatshirt |
| Performance or stretch fabric | Cut-away, hooped without stretching | Stretch |
Portraits are often dense, with fur colors sitting side by side, so they need firm support. Cut-away keeps a portrait from distorting on knits after washing. The stabilizer guide and the stabilizer for hoodies page have the details.
Digitizing a pet photo with Embrizo
- Open the digitizer, or start from the pet portrait embroidery file page, and upload the cleaned photo or illustration.
- Set the number of colors, starting around six to ten, and switch on Remove background if a plain background is still there.
- Raise the Smallest detail setting if stray specks of fur turn into tiny shapes.
- Enter the final width, or pick your hoop.
- Choose the fabric preset for your item. It sets the density, underlay and pull compensation.
- Go through the thread colors: merge near-identical fur shades, switch off any you don't want stitched, and change a thread to match the real fur.
- Watch the sew-out preview on your fabric color and read the design check.
Digitizing and previewing are free with an account, so you can try several photos and color counts; downloading the file needs a plan. The photo to embroidery file page covers photos of people and places too.
Test stitch and adjust
| What you see | What to change |
|---|---|
| The face looks flat or unrecognizable | Add a darker outline around the eyes, ears and muzzle in the artwork |
| Fur colors look speckled | Fewer colors, or merge the closest shades |
| Eyes and nose are lost | Stitch it bigger, or make the eyes a simple solid shape |
| The portrait is stiff or puckered | Lighten the fill density a step and check the stabilizer |
| Gaps between colors | Hoop firmer and use cut-away on knits; see how to fix gaps in embroidery |
Always test on scrap of the same fabric, with the same stabilizer, before you stitch the gift itself.
Practice on a free design
167 ready-to-sew designs in every machine format, free with an account.

Gift ideas and finishing touches
- Hoodies and sweatshirts, with the portrait on the front or a small face on the left chest; see how to embroider a hoodie.
- Tote bags and pillow covers, where a 5–7 in portrait has room for detail; see how to embroider a tote bag.
- Blankets, with the portrait in a corner; see how to embroider a blanket.
- Memorial keepsakes, such as framed hoop art with the pet's name and dates.
- Something for the pet itself, such as a name on a pet bandana.
Add the pet's name as separate lettering with text to embroidery, in a rounded or script font about 5 mm tall or more. For quicker projects, the free pet designs and pet embroidery ideas have paws, puppies and cats ready to stitch.