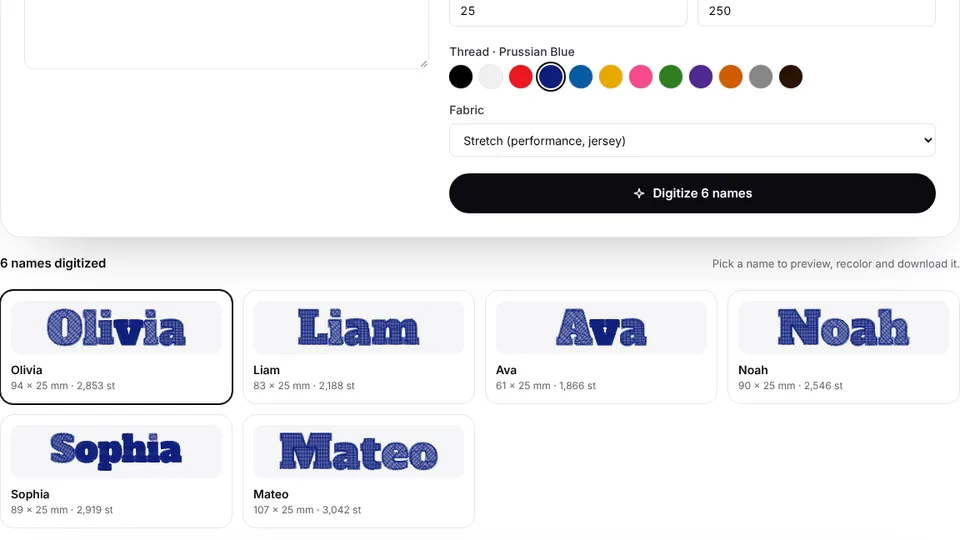
School clothes and bags all look alike in a lost-property box, so most of them need a name. Embroidered labels hold up well to the wash and look neat, and once your setup is right, a whole sheet of them sews in one hooping.
This guide covers label tape, patches and stitching straight on, sizes, fonts, stitching on tape, batching names, and making labels last. For names in general, see how to embroider names.
Label tape, patches or stitching straight on
| Method | How it works | Good for | Watch for |
|---|---|---|---|
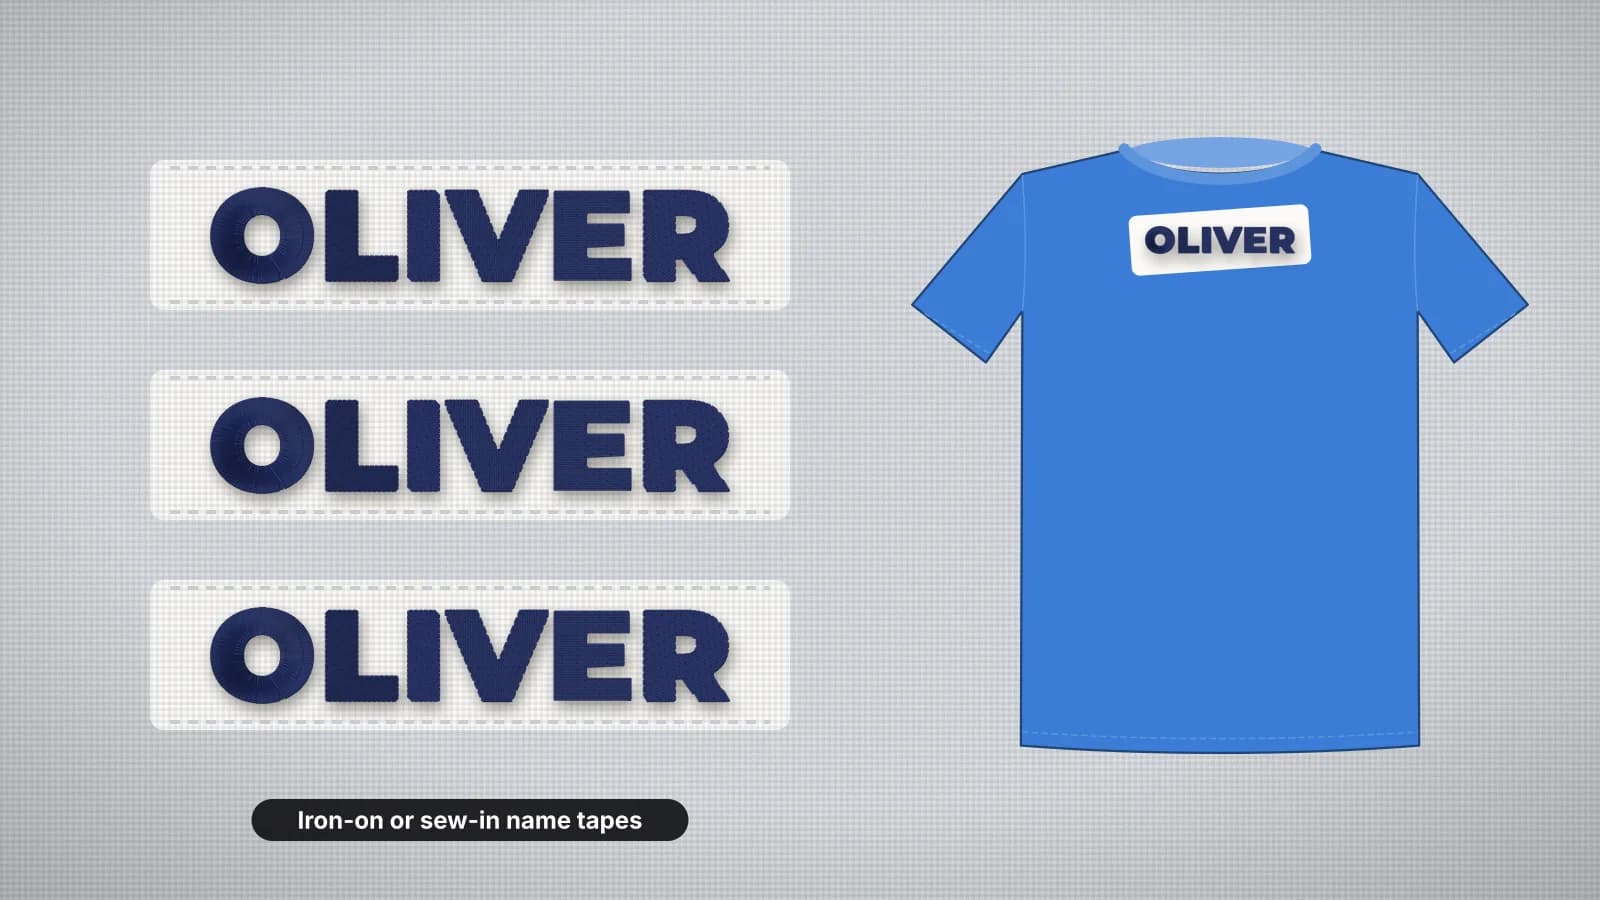
| Label tape | Names stitched in a row on woven tape, cut apart and sewn in | Clothes: sweaters, coats and uniforms | Seal or fold the cut ends so they don't fray |
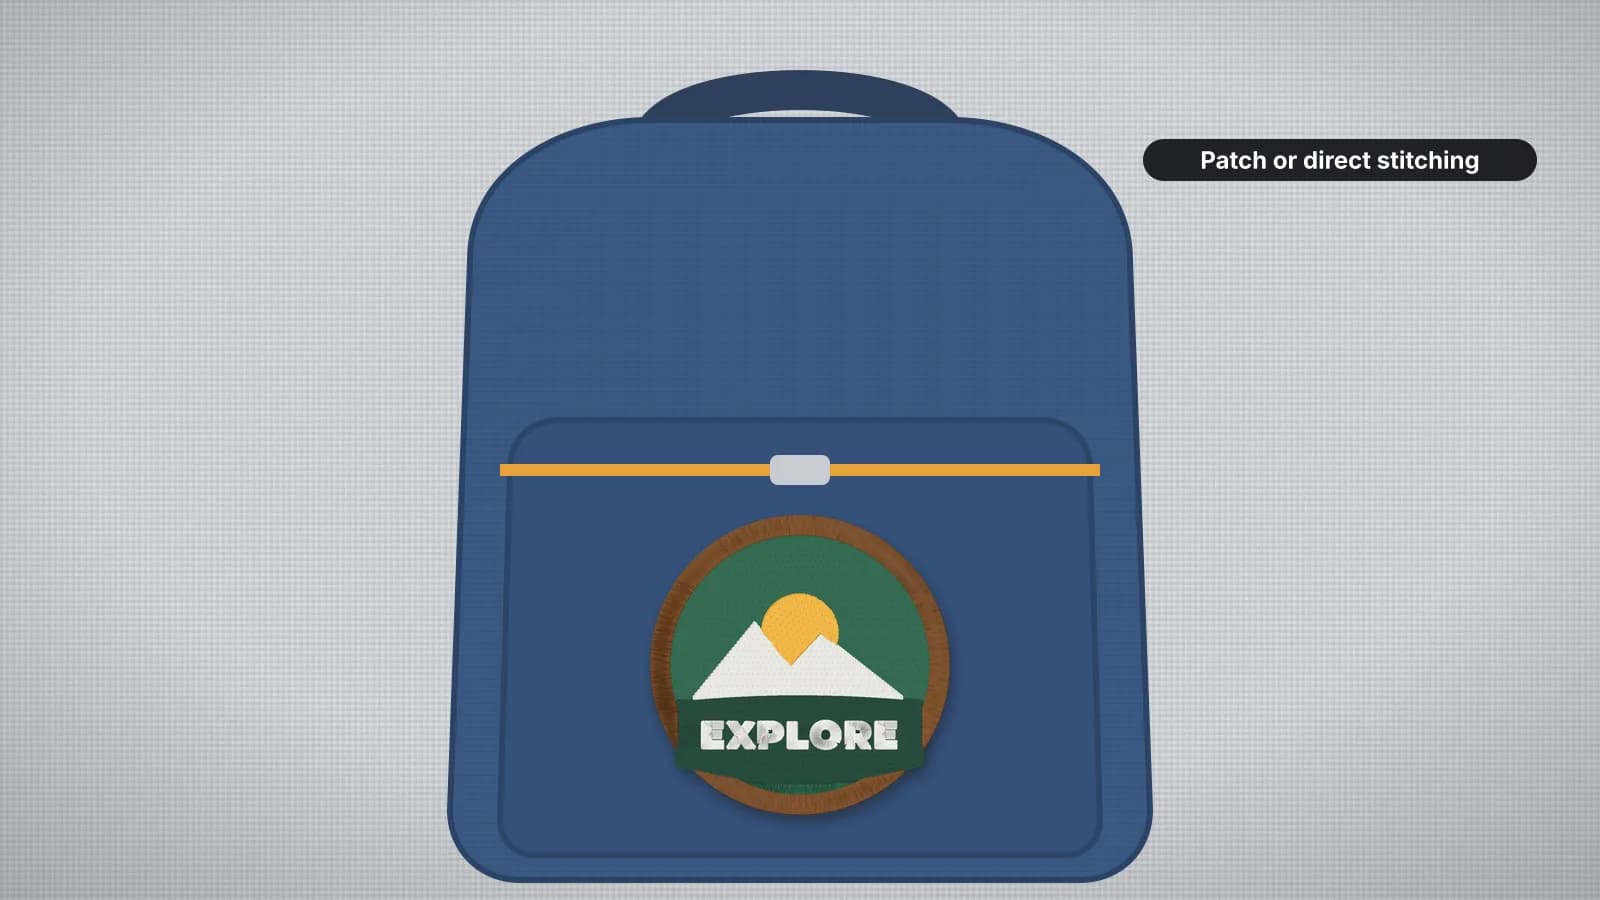
| Small patches | A name on a piece of twill or felt with a satin edge | Bags, coats and lunch bags with a fabric panel | Sew them on; iron-on glue alone may lift with washing |
| Straight on the item | The name stitched directly on the fabric | Backpacks, gym bags, pencil cases and the back of a neck | The item has to be hooped or floated each time |
Labels on tape are the quickest for clothes: you stitch a sheet of them, then sew each one in by hand or machine. Direct embroidery looks best on bags, and the backpack guide covers hooping pockets and flaps.
Label and letter sizes
| Label | Size | Letter height |
|---|---|---|
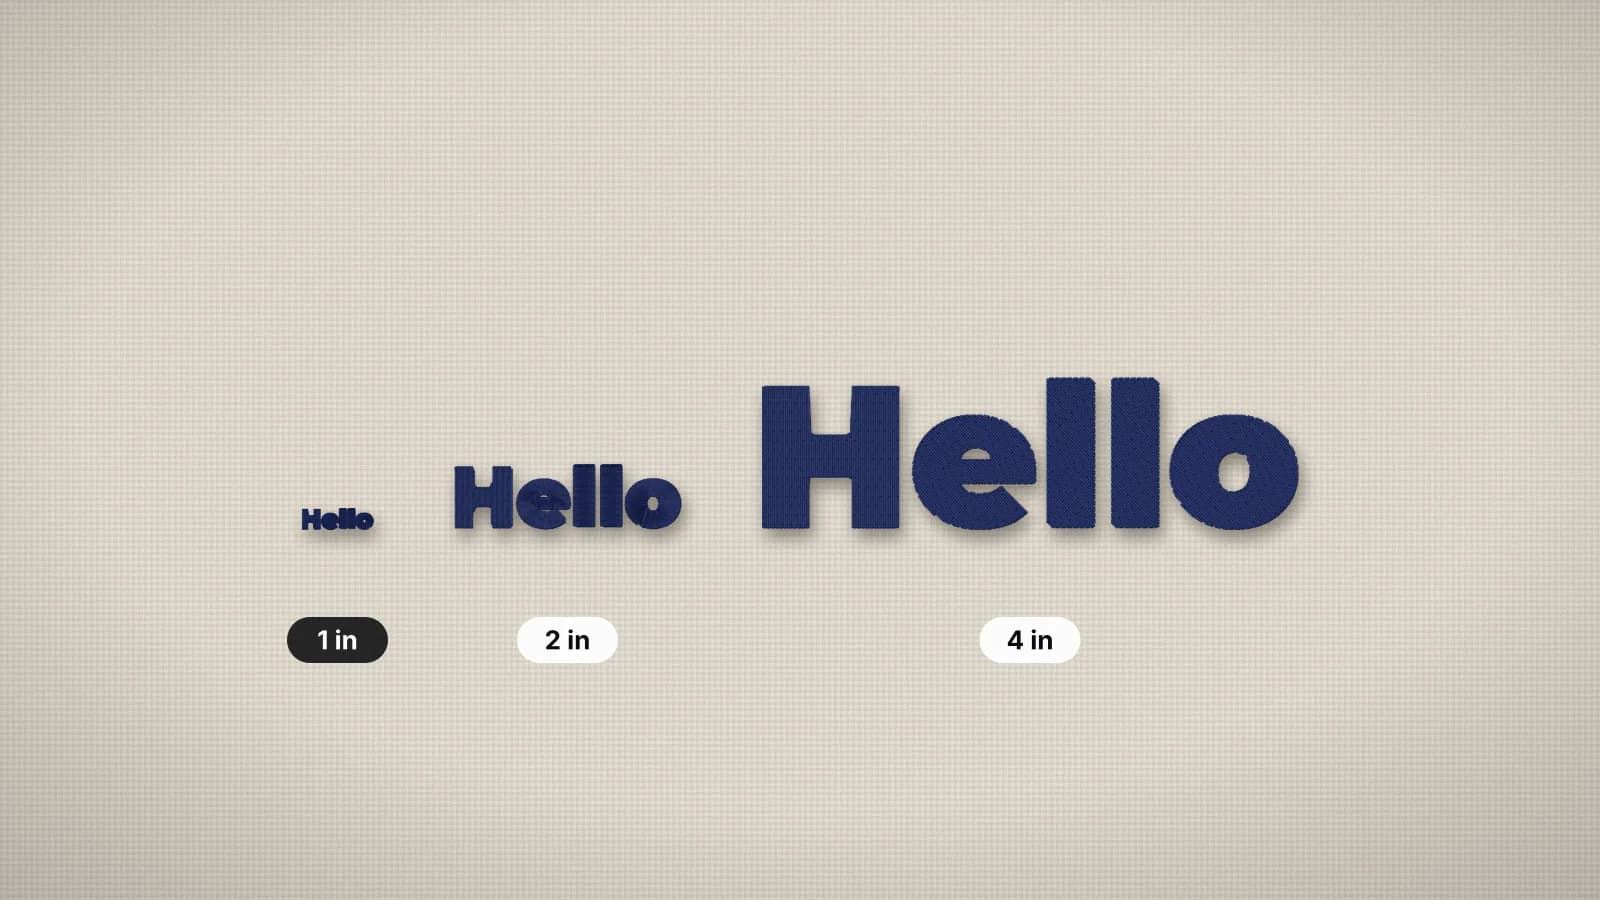
| Narrow label tape | About 1/2 in (13 mm) wide | About 5–7 mm capitals, on one line |
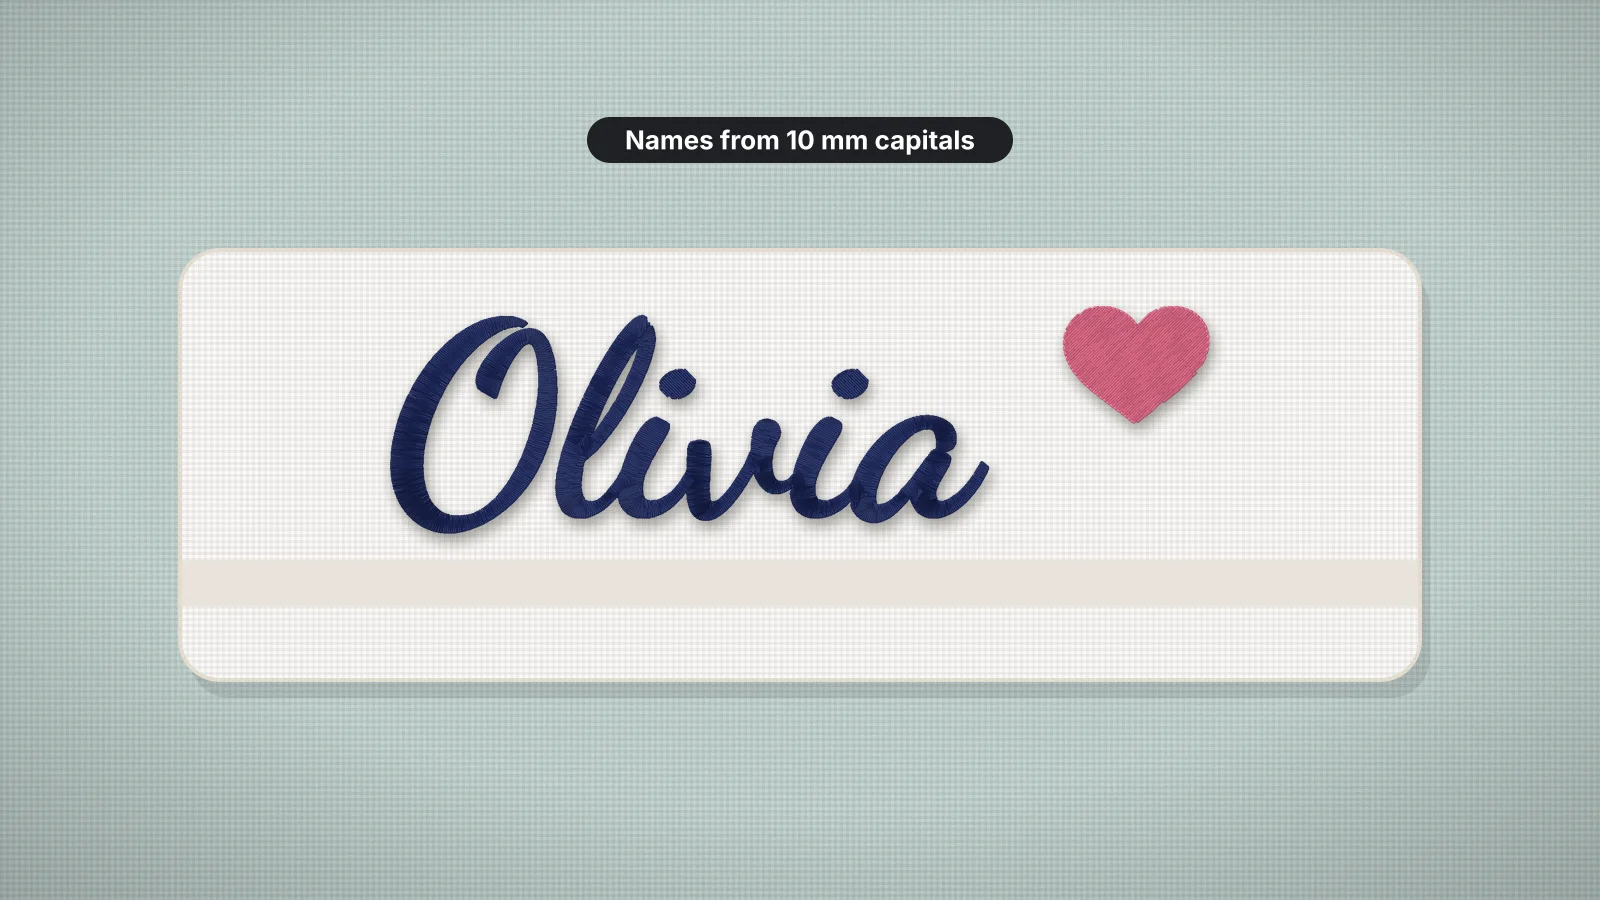
| Wide label tape | About 3/4–1 in (20–25 mm) wide | About 7–10 mm, or two lines of about 5–6 mm |
| Bag or coat patch | About 2–3 in (50–75 mm) wide | About 10–15 mm |
| Backpack, straight on | The flat area, with about 1/2 in (12 mm) clear | About 20–40 mm (0.75–1.5 in) |
| Back of the neck | About 2–3 in (50–75 mm) wide | About 6–10 mm |
Leave at least about 2 mm clear above and below the letters on tape, so they don't run into the woven edge. A first name and an initial, such as SAM K, keeps labels short enough for narrow tape. The back of neck size page covers that placement.
Try it with your own design
Sign up free, upload an image and get a stitch preview in under a minute.
Drop your image here
PNG, JPG, WebP or SVG · stays on your device
Fonts and text that read small
- Block or rounded capitals read best at label sizes. Block and Rounded both stitch down to about 5 mm.
- Skip scripts on narrow tape: their thin joins need about 10 mm or more.
- Use strong contrast, such as navy on white tape or white on navy, so a name reads at a glance.
- Keep it short. A first name and last initial, or initials and a surname, keep the letters big. Many parents put full names inside clothes and only a first name or initials on the outside of bags.
- Check the spelling against the list, letter by letter, before you stitch a sheet.
The small text guide explains why letters fill in below these sizes, and the embroidery fonts page shows the smallest size each font can be sewn at.
Stitching names on label tape
- Hoop sticky tear-away, or a medium tear-away with a light mist of spray adhesive, in the largest hoop you have.
- Lay strips of label tape across it, parallel to the hoop's long side, with gaps of about 10 mm between them. Tape the ends outside the stitching area.
- Line the layout up so each row of names sits on the center of a strip; the placement template prints it at true size to check.
- Stitch, then unhoop and tear the stabilizer away from the back.
- Cut between the names, leaving about 1/2 in (12 mm) at each end to fold under, or seal the ends with a fray stopper.
- Sew each label in with a straight stitch round all four sides, at a seam or the back of the neck.
Many embroiderers like polyester twill tape for labels: it's smooth, strong and colorfast. Cotton tape works too but can shrink a little, so prewash it.
Batching labels: one child or a whole class
| Job | What to make | Tool |
|---|---|---|
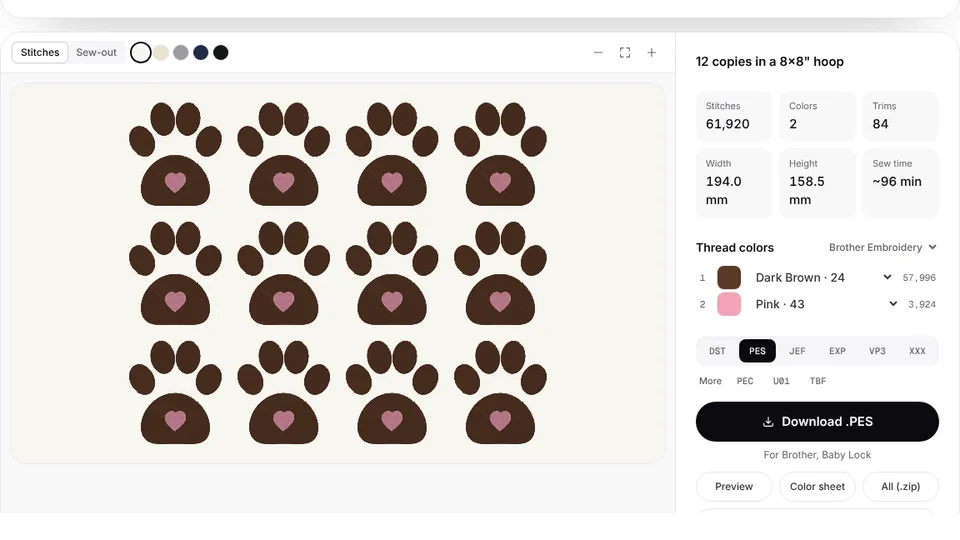
| One name, many labels | Copies of one name in rows to fill the hoop | Hoop layout |
| A class or team list | One file per name, all in the same font, height and thread | Batch name embroidery |
| Several names on one sheet | The batch files placed together in rows | Design combiner |
Saving files from these tools needs a paid plan. Whatever the job, sew one label as a test on the same tape, check the letters are crisp and the name is centered, then run the full hoop. How to embroider multiple items in one hoop covers layouts, spacing and sewing order.
On a single-needle machine, stitch every label in one thread color, so a full hoop sews without a single stop.
Labels that survive the wash
- Polyester thread generally holds its color through hot washes and bleach-based detergents better than rayon.
- Satin letters, not running stitch. Running-stitch letters are thin and wear faster; satin over underlay holds up.
- A firm backing for direct embroidery: cut-away on knits such as sweatshirts, so the letters keep their shape wash after wash; see the hoodie and sweatshirt stabilizer page.
- Sew labels on all round. A label held by glue or a couple of stitches tends to lift at the corners and get pulled off.
- Lock stitches stop letters unraveling after each trim; Embrizo adds them to the start and end of each stitch run.
- Wash inside out to protect labels on the outside of clothes.
Practice on a free design
114 ready-to-sew designs in every machine format, free with an account.



Making label files
For plain names, text to embroidery makes a single lettering file, and the batch and layout tools above handle sets. For a label with a school crest or a child's drawing beside the name, upload the artwork to the digitizer, set its width to fit the tape or bag, and read the design check, which flags lettering under about 5 mm. Digitizing and previewing are free with an account.
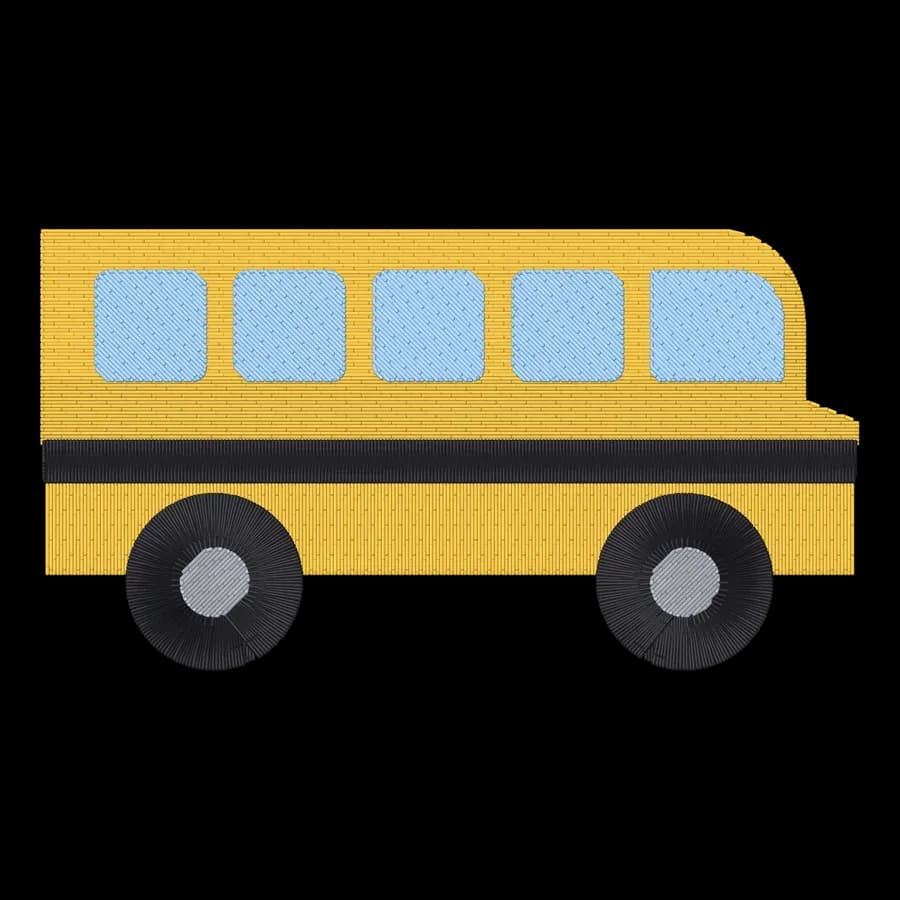
- Small motifs for bags: the free pencil, school bus, rainbow and rocket designs fit a 4×4 in hoop and download free with an account.
- More projects for the new school year: the back-to-school embroidery ideas and the kids' embroidery ideas.