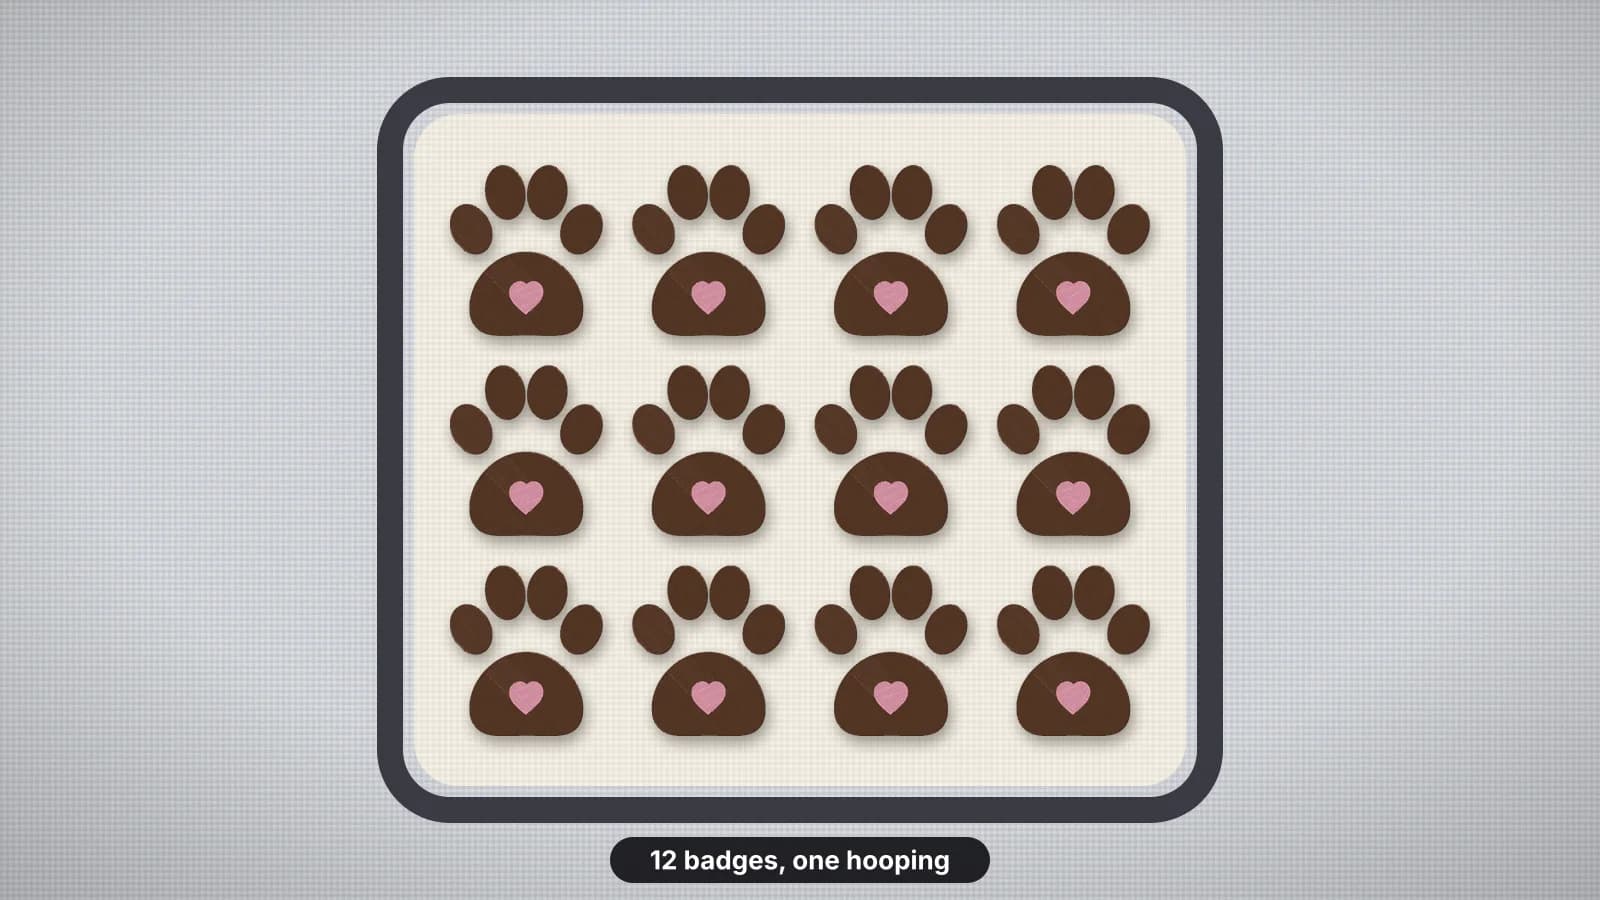
Gang hooping means stitching several small items in one hooping: a sheet of patches, a strip of name labels, a row of felt ornaments or a set of coasters. You hoop once, the machine sews them all, and you cut or finish them afterwards.
It saves a lot of hooping time on small pieces, and it keeps a set consistent. This guide covers what suits it, choosing the hoop and layout, spacing, hooping, sewing order and trims, and how much time it saves. The hoop layout tool fills a hoop with copies of one design; saving the file needs a paid plan.
What gang hooping suits
| Item | How it's hooped | Layout tip |
|---|---|---|
| Patches | One sheet of twill or felt over a heavy backing | A grid, with room to cut round each satin edge |
| Name labels on tape | Strips of label tape laid across hooped stabilizer | Rows that follow the tape, one name per section |
| Felt ornaments and bookmarks | One sheet of felt with tear-away | A grid, leaving room to cut out each shape |
| Name tags and badges | One sheet of fabric, or separate blanks floated | A grid of identical rectangles, each design centered in its own |
| Key fobs and other small ITH pieces | Stabilizer hooped, pieces laid on top | Follow the designer's layout; many sell files with several in one hoop |
| Coasters and napkin corners | Separate pieces floated on sticky stabilizer | Square each piece to the hoop before stitching |
It works best for small, flat items you'll cut out or finish afterwards. Garments don't gang hoop: each shirt still needs its own hooping.
Choosing the hoop and the layout
Use the largest hoop that holds the fabric firmly. More pieces per hooping saves more time, but a large hoop grips the middle less tightly, so a firm stabilizer matters more. This is how many 50 mm (2 in) square patches fit with 10 mm gaps and a 3 mm margin:
| Hoop | Usable area, about | 50 mm patches |
|---|---|---|
| 4×4 in | 94 × 94 mm | 1, or four 40 mm patches |
| 5×7 in | 124 × 174 mm | 6 (2 × 3) |
| 6×10 in | 154 × 254 mm | 8 (2 × 4) |
| 8×8 in | 194 × 194 mm | 9 (3 × 3) |
| 8×12 in | 194 × 294 mm | 15 (3 × 5) |
- Turn the design if more copies fit that way; long labels often fit more rows turned 90 degrees.
- Keep copies identical and aligned in a grid, so the cutting lines are straight.
- Keep the margin. Nothing should come within about 3 mm of the sewing field's edge, so the hoop never comes close to a stitch.
The hoop sizes guide lists the sewing field of each hoop, and the hoop checker shows which hoops a finished file fits.
Try it with your own design
Sign up free, upload an image and get a stitch preview in under a minute.
Drop your image here
PNG, JPG, WebP or SVG · stays on your device
Spacing for cutting
- About 6–10 mm between pieces is usually enough to cut labels, tags and other straight-edged pieces apart without nicking the stitches.
- More round patches. Patches cut out close to a satin edge, or given a satin or merrowed border after cutting, need room to work round each one; many embroiderers leave 10–15 mm or more.
- Allow for the finish. Ornaments with a felt border and pieces you'll turn need their border or seam allowance plus the cutting gap.
- Mark the cutting lines if they're hard to see, with a water-soluble pen.
Print the layout at true size with the placement template and lay it on the fabric before you hoop, to check every copy lands on the fabric with room to cut.
Hooping one sheet or separate pieces
| Method | How | Good for |
|---|---|---|
| One sheet | Hoop a single piece of fabric with stabilizer under the whole area | Patches, felt ornaments and labels cut from one fabric |
| Separate pieces, floated | Hoop sticky stabilizer and press each piece on, squared to the hoop's grid | Napkins, coasters, label blanks and ready-cut pieces |
| Strips on stabilizer | Lay label tape or ribbon across hooped stabilizer and tape the ends | Name labels |
- Use a firmer stabilizer under a full hoop, because many designs sewn side by side pull more than one does. The patches guide covers the backing stack for patches.
- Tape outside the stitch path. A pin in a full hoop is a needle strike waiting to happen.
- Baste floated pieces. A basting box round each piece, if your machine adds one, stops it shifting while the others sew.
Sewing order, color stops and trims
A gang-hooped file can sew in two orders, and the better one depends on your machine:
| Order | How it sews | Best for |
|---|---|---|
| Color by color | Color 1 on every copy, then color 2 on every copy, and so on | Single-needle machines: one rethread per color, not per copy |
| Copy by copy | Each copy sews completely before the next starts | Multi-needle machines, and designs where outlines must line up with their fills |
- Color by color means far fewer stops: six copies of a three-color design sew as 3 color runs instead of 18. The cost is more jumps between copies for each color.
- Copy by copy keeps each outline lined up with its fill, because the outline sews straight after the fill it surrounds.
- Trim between copies. Every move to another copy is a jump. Set the machine to trim jumps above a short length, or you'll be clipping threads across the whole hoop.
- Lock stitches at the start and end of each copy stop the stitching pulling out once you cut the pieces apart.
The sewing order entry explains more. After making the layout, check the color list: the number of stops tells you which order the file uses.
How much time it saves
Gang hooping doesn't make the machine sew faster: six patches take about six times the stitches of one, plus the moves between them. What it saves is everything around the stitching: hooping, threading, starting and unhooping.
- Hooping: one hooping instead of six. If hooping and setup take you three minutes, a sheet of six saves about fifteen.
- Thread changes: sewn color by color, a sheet of six on a single-needle machine needs the same rethreads as a single copy.
- Consistency: every copy sews with the same tension, stabilizer and fabric, so a set matches.
- Risk: one mistake can spoil the whole sheet, so sew a single copy as a test first.
The production calculator works out pieces per hour from the stitch count, hooping time and machine speed, so you can compare single and gang-hooped runs.
Practice on a free design
114 ready-to-sew designs in every machine format, free with an account.


Making the layout file
- Copies of one design: the hoop layout tool fits as many copies as your hoop holds, with the gap you set, turning the design if more fit that way, and sews them color by color or copy by copy. Saving the file needs a paid plan.
- Different names on one sheet: make each name with batch name embroidery, then place them together in the design combiner. Both need a paid plan to save.
- On the machine: many machines can repeat or arrange designs on screen; check your manual.
- Your own patch or label artwork: upload it to the digitizer and set the size of one copy first. Digitizing and previewing are free with an account.
Open the finished layout in the sew-out simulator to check the order and the jumps between copies. When the designs differ, the combining guide covers spacing and order.