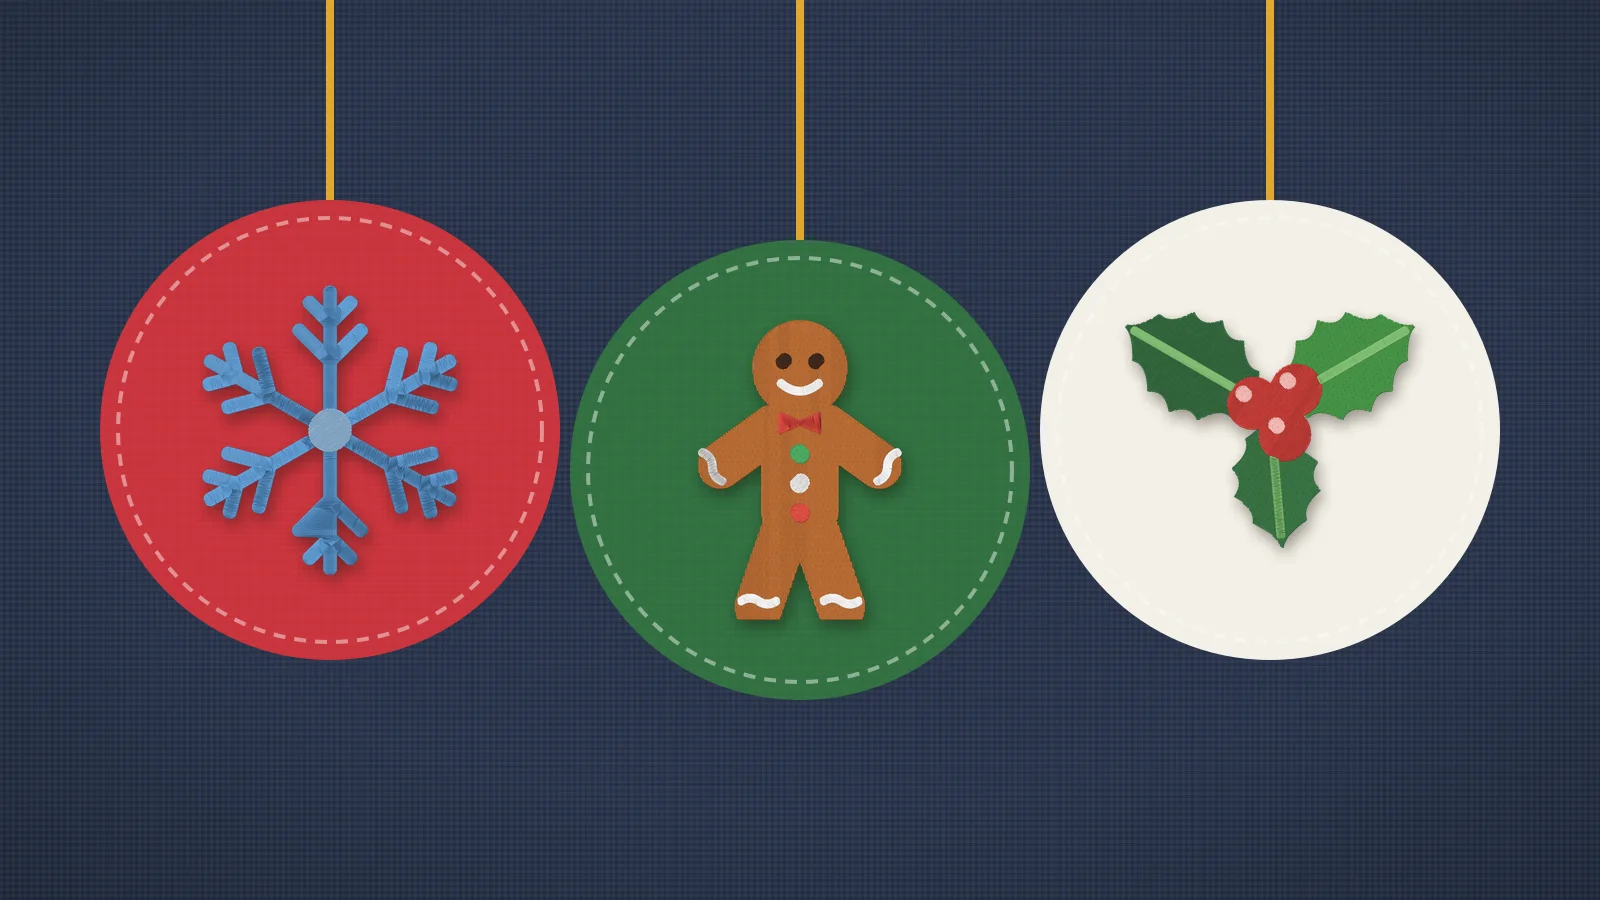
Embroidered ornaments are quick, small and easy to personalize: a snowflake for a teacher, a name and year for a baby's first Christmas, a set of matching trees for a craft fair. Most fit a 4×4 in hoop, and several can share one hooping.
This guide covers the ways to make one, felt ornaments step by step, double-sided ornaments, how small names and years can go, stabilizer and finishing. For ornaments built entirely in the hoop, see in-the-hoop embroidery; for lace ones, free-standing lace.
Four ways to make an embroidered ornament
| Method | How it works | What you need |
|---|---|---|
| Flat, then finished | Stitch a design on felt or fabric, cut it out and back it by hand or machine | Any small design, felt and a ribbon |
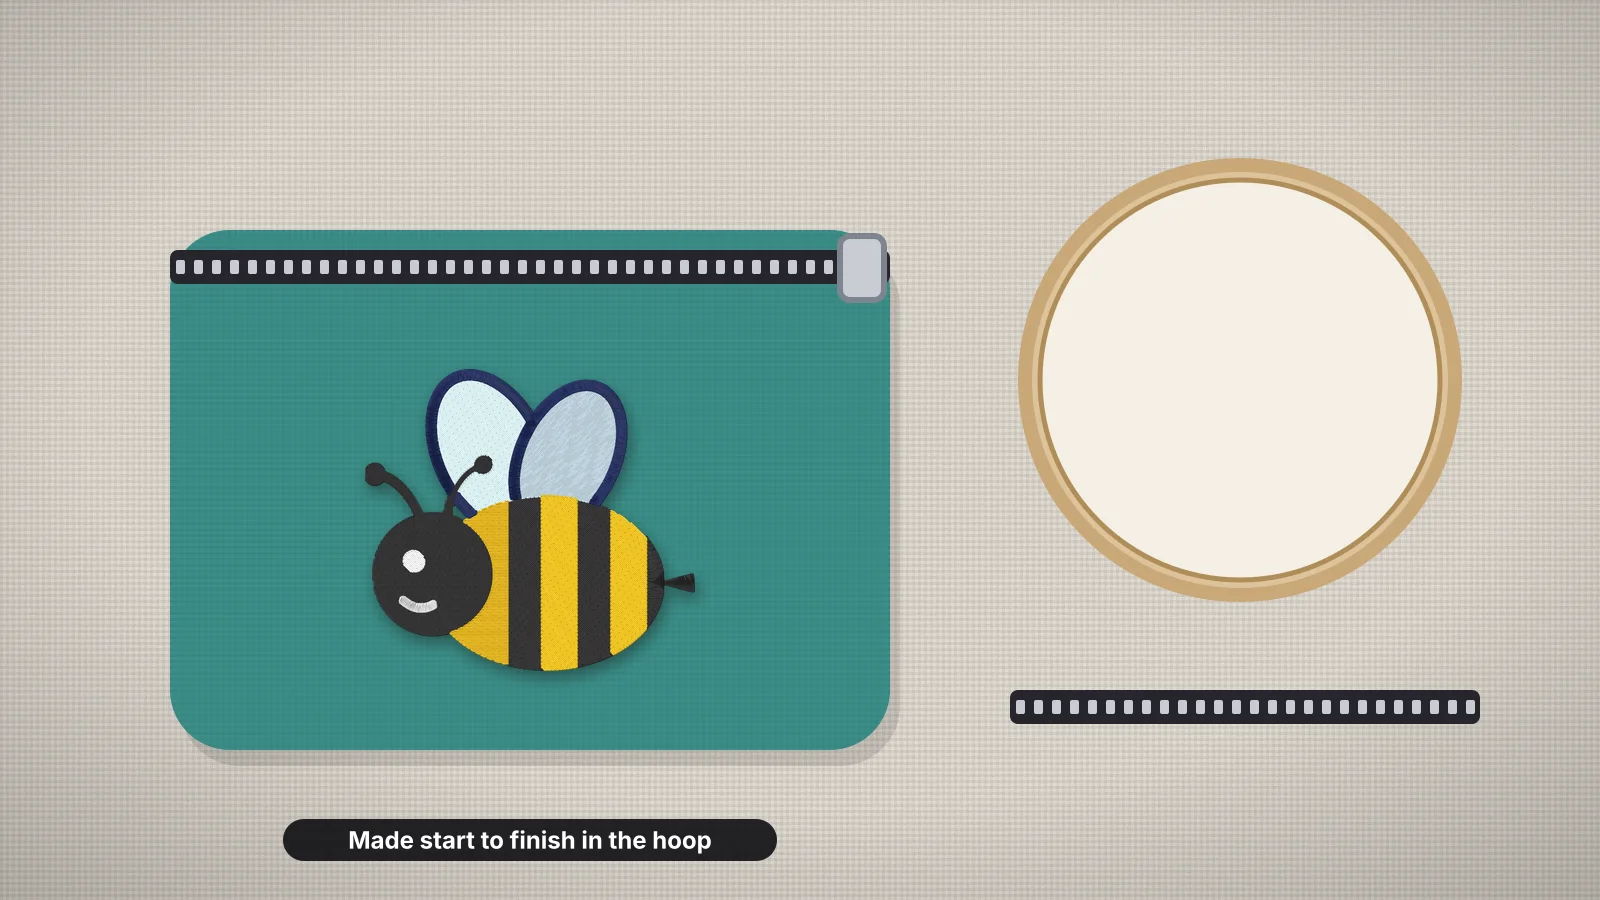
| In the hoop (ITH) | The file sews the front, the back, the loop and the edge in steps | An ITH ornament file from a designer |
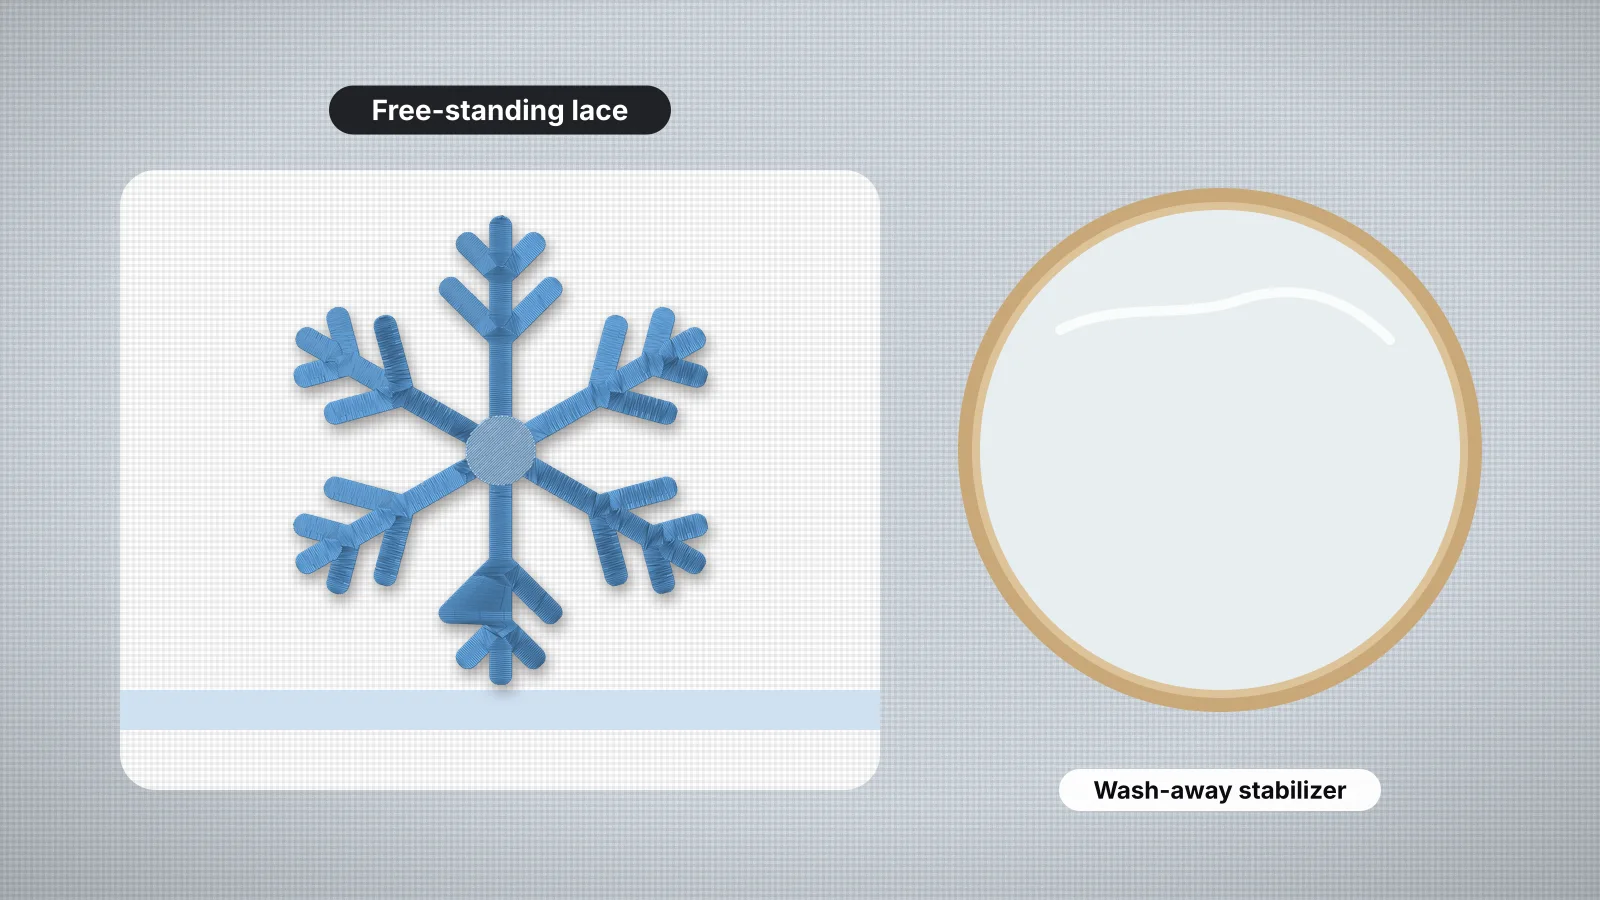
| Free-standing lace | Stitched on wash-away stabilizer, so only the thread is left | A design made as FSL |
| Mini hoop or frame | Stitch on cotton or linen and mount it in a small wooden hoop or a blank ornament frame | A design that fits the opening, and the hoop or frame |
The flat method works with any design, including your own, and needs nothing special. In-the-hoop and lace ornaments need files built for those methods, with steps a specialist digitizer adds by hand.
For a mini hoop ornament, make the design about 1/2 in (12 mm) smaller than the opening, so the frame doesn't cover its edges.
Felt ornaments, step by step
- Hoop a sheet of felt with medium tear-away underneath, or float the felt on hooped sticky stabilizer.
- Stitch the design. If you're sewing several on one sheet, leave at least about 1 in (25 mm) between them.
- Unhoop and tear the stabilizer away close to the stitching.
- Cut out the shape, leaving a border of about 1/4 in (6 mm) of felt round the design. Pinking shears give a decorative edge.
- Cut a matching back from a second piece of felt.
- Fold a ribbon or cord in half for the loop and tuck its ends between the layers at the top.
- Join the layers round the edge with a straight or zigzag stitch on a sewing machine, a blanket stitch by hand, or fabric glue. Add a little stuffing before you close it for a padded ornament.
Many embroiderers prefer wool or wool-blend felt for ornaments: it holds stitches firmly and cuts cleaner than thin craft felt, which can stretch and pill. Stiffened felt is easier to cut neatly but harder to stuff.
Try it with your own design
Sign up free, upload an image and get a stitch preview in under a minute.
Drop your image here
PNG, JPG, WebP or SVG · stays on your device
Double-sided ornaments
Ornaments turn on the tree, so the back shows. There are three ways to make both sides look finished:
- A plain back. The simplest: a second layer of felt in the same or a contrasting color hides the back of the embroidery.
- Two embroidered sides. Stitch the front and back as separate pieces, such as a motif on one and a name and year on the other, then join them wrong sides together. Center both designs on the same point so the shapes line up when you cut them.
- One layer, both sides on show. Some mini hoop ornaments and all lace show the back of the stitching. Match the bobbin thread to the top thread there, and trim every jump thread.
For two-sided pieces, cut both shapes after stitching, with the same paper template laid over each design, so the edges match. The placement template prints a design at true size to help.
Names and years: how small can text go?
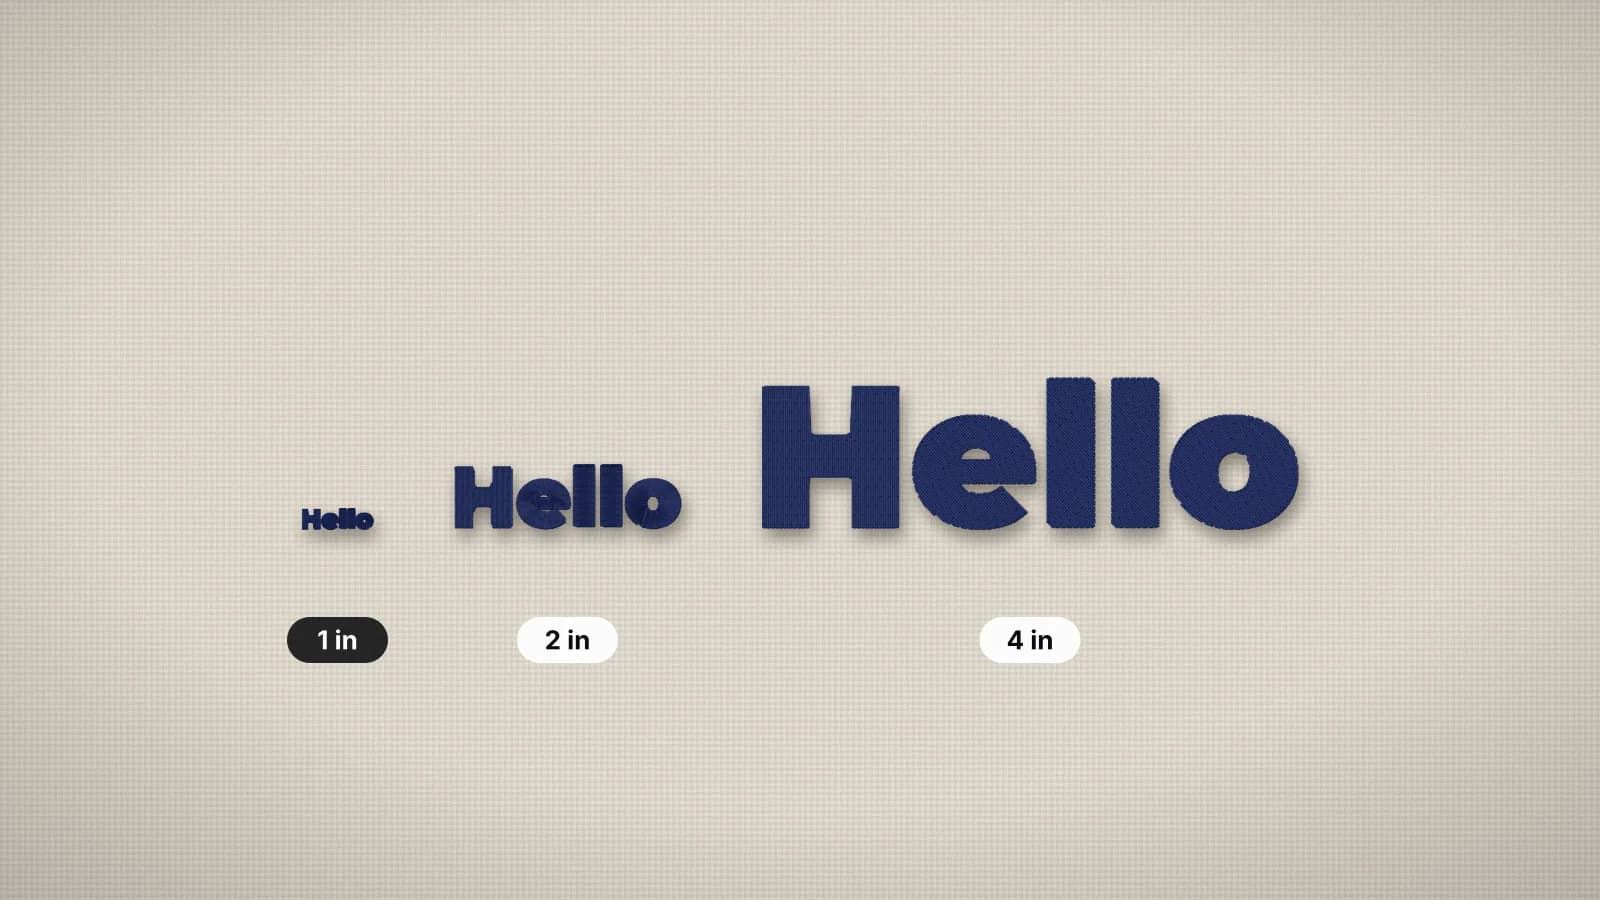
An ornament is often about 3–4 in (75–100 mm) across, so a name and a year have to share very little space. Text still needs the same minimum height as anywhere else:
| Lettering | Smallest, on smooth felt | Comfortable |
|---|---|---|
| Block capitals | About 5 mm | 7–10 mm |
| Rounded or bold sans | About 5 mm | 7–10 mm |
| Serif capitals | About 7–8 mm | 9–12 mm |
| Script | About 10–12 mm | 12–15 mm |
| Numbers for a year | About 5 mm, in a block font | 6–8 mm |
- Use fewer letters, not smaller ones. An initial instead of a full name, or '26 instead of 2026, keeps the text at a size that stitches cleanly.
- Go a millimeter or two bigger on fuzzy felt and glitter felt, which hide thin strokes.
- Put the name and year on the back of a double-sided ornament if the front motif fills it.
The small text guide explains why letters fill in below these sizes, and the lettering size calculator shows how tall a name comes out at a given width.
Stabilizer and needles for ornament materials
| Material | Stabilizer | Needle | Good to know |
|---|---|---|---|
| Wool or wool-blend felt | Medium tear-away | 75/11 sharp | Holds stitches well; smooth felt needs no topping |
| Craft or glitter felt | Medium tear-away, or sticky tear-away to float it | 75/11 sharp | Thin felt stretches, so don't pull it tight in the hoop |
| Cotton or linen for a mini hoop | Tear-away, or cut-away under dense designs | 75/11 sharp | The back is hidden by the hoop or a felt backing |
| Vinyl or faux leather | Sticky tear-away, floated | 75/11 or 80/12 sharp | Every needle hole is permanent, so keep designs light |
| Velvet | Cut-away or tear-away, floated | 75/11 sharp | Add a water-soluble topping and stick to bold designs |
The stabilizer guide explains each type, and the leather stabilizer page covers vinyl and faux leather.
Hanging loops and finishing
- Ribbon or cord loops. About 5–6 in (13–15 cm) of narrow ribbon, baker's twine or cord, folded in half, makes a loop that hangs well. Sew through both ends twice so it can't pull out.
- Keep the loop out of the stitching. Tape it clear of the needle until the edge is sewn, on in-the-hoop and flat ornaments alike.
- Eyelets and holes. On a single thick layer, a small eyelet or a punched hole with ribbon tied through works too.
- Edges. Pinking shears, a blanket stitch, a machine zigzag or the satin edge of an ITH file all finish felt. Cotton frays, so it needs a backing or a hoop.
- Trim everything. Clip jump threads and thread tails close on both sides; they show on a tree.
Practice on a free design
114 ready-to-sew designs in every machine format, free with an account.

Designs, sets and your own artwork
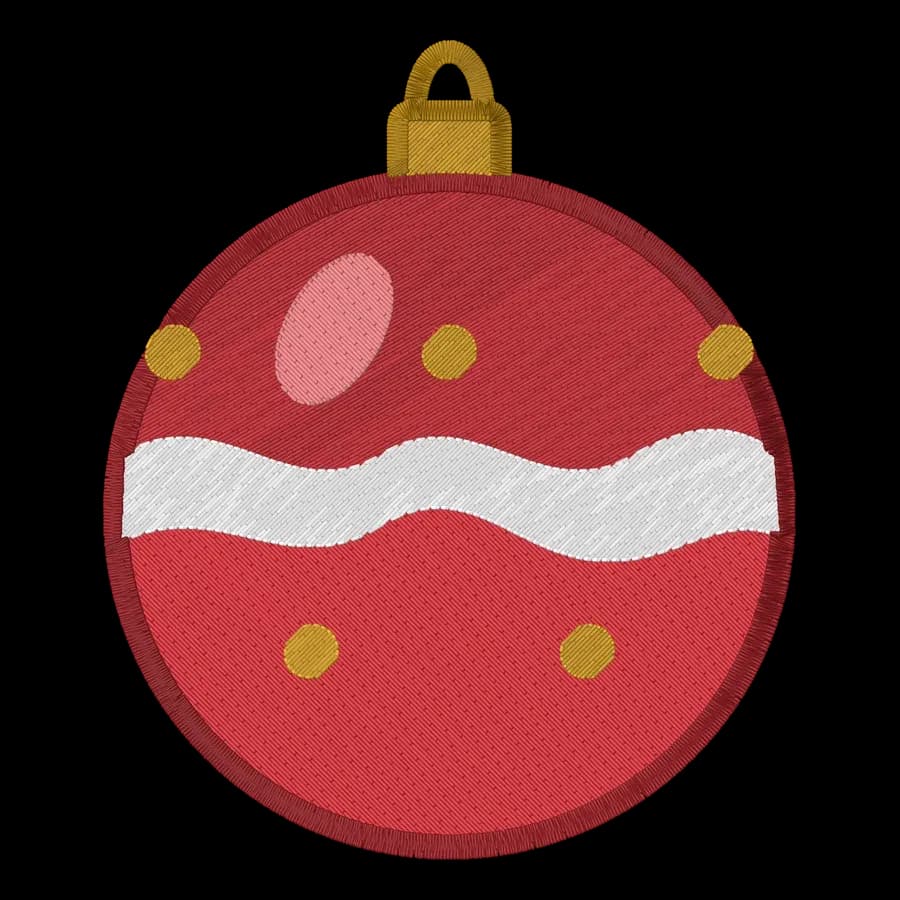
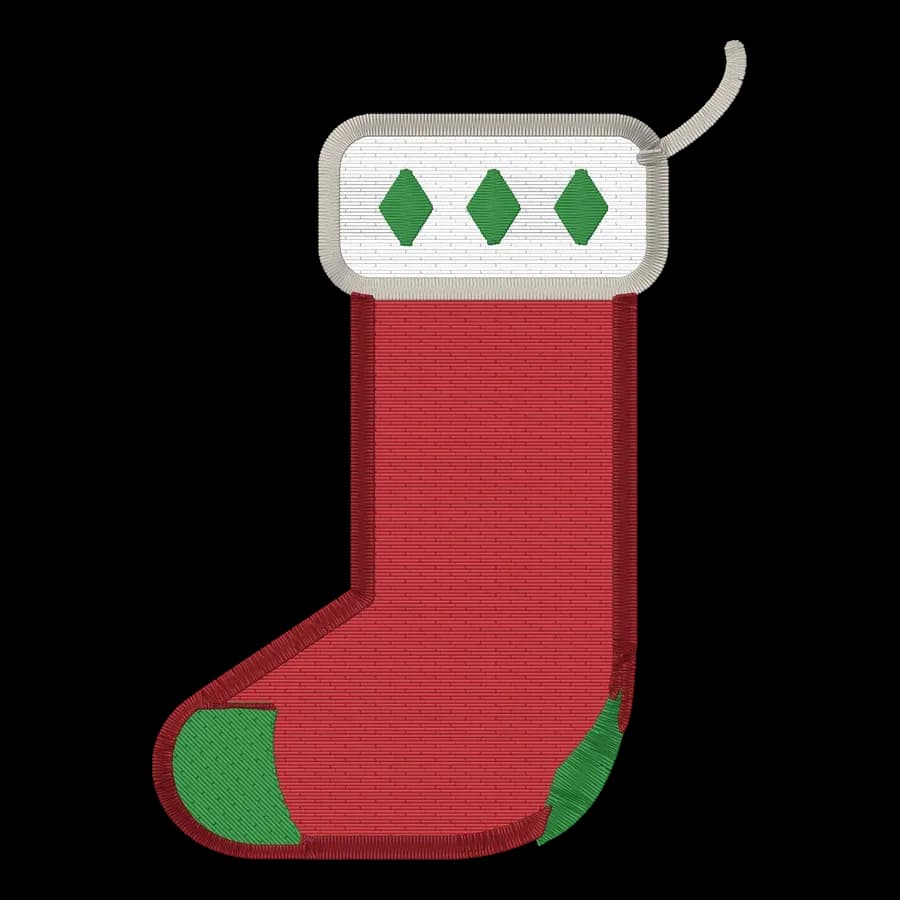
Small, bold designs make the best ornaments. The free ornament, snowflake, Christmas tree, candy cane, gingerbread man, Santa hat and wreath designs fit a 4×4 in hoop and download free with an account.
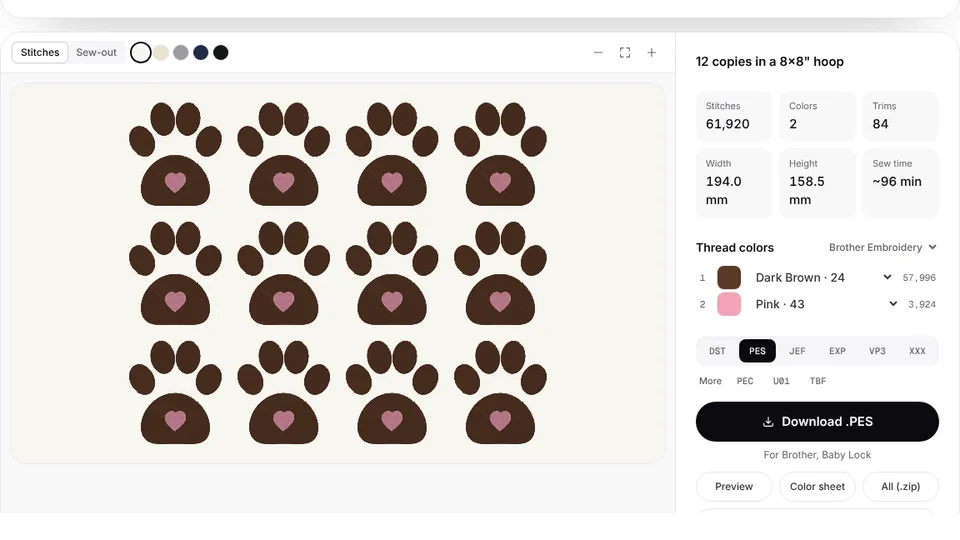
- Several in one hooping: felt ornaments suit gang hooping. How to embroider multiple items in one hoop covers spacing, and the hoop layout tool fills a hoop with copies of one design; saving the file needs a paid plan.
- A child's drawing: upload it to the digitizer, set it to about 2.5–3.5 in (65–90 mm) and preview the stitches. Digitizing and previewing are free with an account, and turning a drawing into embroidery has tips on preparing it.
- Names for a family or a class: batch name embroidery makes every name in the same font and height.
Embrizo makes flat embroidery from your artwork. It doesn't make in-the-hoop steps or free-standing lace, so buy those ornament files from designers who specialize in them.