Logo workwear is the everyday business of many embroidery shops: polos for a café, jackets for a builder, caps for a landscaping crew, scrubs for a clinic. The designs are small and the stitching is quick. What makes or breaks the job is getting the logo to read at about 3 inches wide, and making the fiftieth piece look exactly like the first.
This guide covers placement and sizes by garment, preparing the logo, fabrics and stabilizers, hi-vis and protective clothing, getting the stitch file and keeping a batch consistent. For promotional merch beyond uniforms, see embroidery for small business merch.
Placement and sizes by garment
| Garment | Usual placement | Typical logo width |
|---|---|---|
| Polo or work shirt | Left chest, about 7–9 in below the shoulder seam at the collar | 3–4 in (75–100 mm) |
| Staff name or second logo | Right chest, level with the left chest logo | 2–3.5 in (50–90 mm) |
| Jacket or softshell | Left chest, with an optional full back design | 3–4 in on the chest; 10–12 in across the back |
| Cap | Cap front, centered just above the brim | 4–5 in (100–125 mm), up to about 2–2.25 in tall |
| Scrubs | Chest, often the wearer's left | About 2.5–3.5 in (65–90 mm) |
| Bib apron | Centered on the bib, or on the left chest | About 4–6 in centered; 3–4 in on the left chest |
| Sleeve | Upper sleeve, on the outside of the arm | 2.5–3.5 in (65–90 mm) |
| Back of neck | Just below the collar | 2–4 in wide, kept short |
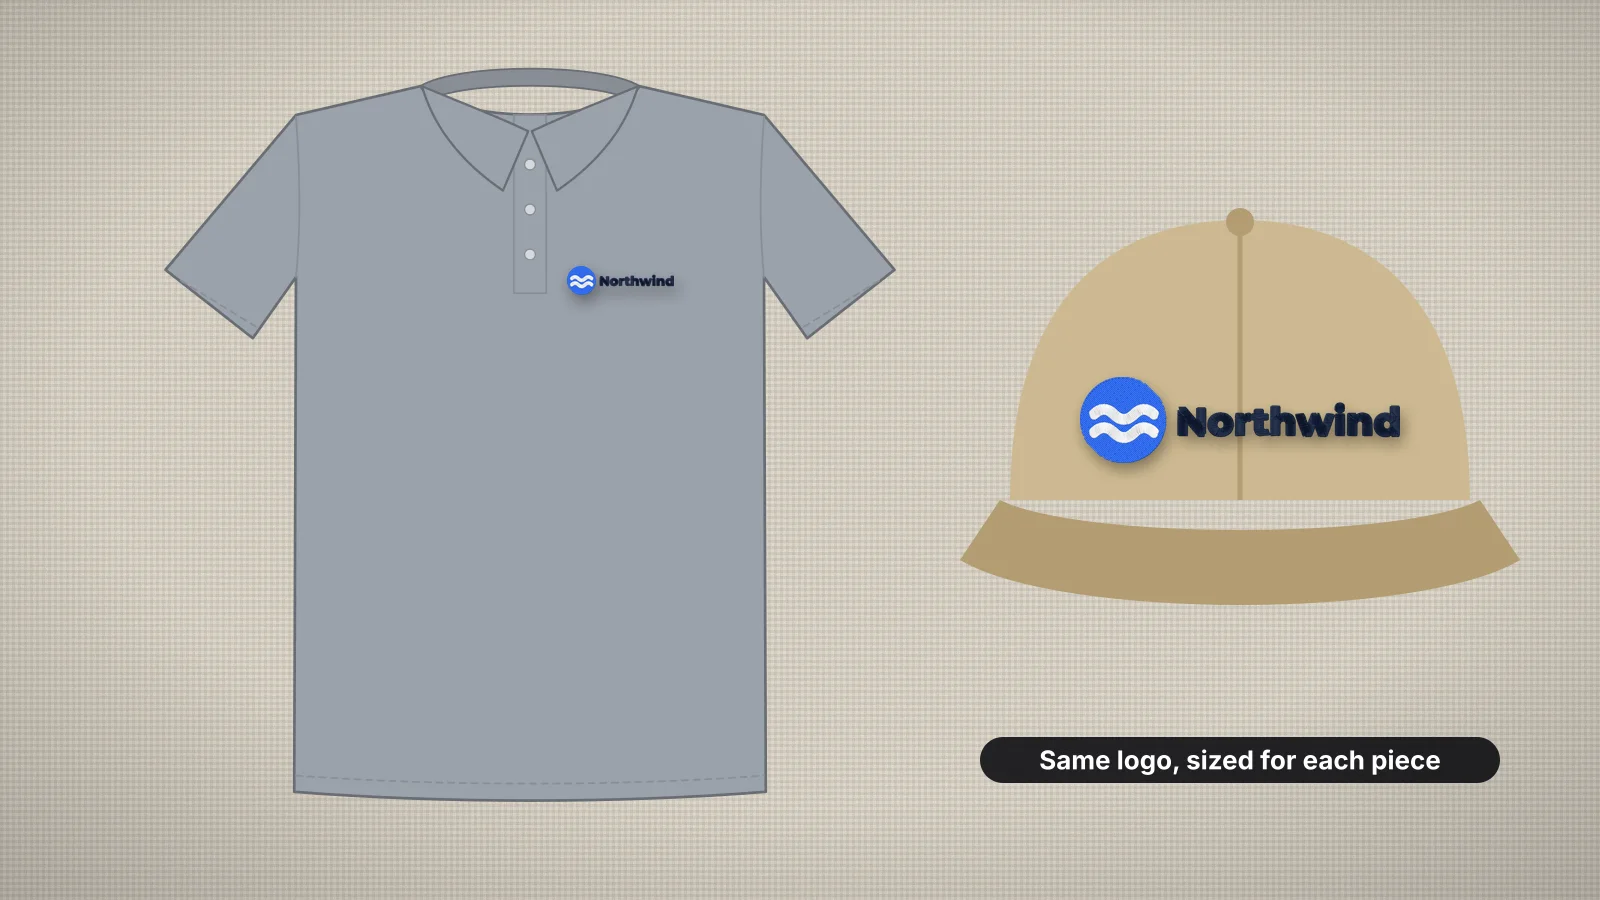
Keep the logo the same size on every shirt in an order, so the team looks matched. If the range runs from very small to very large sizes, some shops make a slightly smaller version for the smallest sizes. The placement guide covers each position, and how to embroider scrubs and how to embroider an apron go into those garments.
Preparing the logo for thread
- Start from the best file the company has: a vector (SVG, AI, EPS or PDF) or a large PNG. The digitizer reads SVG directly, so export one if you can.
- Simplify it for the chest. Drop taglines, web addresses and fine print; at about 3.5 in wide, lettering under about 5 mm tall closes up.
- Reduce the colors to the logo's real brand colors, often 2–5. The image color reducer cleans up a JPG that has picked up extra shades.
- Remove the background unless it's part of the design, with the logo background remover.
- Check thin lines. Lines under about 1 mm wide at the stitched size won't form a clean satin column.
- Match the brand's thread colors. Image to thread colors finds the closest Brother and Janome threads, and thread color matching covers brand colors.
Logos are usually trademarks, so take the order from the company or with its approval. The logo digitizing guide covers simplifying a logo in more detail.
Try it with your own design
Sign up free, upload an image and get a stitch preview in under a minute.
Drop your image here
PNG, JPG, WebP or SVG · stays on your device
Workwear fabrics and stabilizers
| Garment and fabric | Stabilizer | Needle | Fabric preset |
|---|---|---|---|
| Piqué polo | Cut-away or no-show mesh; a topping for small lettering | 75/11 ballpoint | Knit |
| Woven work shirt (cotton, poly-cotton, oxford) | Tear-away, or cut-away under dense logos | 75/11 sharp | Woven |
| Twill or canvas jacket, canvas apron | Medium tear-away, or cut-away under dense logos | 80/12 or 90/14 sharp | Woven |
| Softshell, performance and stretch | Cut-away or no-show mesh | 70/10 or 75/11 ballpoint | Stretch |
| Fleece jacket or sweatshirt | Cut-away, with a water-soluble topping | 75/11 or 80/12 ballpoint | Fleece, towel, sweatshirt |
| Structured cap | Cap backing, tear-away or cut-away | 75/11 or 80/12 sharp | Woven |
| Scrubs | Cut-away or no-show mesh on stretch; tear-away or cut-away on poly-cotton | 75/11, ballpoint on stretch | Woven or Stretch |
The polo shirt, woven shirt, cap and performance fabric stabilizer pages go into each one, and the polo shirt guide covers piqué in detail.
Hi-vis, flame-resistant and waterproof clothing
Safety and technical clothing needs more care than a polo:
- Hi-vis garments are made to standards for how much fluorescent and reflective material they show. Stitching over the reflective tape, or a big logo on the fluorescent fabric, can reduce that, so keep logos small, off the tape, and check the garment maker's guidance on decoration.
- Flame-resistant workwear depends on every material in it, and standard polyester thread and backings can melt. Ask the garment supplier what thread and decoration they approve before you stitch.
- Waterproof jackets get needle holes through the waterproof layer. Stitch only the outer shell where you can reach it, or use a sewn-on patch placed with the same care.
Whenever you decorate safety clothing, check with the employer's safety lead or the garment maker first. Their requirements come before the logo.
Getting the logo file
- Upload the logo to the Embrizo digitizer as a PNG, JPG, WebP or SVG.
- Set the width for the placement, for example 3.5 in for the left chest.
- Choose the fabric preset for the garment: Knit for polos, Woven for work shirts, jackets and caps, Stretch for performance wear.
- Check the colors: merge near-duplicates, set the stitch type for each color, and pick the closest threads from the thread chart.
- Read the design check and watch the sew-out preview for lettering that's too small or detail that won't hold.
- Download the format your machine reads: DST for most commercial multi-needle machines, PES for Brother and Baby Lock, or one of the other formats.
Make a separate file for each size, such as one for the chest and one for the cap, rather than scaling one file a long way. The left chest logo, hat logo and logo to embroidery file pages show examples. Digitizing and previewing are free with an account; downloading the file needs a paid plan.
Practice on a free design
124 ready-to-sew designs in every machine format, free with an account.

Keeping a batch consistent
- Sew a sample first on the real garment or an offcut, and get the customer to approve it before the run.
- Print a run sheet for the approved file with the run sheet tool: color stops, needle numbers, thread matches and run time, so every piece is stitched the same way.
- Mark placement the same way every time. Measure from the same point on each garment, with a printed placement template or a hooping station.
- Sort the garments by style, color and size before you start, and adjust placement only for sizes that need it.
- Add names in one style. Batch name embroidery turns a staff list into lettering files in one font, height and thread, with width checks; saving the files needs a paid plan.
- Check each piece against the order as it comes off the machine, and keep the approved file and run sheet for reorders.
Planning the run? The production calculator estimates pieces per hour and days to finish, and the quote generator prices the order with a digitizing fee.