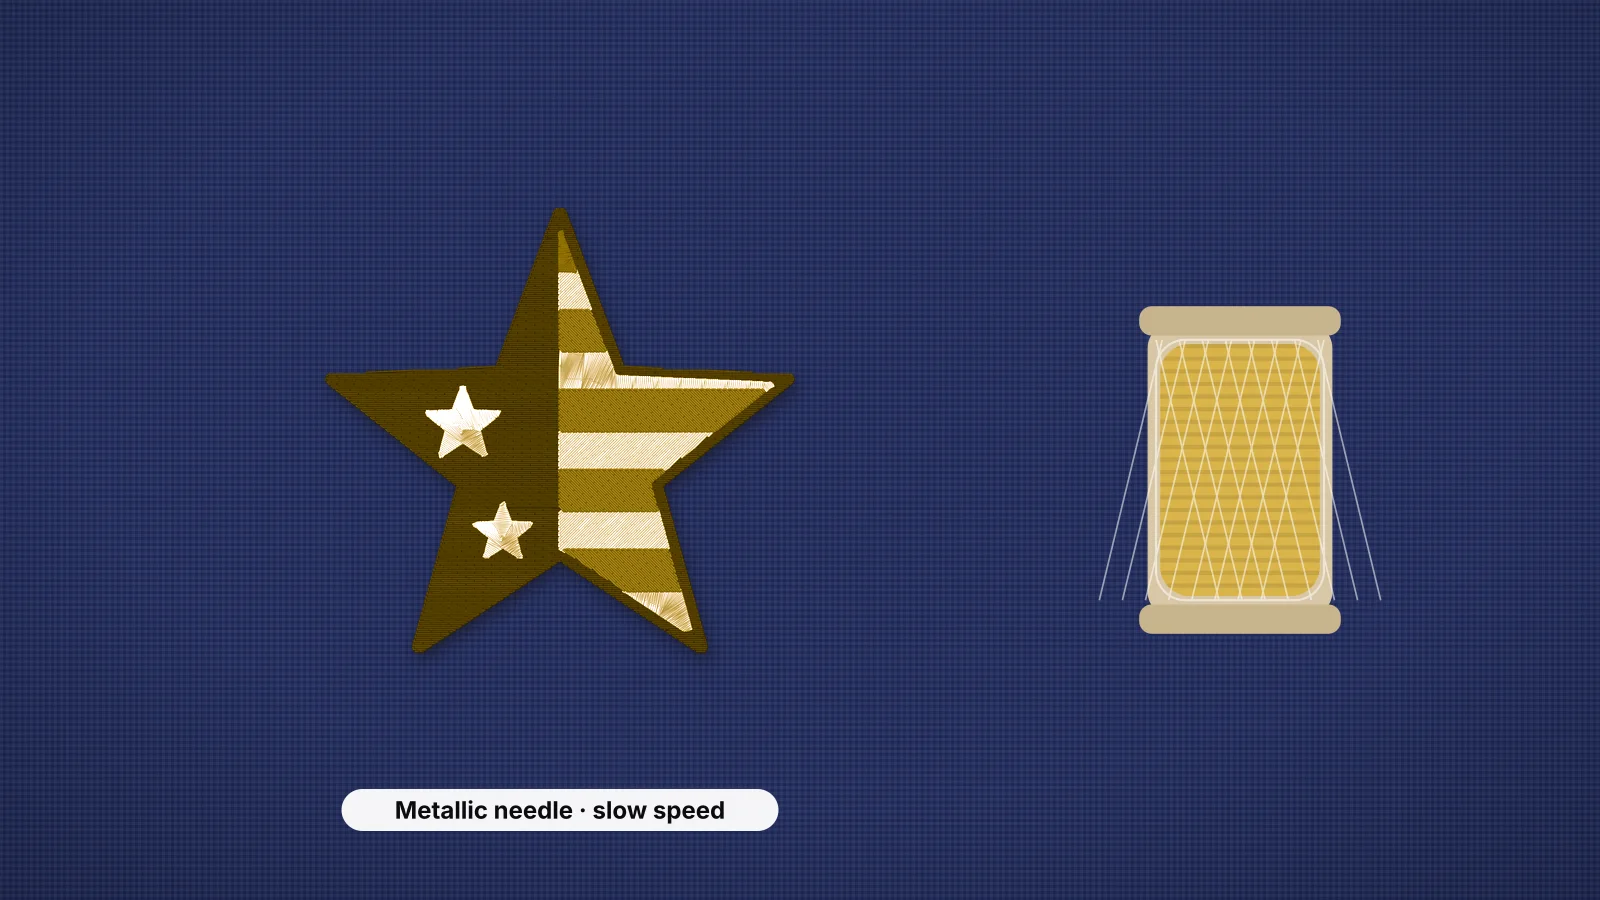
Metallic thread adds a shine that no polyester or rayon can match, and it's the thread most likely to shred, break and loop. Most metallics are a thin metallic film wrapped around a core, so they're stiffer, springier and more fragile than ordinary embroidery thread. The fixes are small, and most are at the machine rather than in the thread.
This guide covers the needle, speed, how the thread feeds, tension and what to change in the design. If ordinary thread breaks too, why thread keeps breaking works through the causes in order, and the thread guide compares thread types.
Why metallic thread breaks
| What you see | Usual cause | Fix |
|---|---|---|
| Shredding near the needle | A standard needle eye rubbing the metallic wrap | A metallic or topstitch needle with a larger eye |
| Kinks, loops and twists | Thread twisting as it comes off the spool | A thread stand, or a thread net over the spool |
| Snapping mid-design | Too much speed or tension, or a worn needle | Slow down, loosen the top tension a little, fit a new needle |
| Breaks in dense areas | Too many needle holes close together | Lighter density, fewer layers, no metallic in tiny detail |
| Breaks at the same spot every time | A burr in the thread path or on the needle plate | Check the path and the plate, or have them polished |
Work through them in order: needle, feed, speed, tension, then the design. Change one thing at a time and test on a scrap of the same fabric.
Use a metallic or topstitch needle
The needle matters most. A metallic needle has a long, smooth eye and a deeper groove, so the thread passes through with less friction. A topstitch needle, with an even larger eye, works well too.
- Size 80/12 or 90/14 suits most metallic threads. Go up a size if it still shreds.
- Fit a new one. A slightly worn needle that's fine for polyester can strip the wrap off metallic.
- Match the point to the fabric: ballpoint for knits, sharp for wovens. The needle guide covers both.
Try it with your own design
Sign up free, upload an image and get a stitch preview in under a minute.
Drop your image here
PNG, JPG, WebP or SVG · stays on your device
Slow down and feed the thread smoothly
- Slow the machine. Many embroiderers sew metallic well below their usual speed. On a home machine, pick a low embroidery speed setting.
- Use a thread stand set behind the machine. The longer, straighter path lets the thread's twist relax before it reaches the first guide.
- Put a thread net over the spool. The mesh sleeve stops slippery metallic sliding down the spool and tangling around the pin.
- Use the spool pin and spool cap your manual suggests, so the spool turns smoothly and the thread can't catch on the spool's notch.
- Keep regular bobbin thread in the bobbin. Metallic goes in the needle only; bobbin thread keeps the tension balanced.
- Store metallic out of heat and light. Old or sun-damaged metallic gets brittle; the thread guide has storage tips.
Leave a longer thread tail than usual when you start, and hold it for the first few stitches. Springy metallic pulls out of the needle easily.
Loosen the top tension a little
Metallic stretches less than polyester and snaps when it's pulled tight. Many embroiderers loosen the top tension slightly for it, then check the back of a test: on a satin column, about the middle third should show bobbin thread, the same as with any other thread.
- Adjust in small steps, on the top tension only. Leave the bobbin tension alone unless your manual explains how to set it.
- Rethread with the presser foot up after any break, so the thread drops into the tension discs. The threading guide shows the full path.
- Bobbin thread showing on top means the top tension is now too loose; tighten it back a little.
The thread tension entry explains how the top and bobbin threads balance.
Change the design: lighter density, longer stitches
Many metallic problems start in the file. Every needle hole is another chance for the metallic wrap to fray, so a design meant for metallic has fewer, longer stitches:
| Setting | For metallic | Why |
|---|---|---|
| Fill density | Lighter, with wider row spacing | Fewer needle holes and less friction |
| Stitch length | Longer running and fill stitches; no very short ones | Short stitches bend the thread sharply at every hole |
| Satin width | Medium columns, not very narrow or very wide | Narrow columns crowd the holes; long satin snags |
| Small details | Leave them out, or sew them in polyester | Tiny stitches are where metallic shreds first |
| Layers | No metallic sewn over dense fills | Stitching through layers adds friction |
In the digitizer, you can override the stitch type of the colors you'll sew in metallic, choosing satin or running stitch, and lower the fill density. The density guide explains spacing, and the density calculator converts it to lines per inch.
Designs that suit metallic thread
- Outlines and borders in running stitch, bean stitch or a medium satin.
- Lettering and monograms in a bold font, at a comfortable size.
- Highlights: stars, sparkles, snowflakes and the trim on an ornament, with the main fills in polyester.
- Open designs with light fills, rather than solid filled logos.
Holiday motifs such as the free snowflake and Christmas tree designs make quick metallic tests: sew one on a scrap with the needle, speed and tension above before you start the real piece. For more seasonal projects, see the Christmas embroidery ideas.