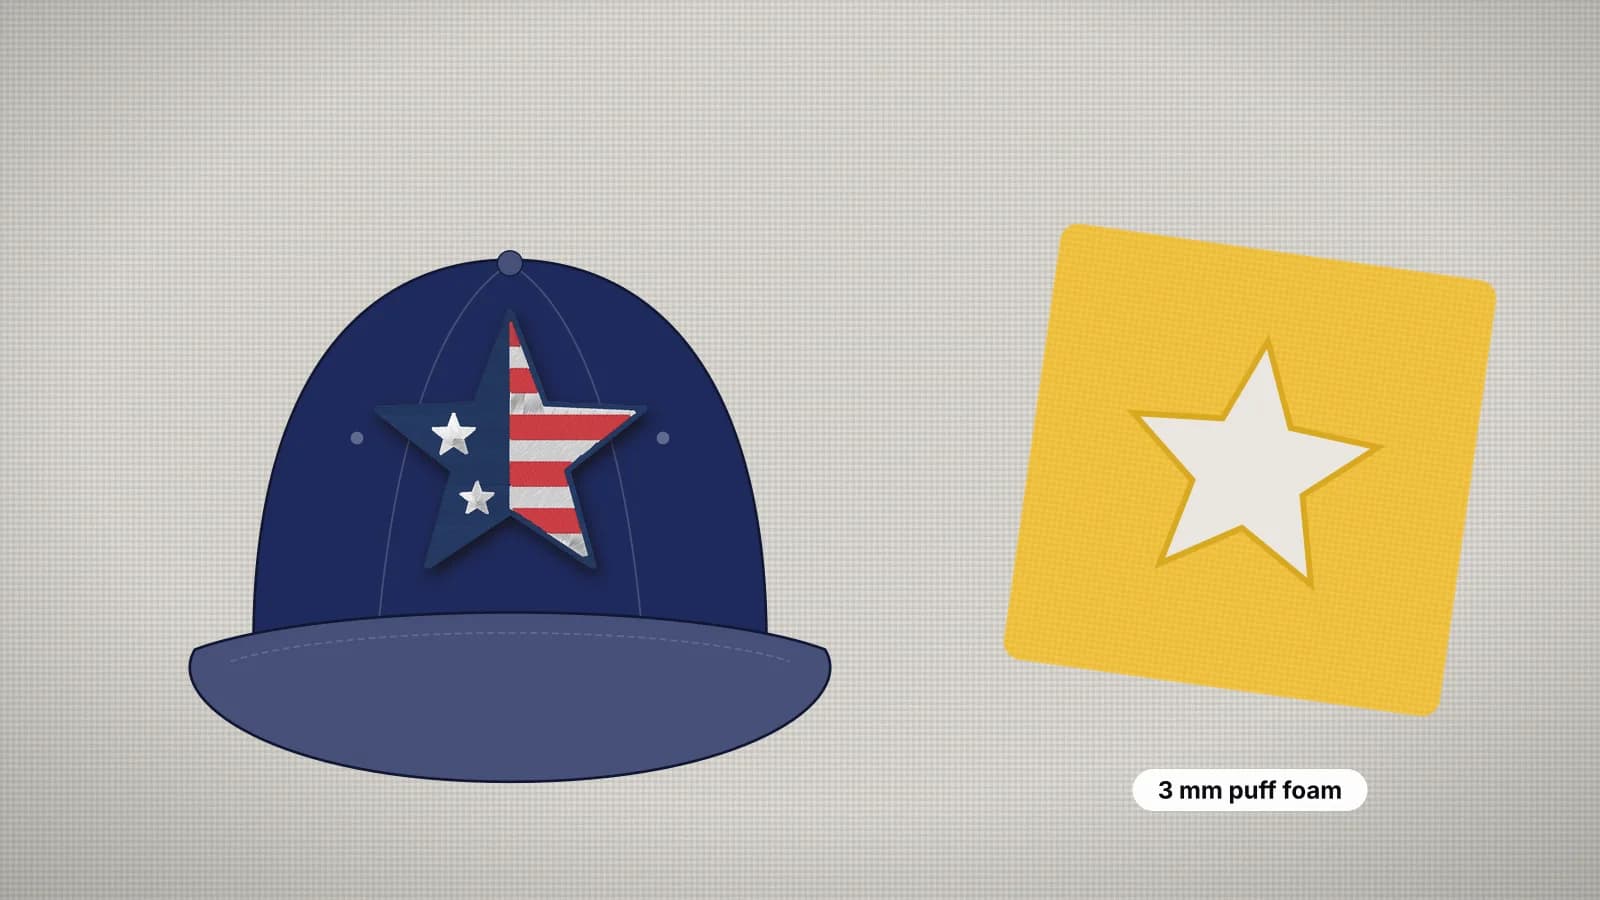
3D puff is the raised, rounded embroidery on the front of many caps: bold letters and simple logos that stand up off the crown. The lift comes from a sheet of foam under the stitches. The machine sews dense satin over it, the needle cuts the foam along the edges, and the excess pulls away.
It looks simple, but puff only works with a file made for it. An ordinary logo sewn over foam leaves foam poking out of the ends and gaps along the sides. This guide covers the foam, the design rules, stitching it on a cap, cleanup and what to keep flat. For caps in general, start with the hat embroidery guide.
How 3D puff works
- The machine sews any flat parts of the design, and any underlay for the puff areas, straight onto the cap.
- It stops. You lay a piece of puff foam over the area and hold it with a little tape at the edges or a light mist of spray adhesive.
- The machine sews dense satin columns over the foam. The needle holes along each edge are so close together that they perforate it.
- Extra stitches close off the ends of each column, sealing the foam in.
- You tear the excess foam away along the perforations and clean up what's left.
The stop for the foam is written into the file as a color change, so the machine pauses even when the thread stays the same. The 3D puff glossary entry has the short version.
Puff foam
- Use foam made for embroidery. Puff foam is made to perforate cleanly under the needle; craft foam often tears unevenly and leaves ragged edges.
- Thickness sets the height. Puff foam comes in several thicknesses, commonly about 1/16–1/8 in (1.5–3 mm). Thicker foam stands taller but needs wider, denser columns to cover it, so use what the design was made for.
- Match the foam to the thread. A little foam always shows at the needle holes, so use foam in the thread color, or the closest you have.
- Cut it larger than the puff area, with a margin all round, so it can't slide off an edge mid-design.
Sew a test on a spare cap with the same foam and thread. Foams vary, and one sew-out shows how cleanly the edges perforate and how tall the result stands.
Try it with your own design
Sign up free, upload an image and get a stitch preview in under a minute.
Drop your image here
PNG, JPG, WebP or SVG · stays on your device
What a puff design needs
Puff is about bold, simple shapes, and the file has to be built for it:
| Rule | Typical guide | Why |
|---|---|---|
| Satin only over foam | Every raised part is a satin column | Fill stitches flatten the foam instead of wrapping over it |
| Wide enough | At least about 3 mm (1/8 in) per column | Narrow columns can't hold the foam and split it |
| Not too wide | Many digitizers keep puff columns under about 12 mm (1/2 in) | Long satin stitches over foam snag and loosen |
| Capped ends | Extra stitches across the end of each column | Stops foam showing at the ends of letters and strokes |
| Higher density | Tighter than flat satin | Covers the foam completely and perforates it cleanly |
| Simple outlines | Rounded corners and open counters | Sharp points and tiny holes trap foam |
- Bold block capitals. Every stroke has to be wide enough for foam, which rules out most lowercase and scripts at cap sizes.
- Size to the cap front. Puff letters need wide strokes, so they need room; see the cap front size for the area you have.
- Mix puff with flat. Thin outlines, small text and fine detail can sew flat around the puff, before the foam goes down.
- Underlay goes down first. Any underlay for the puff areas is sewn before the foam is placed, so it anchors the cap without crushing the foam.
Density and stitching on a cap
Puff satin is denser than flat satin, so the needle holes along each edge sit close enough to cut the foam and the top is fully covered. The density guide explains how density is measured. At the machine:
- Stabilize the cap. A structured cap with a cap backing, or more support on an unstructured one; see the cap stabilizer page.
- Fit a new sharp needle, usually 75/11 or 80/12. A dull needle drags the foam instead of perforating it.
- Slow down for the puff sections. Many embroiderers already sew caps below their flat-work speed, and puff adds thickness under the foot.
- Watch the first columns. If the foam lifts or shifts, stop, press it back down and tape the corners.
- Use a cap frame where you can. Structured caps are easier on a cap frame, sewn from the center out.
Removing and cleaning up the foam
- Tear the excess foam away from the outside, pulling gently toward the stitching so it breaks along the perforations.
- Pick the bits out of letter counters and corners with tweezers.
- Shrink stray foam fibers back under the stitches. Many embroiderers use a heat gun or hair dryer briefly, held at a distance; test it on a spare first, because too much heat can mark the cap.
- Check the column ends. Foam showing at the end of a letter means the end wasn't capped; a fabric marker in the thread color hides a small spot.
If foam keeps showing along the sides of columns, the density is too low or the columns are too narrow. That's a file problem, not a cleanup job.
What doesn't work in puff
| Artwork | Why it fails | Do instead |
|---|---|---|
| Small lettering | The strokes are too narrow to hold foam | Sew it flat beside the puff |
| Scripts and hairlines | Thin, tapering strokes split the foam | Bold block capitals |
| Large filled areas | Fill stitches flatten the foam instead of wrapping it | Sew fills flat and puff only the lettering or a border |
| Very wide shapes | Long satin stitches over foam snag and loosen | Split into narrower columns, or keep them flat |
| Gradients and photos | Puff is solid color with clean edges | Simplify to one or two flat colors |
| Tight corners and tiny holes | Foam gets trapped and won't tear out | Round the corners and open up the counters |
Puff is a specialist technique, and Embrizo doesn't make puff files. The digitizer makes flat embroidery from your artwork, which suits the rest of a cap order: flat front logos, side and back designs, and the shirts that go with them. For the puff itself, the digitizing cost guide covers working with a professional digitizer.