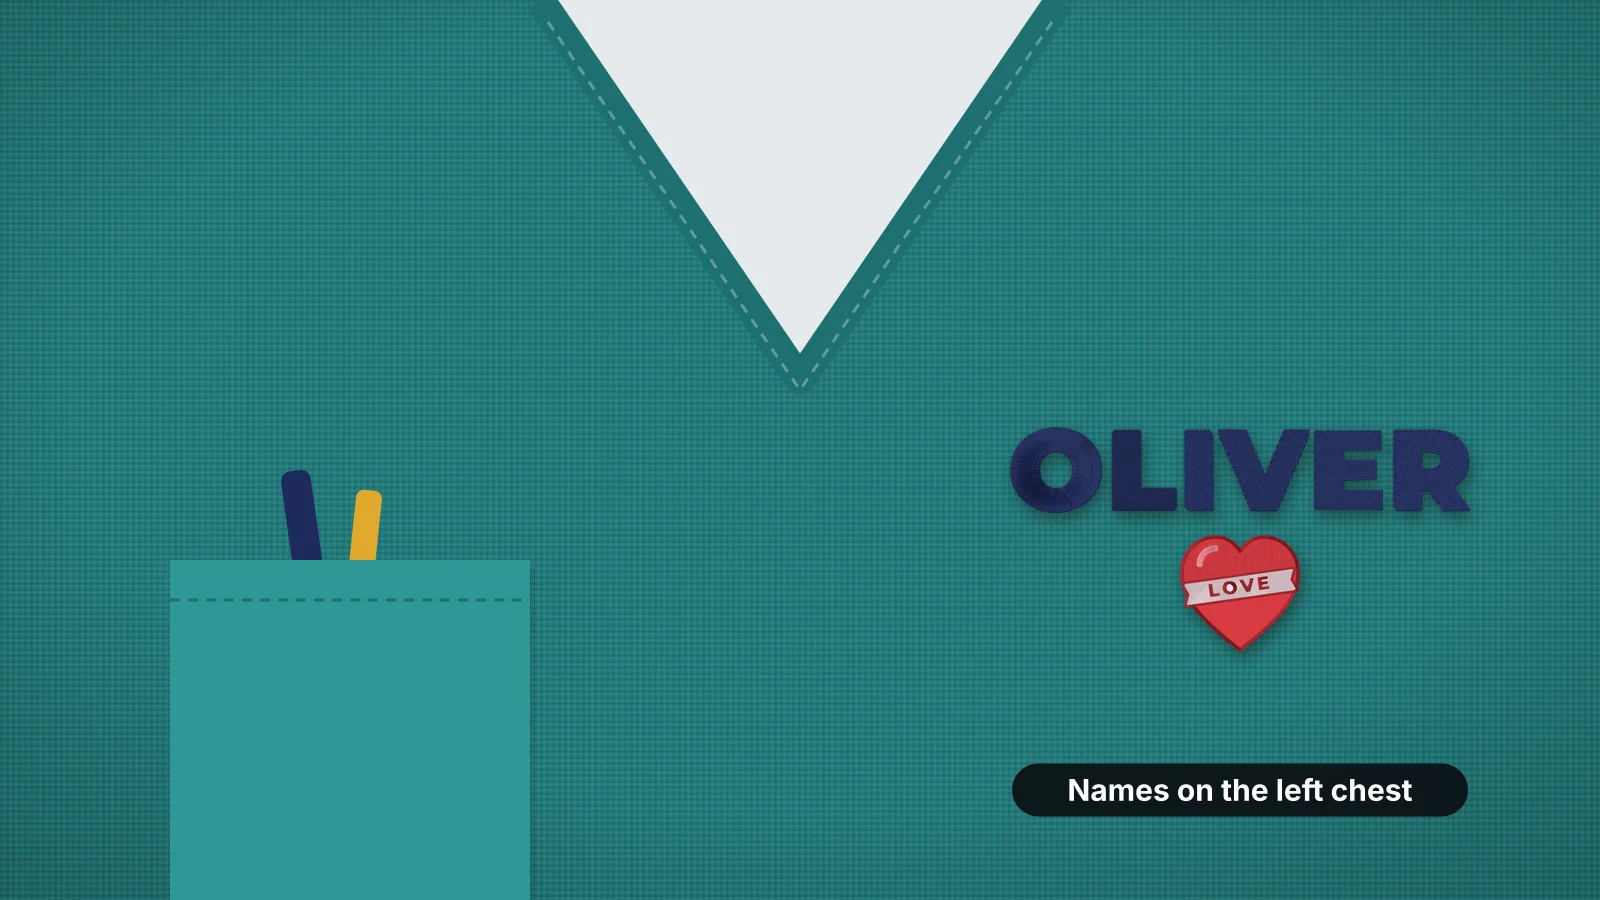
Scrubs, lab coats and other medical uniforms are some of the most common custom embroidery jobs: a name and a title on the chest, a clinic logo, sometimes a department on the sleeve. The designs are simple, but they're usually ordered in batches, worn every day and washed often, so consistency and durability matter more than anything fancy.
This guide covers placement, lettering sizes, scrub fabrics, hooping round pockets and V-necks, wash durability, batching names and clinic logos. For names in general, see how to embroider names.
Where names and logos go
| Garment | Placement | Notes |
|---|---|---|
| Scrub top | Chest, often the wearer's left; or a logo on the left and the name on the right | Measure from the shoulder seam at the neck, not from the V |
| Scrub top with a chest pocket | Above the pocket, or on the other side of the chest | Keep the design clear of the pocket opening |
| Lab coat | Left chest, above the breast pocket, often a name and title in two lines | Some add a logo or a department on the sleeve |
| Scrub jacket or warm-up | Left chest, matching the top | Match the top's height so a set lines up |
| Sleeve | Upper sleeve, on the outside of the arm | Department names, flags or a small logo; see how to embroider sleeves |
| Scrub cap | Center front | A first name or an initial, kept small and light on thin fabric |
Ask for an example garment or the uniform policy before you start; some hospitals and clinics specify where names and logos go, and in what color.
Mark one garment, try it on someone, and use it as the template for the batch. The placement template prints the design at true size with center lines, so every top gets the name in the same spot.
Names and titles: lettering sizes
| Line | Capital height | Notes |
|---|---|---|
| Name | About 8–13 mm (0.3–0.5 in) | Readable across a room; block and serif fonts hold up best |
| Credentials (RN, MD, DVM) | About 6–9 mm | Same font as the name; on the same line or the next |
| Title or department | About 5–8 mm | A second line, a little smaller than the name |
| Script name | At least about 10–12 mm | Thin script joins disappear below that on textured fabric |
- Keep the whole block about 2.5–3.5 in (65–90 mm) wide on a scrub top, and up to about 4 in (100 mm) on a lab coat.
- Leave about 3–4 mm between lines, so a two-line name and title don't run together.
- Let the longest name set the layout. If it won't fit at your chosen height, use a condensed font for the whole batch rather than shrinking that one name.
- Check spelling and credentials with each person. Abbreviations and their punctuation, such as RN or R.N., vary by person and employer.
The lettering size calculator shows how tall a name comes out at a given width, and the right chest size page covers name sizes on shirts.
Try it with your own design
Sign up free, upload an image and get a stitch preview in under a minute.
Drop your image here
PNG, JPG, WebP or SVG · stays on your device
Poly-cotton, stretch and lab coat fabrics
| Fabric | Backing | Needle | Good to know |
|---|---|---|---|
| Poly-cotton woven (classic scrubs) | Medium tear-away, or cut-away for a softer, longer-lasting result | 75/11 sharp | Stable and easy; the Woven preset suits it |
| Stretch scrubs (polyester, rayon and spandex blends) | Cut-away or no-show mesh | 75/11 ballpoint, or 70/10 on fine fabric | Hoop without stretching, and use the Stretch preset |
| Lab coat twill | Medium tear-away or cut-away | 75/11 or 80/12 sharp | A heavier fabric that sews names crisply |
| Fleece-lined jacket | Medium cut-away | 75/11 ballpoint | Add a water-soluble topping on fleece |
Stretch scrubs need the most care: the fabric moves, so the design puckers or the letters drift if the backing is too light. The performance fabric stabilizer page has the full setup, and embroidering on polyester covers synthetic fabric.
Hooping round pockets, V-necks and seams
- Hoop only the front layer. Unbutton lab coats and roll the back out of the way; on a pullover top, hoop through the hem and check underneath by hand.
- Stay clear of pockets. A chest pocket stitched shut is an easy mistake. Keep the design at least about 1/2 in (12 mm) above the opening.
- Measure from the shoulder seam where it meets the neckline. The point of a V-neck sits low, and measuring from it puts names too far down.
- Don't stretch stretch fabric in the hoop. A magnetic hoop clamps it without pulling and speeds up a batch.
- Avoid hoop burn on dark polyester: don't overtighten, and steam any ring away from the back after stitching.
- Keep fine lettering off seams, including the curved princess seams on many fitted tops, which push stitches out of line.
Holding up to frequent washing
Scrubs are washed often, sometimes hot and sometimes with strong detergents, so build the design to last:
- Polyester thread. It's generally more colorfast and more resistant to bleach than rayon, which matters on uniforms.
- Cut-away backing on anything that stretches. It stays in and keeps supporting the stitches wash after wash.
- No long, loose stitches. Satin stitches longer than about 7 mm can snag and loosen; the digitizer splits them automatically.
- Secure ends. Lock stitches at the start and end of each letter stop it unravelling.
- A soft cover on the back. A fusible cover backing over the inside of the design stops it scratching on long shifts.
For care notes to pass on with an order, see how to wash embroidered clothes.
Batching a team's names
- Collect the list in writing, ideally in a spreadsheet: each name exactly as it should appear, with credentials, title, garment size and color.
- Agree one layout: font, capital height, thread color and line order. Send a proof with the longest name on it.
- Make the files together. Batch name embroidery turns a list of names into lettering files in the same font, height and thread, with width checks; saving the files needs a paid plan.
- Sort the garments by color and thread, so you change thread as rarely as possible.
- Print a run sheet for each file with the run sheet tool, with its color stops and run time, so every piece is stitched the same way.
- Check each piece against the list as it comes off the machine, before you fold and bag it.
Pricing a batch? The quote generator prices items per 1,000 stitches with a digitizing fee, and the pricing guide covers what to charge for names.
Practice on a free design
114 ready-to-sew designs in every machine format, free with an account.

Clinic logos and making the files
For a clinic or hospital logo, upload the artwork to the digitizer, set it to about 3–3.5 in (75–90 mm) wide for the left chest and choose the preset for the fabric: Woven for poly-cotton scrubs and lab coats, Stretch for stretch scrubs. Check the stitch preview and the design check, which flags lettering under about 5 mm. Digitizing and previewing are free with an account; downloading the file needs a paid plan.
- Simplify the logo for a chest: drop taglines and small print, and keep lines at least about 1 mm wide. The logo guide covers the details.
- Get permission. Hospital and clinic logos are usually trademarks, so stitch them for the organization or with its approval. The copyright guide explains the basics.
- Make a separate file for each size if the logo also goes on a sleeve or a cap, rather than scaling one file a long way.