Embrizo

Learn machine embroidery

Ten short lessons that take you from unboxing a machine to stitching your own designs: hoops, thread, needles, stabilizer, files, lettering, placement and fixing problems. Each one has the essentials, guides to go deeper and something to practice.

  • 10 short lessons
  • Practice with real tools
  • Progress saved as you go
An embroidery machine with a 5x7 hoop holding a stitched hot air balloon
A simple embroidery machine with red thread running from the spool down to the needle
A folded white towel with the name Olivia stitched in navy script next to a pink heart
A stitched fox in an embroidery hoop beside spools of orange and white thread
10 lessonsabout 3 hoursFree
Syllabus

What you'll learn

Each lesson takes 10 to 30 minutes: the essentials first, then guides if you want more, then something to practice. Tick a lesson off when you're done.

Your progress is saved in this browser.

  1. 1How machine embroidery works10 min
  2. 2Choose a machine and hoop size15 min
  3. 3Thread, needles and stabilizer15 min
  4. 4Thread the machine and hoop the fabric15 min
  5. 5Embroidery files and your machine15 min
  6. 6Your first stitch-out30 min
  7. 7Lettering and names20 min
  8. 8Size and placement15 min
  9. 9Fix the common problems20 min
  10. 10Make your own designs20 min
Lesson 110 min

How machine embroidery works

Know what the machine does, what a design file is and what digitizing means.

  • An embroidery machine stitches a design file: a list of needle moves and color changes, not a picture.
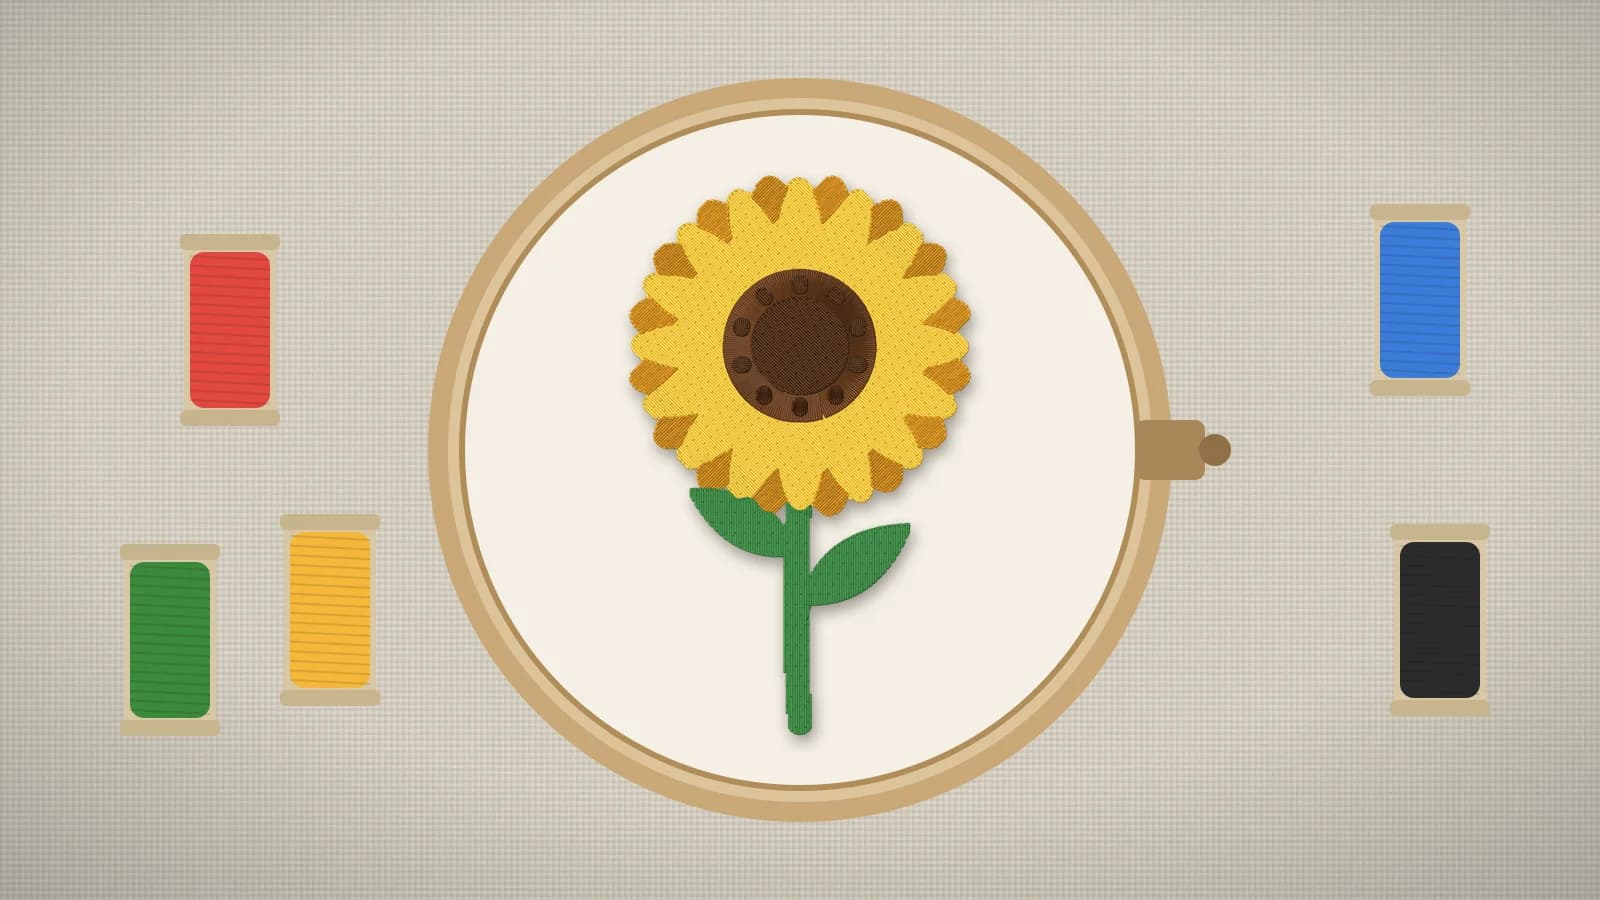
  • The fabric is held tight in a hoop that the machine moves under the needle. It stops at each color change so you can swap the thread.
  • Digitizing turns artwork into that file and chooses satin, fill and running stitches. Software or a service does it, not the machine.
Lesson 215 min

Choose a machine and hoop size

Pick a machine and hoop that fit what you want to make.

  • The hoop sets the largest design you can stitch at once: 4×4 in for small designs, 5×7 for most shirts and gifts, 6×10 or larger for jacket backs and big hoop art.
  • A single-needle home machine suits gifts and small batches; a multi-needle machine makes caps and steady orders faster.
  • Check which file format the machine reads (PES for Brother and Baby Lock, JEF for Janome, DST for most commercial machines) and how files get onto it: USB, Wi-Fi or an app.
Lesson 315 min

Thread, needles and stabilizer

Buy the right supplies once, and know which stabilizer goes with which fabric.

  • Use 40 wt polyester or rayon embroidery thread on top and a finer bobbin thread (around 60–90 wt) underneath.
  • Start with 75/11 embroidery needles: sharp for wovens, ballpoint for knits like T-shirts. Change the needle every 8–10 hours of stitching.
  • Stabilizer holds the fabric still: cut-away for knits and anything that stretches, tear-away for stable wovens, and a water-soluble topping on towels and fleece.
Lesson 415 min

Thread the machine and hoop the fabric

Thread the machine so it doesn't tangle, and hoop fabric flat and tight.

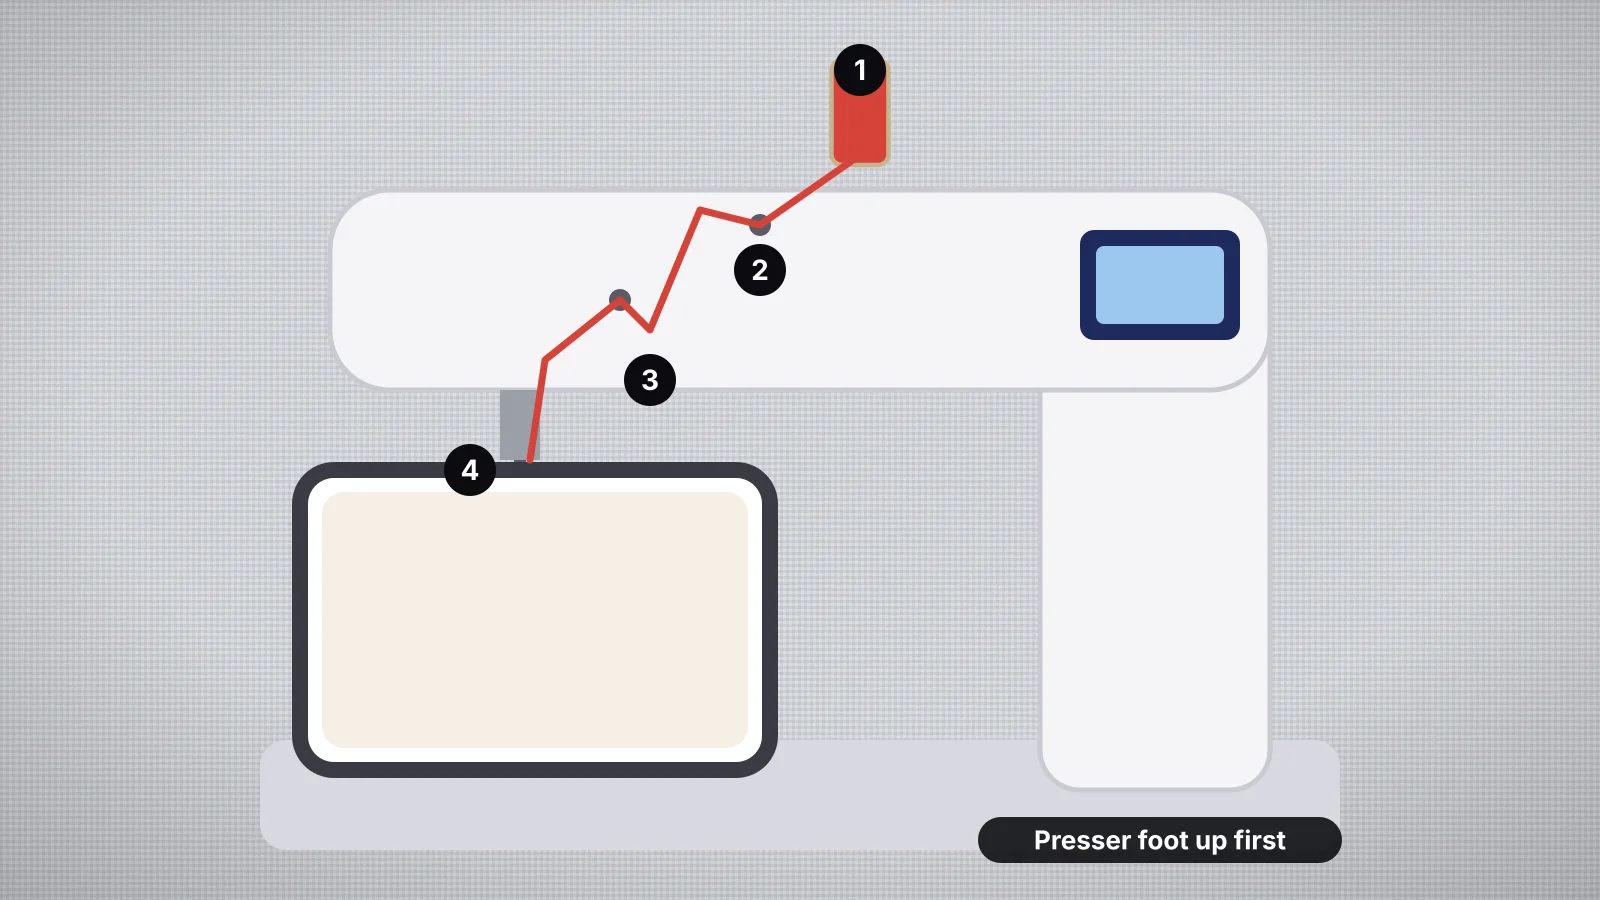
  • Thread the top thread with the presser foot up, so the thread seats between the tension discs.
  • Hoop the stabilizer and the fabric together, drum tight but not stretched, with the grain straight.
  • Mark the center of the design on the fabric first and line it up with the hoop's center marks.
Lesson 515 min

Embroidery files and your machine

Get a design file in the right format onto your machine.

  • A JPG or PNG can't be stitched. The machine needs a stitch file in its own format.
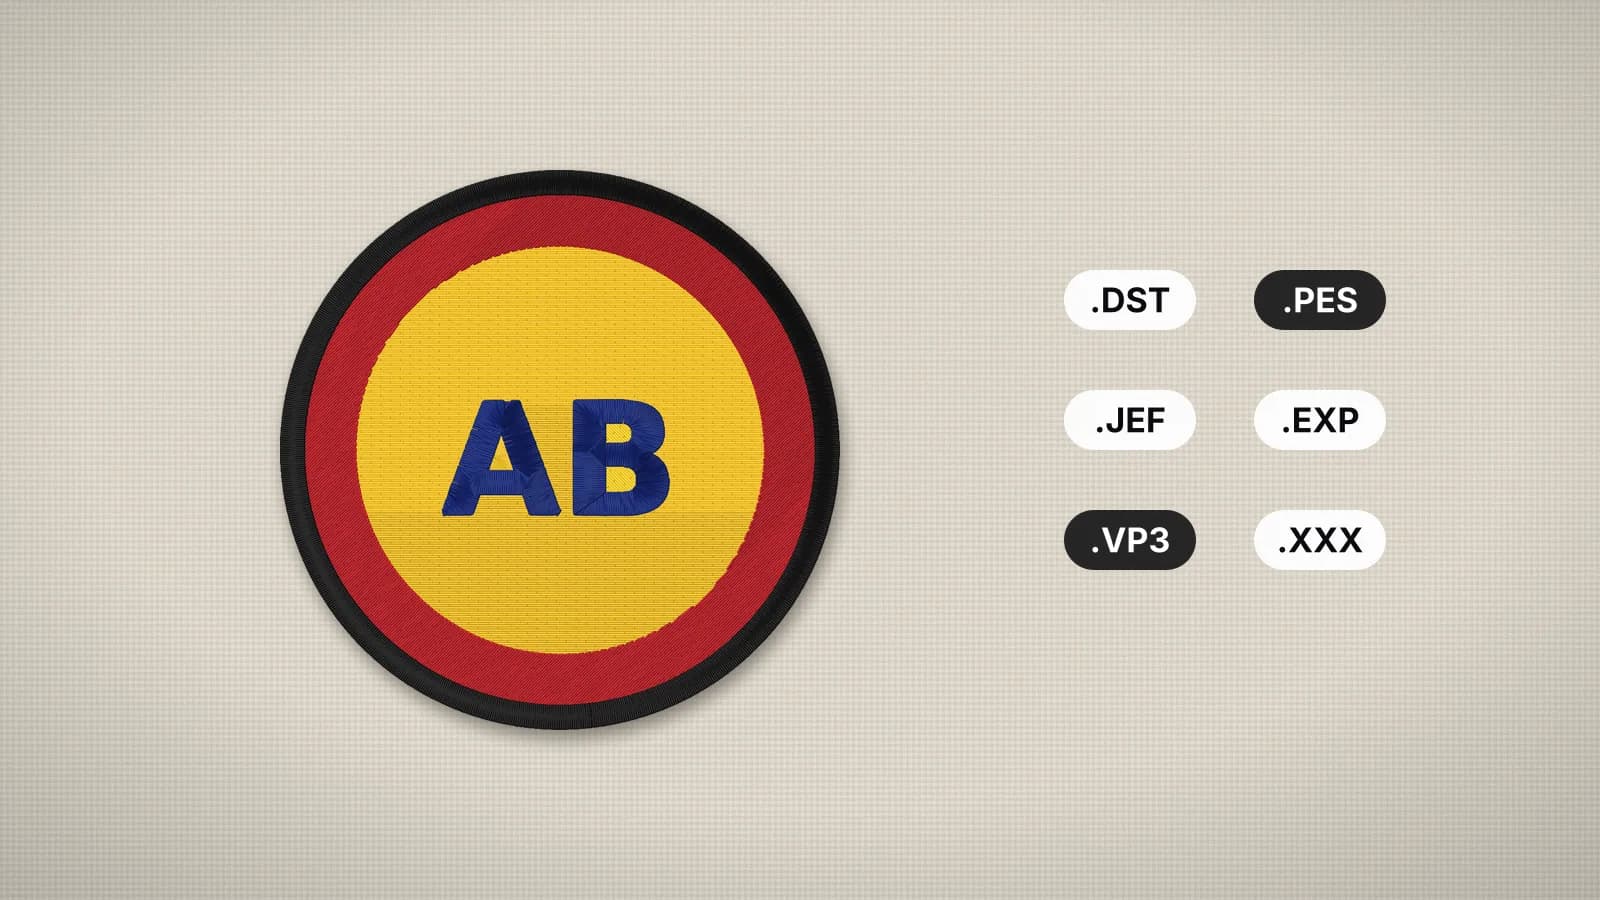
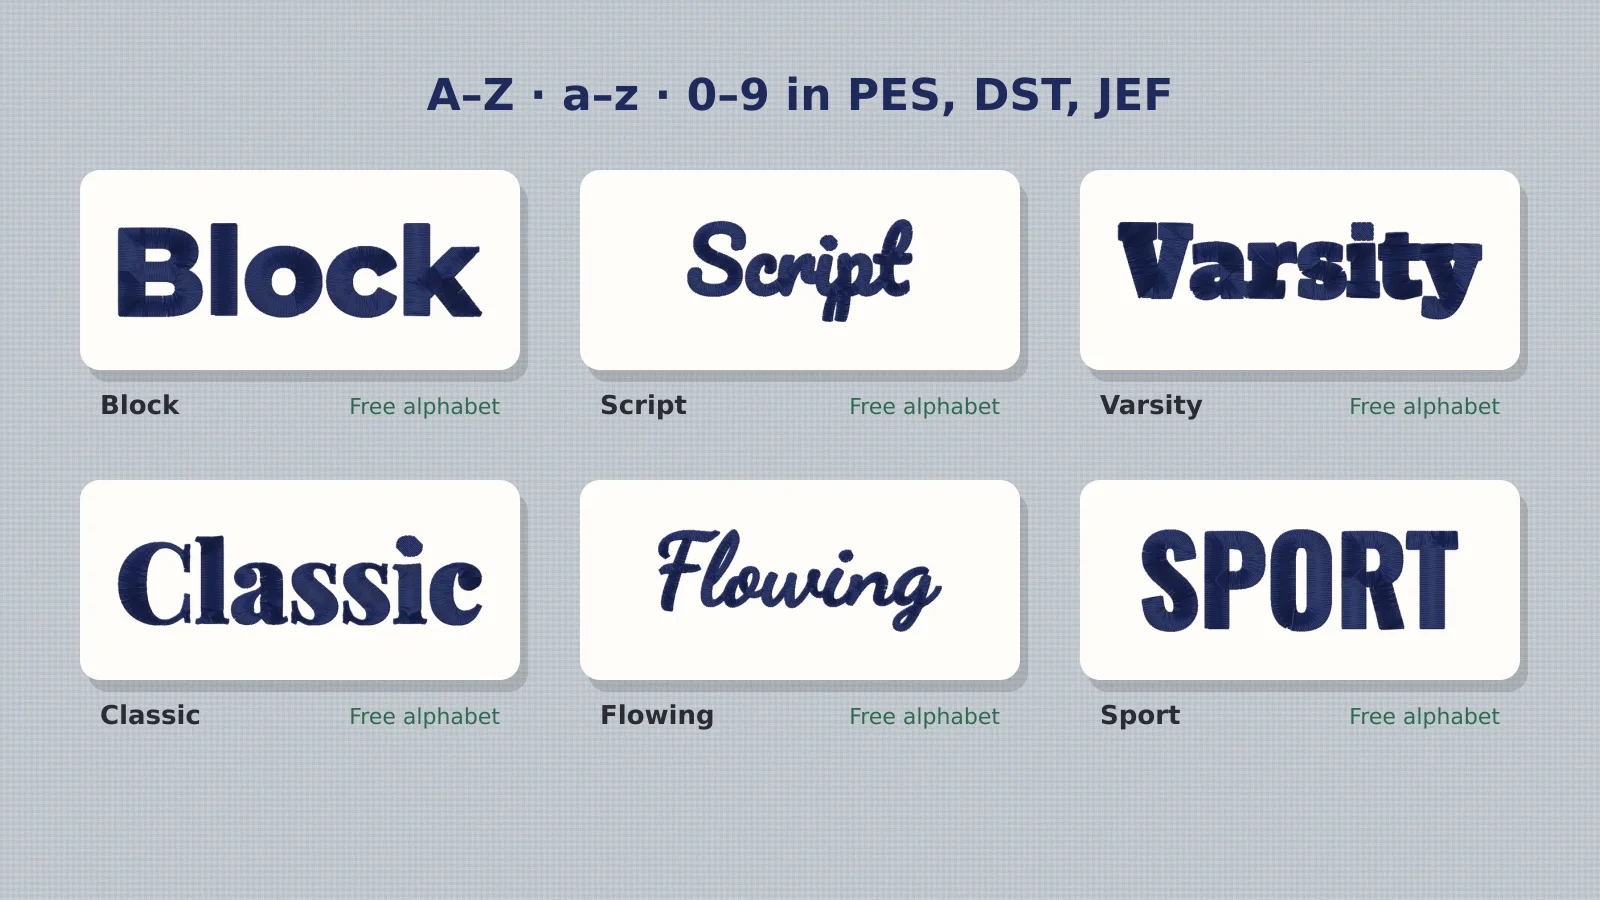
  • The same design can be saved in any format: PES, DST, JEF, EXP, VP3, XXX and more.
  • Copy the file to a USB stick formatted FAT32 and keep it near the top of the stick, or send it with the machine's app.

Free account

Halfway there: get ready to stitch your own designs

Create a free account to download free designs and alphabets for practice, and to digitize your own artwork when you reach lesson 10.

  • Digitize and preview any image
  • Realistic stitch preview and sew-out
  • Download free ready-made designs
  • No credit card needed
Lesson 630 min

Your first stitch-out

Stitch a simple design start to finish.

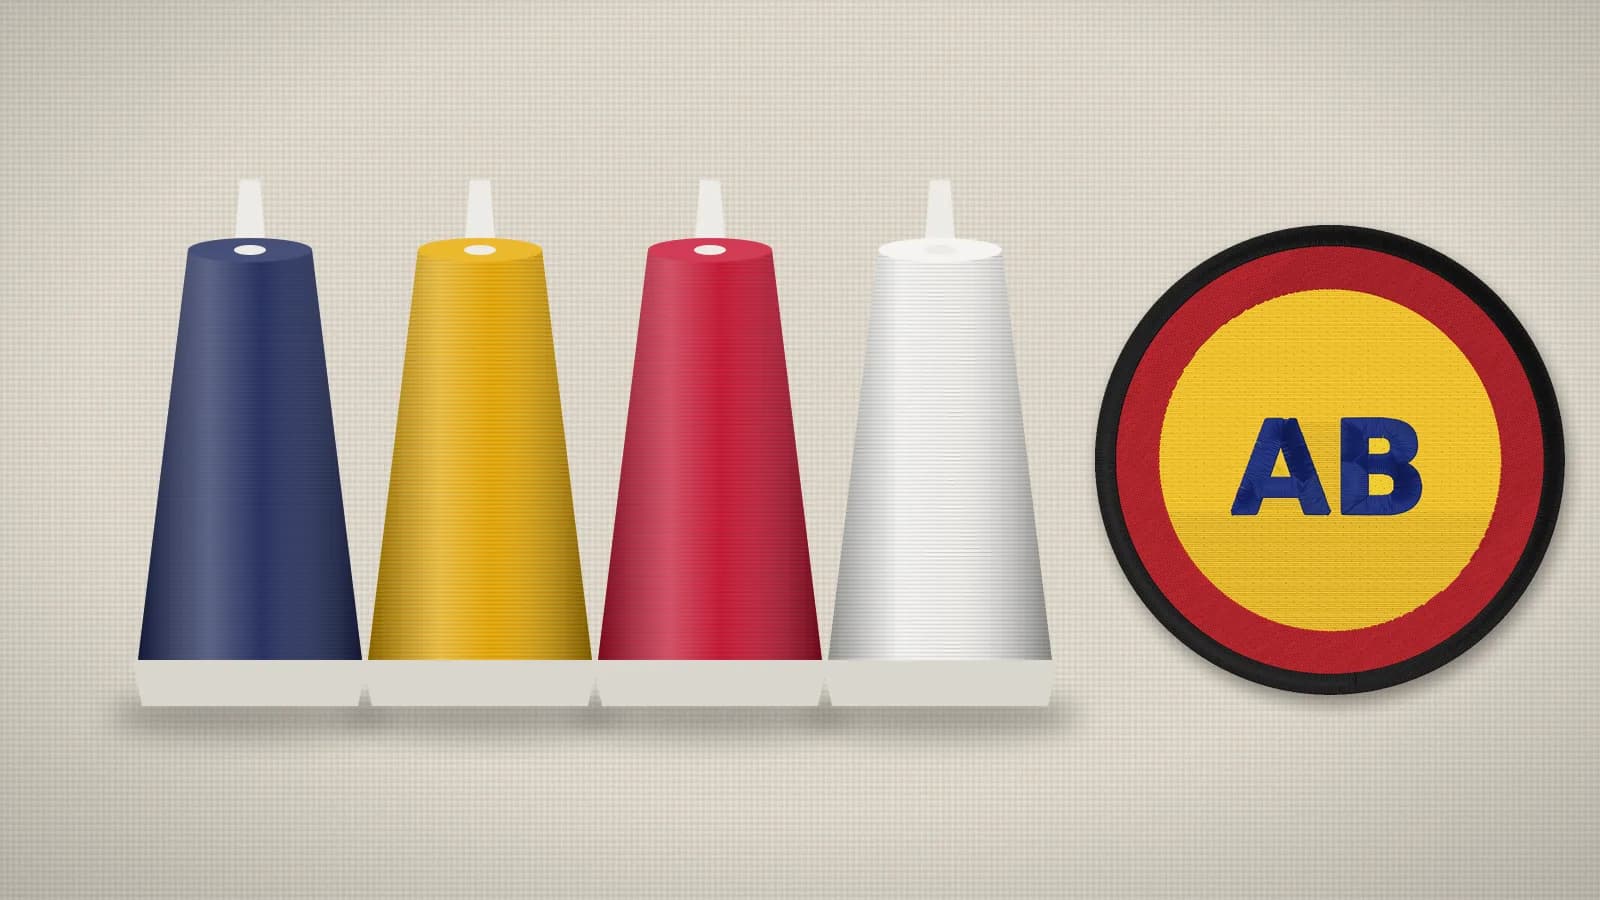
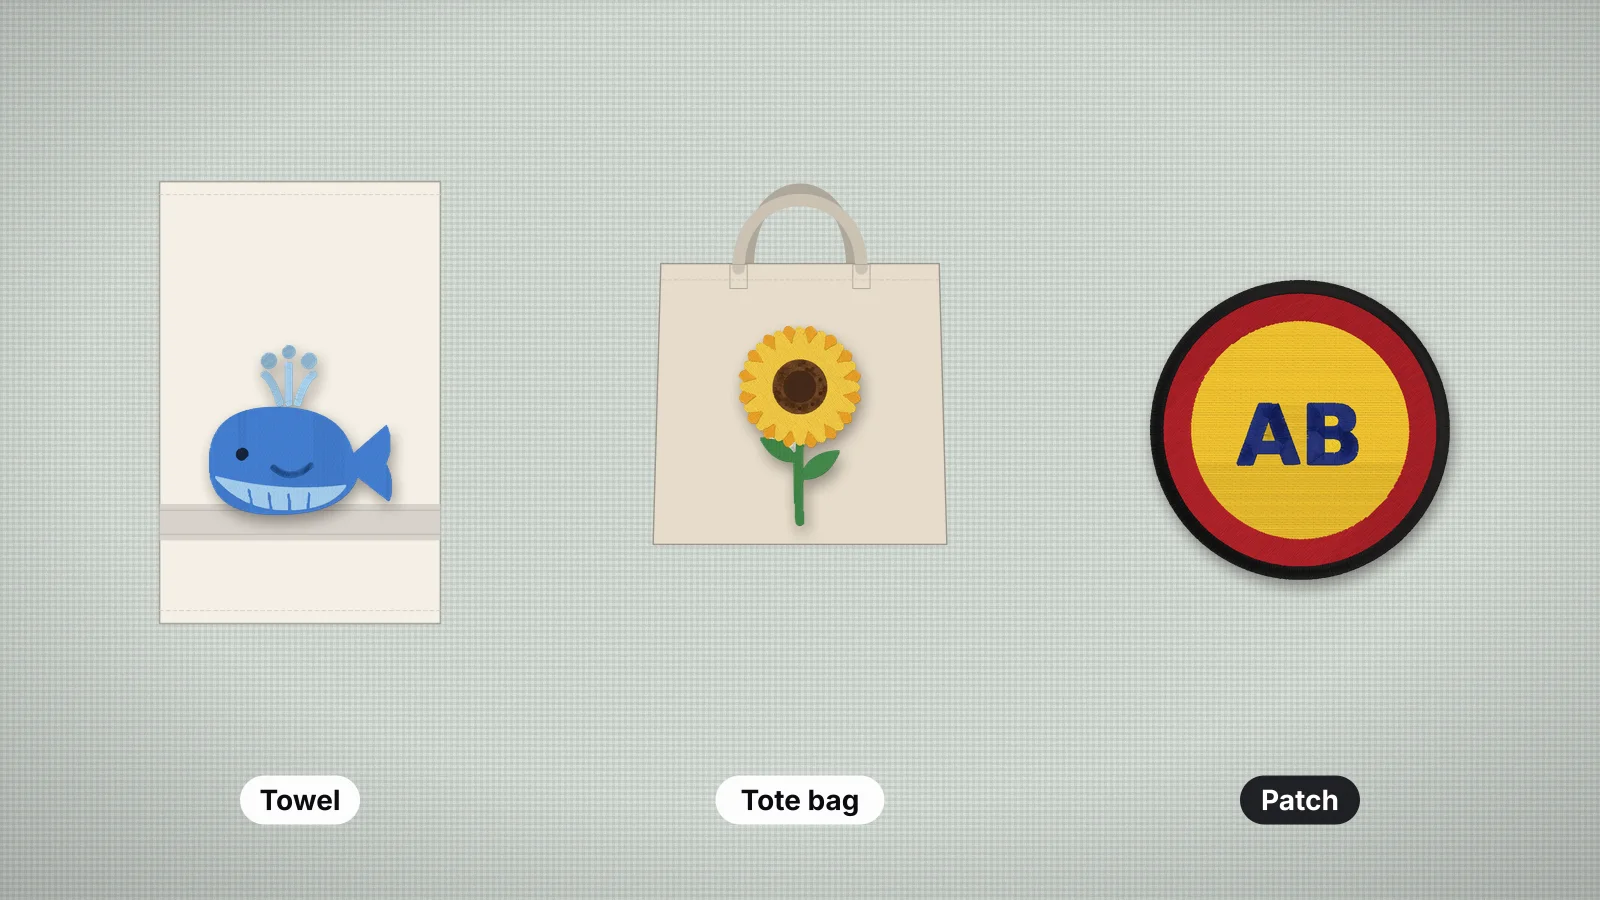
  • Start with a simple design of 2–4 colors on a stable cotton or canvas, like a tote bag or a tea towel.
  • On the machine screen, check the size and the color order, and trace the outline to make sure the design fits the hoop.
  • Watch the first minute. If thread bunches under the fabric, stop and rethread the top thread with the foot up.
Lesson 720 min

Lettering and names

Stitch names and monograms that stay readable.

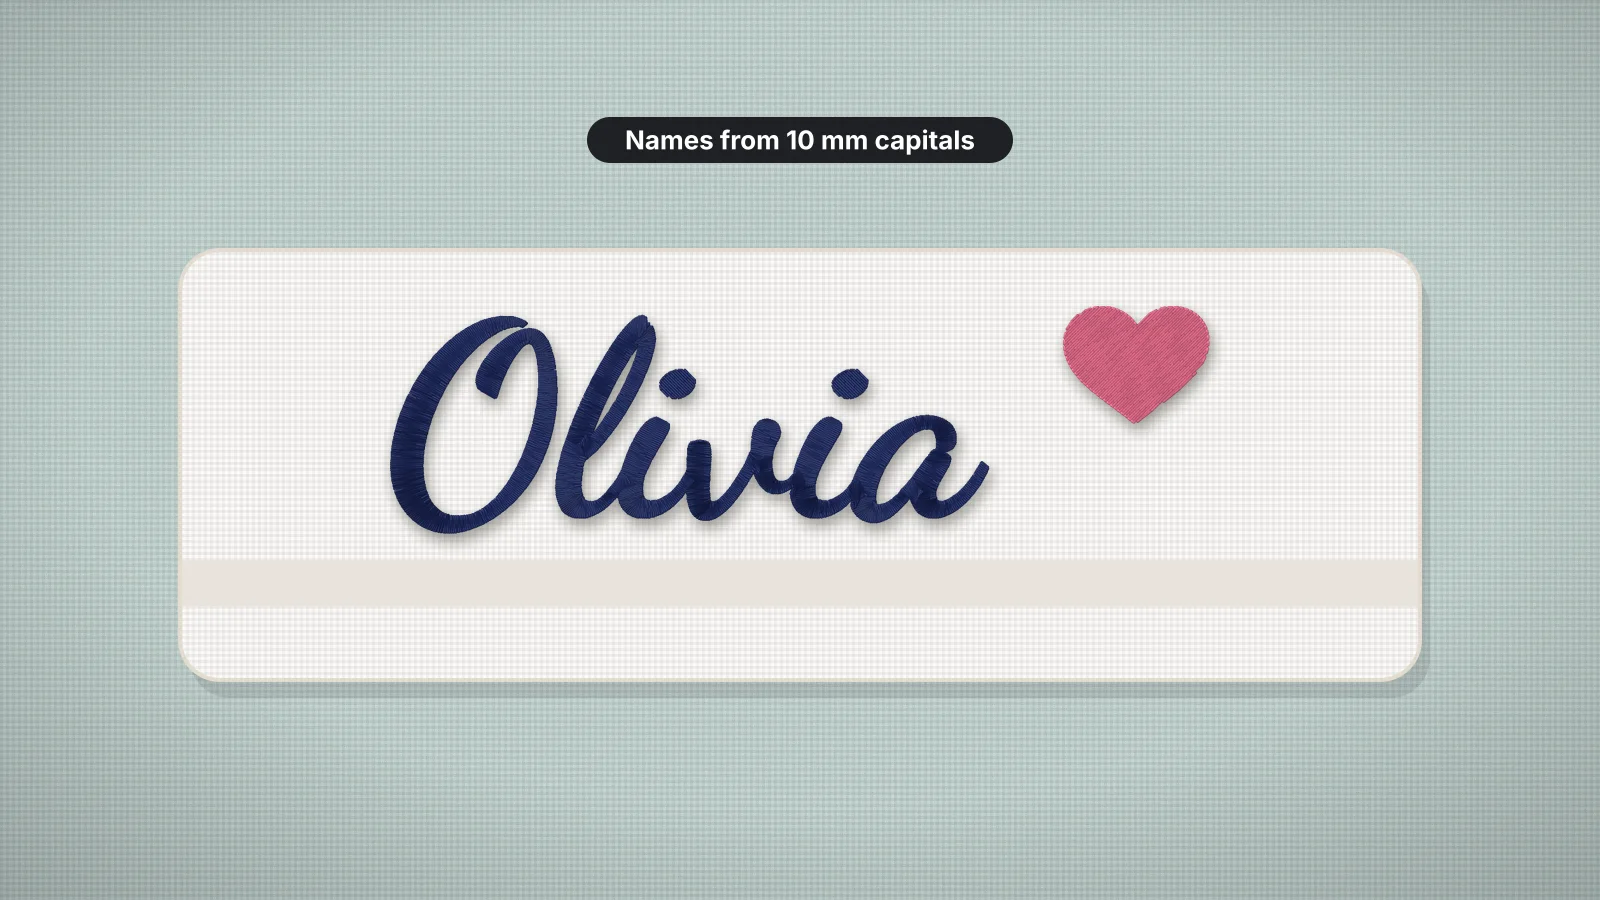
  • Keep capital letters at least 5 mm tall in a bold font; script needs about 8–10 mm.
  • Use lettering made for embroidery or a tool that turns text into stitches. Thin strokes in ordinary fonts disappear when they're small.
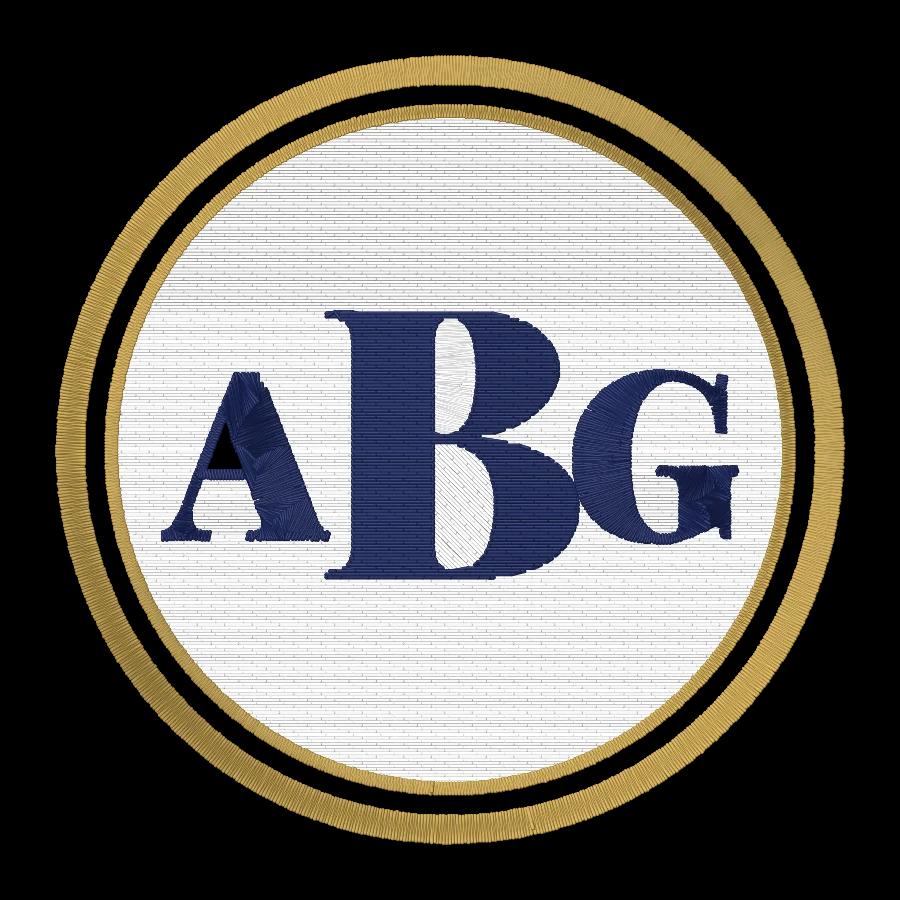
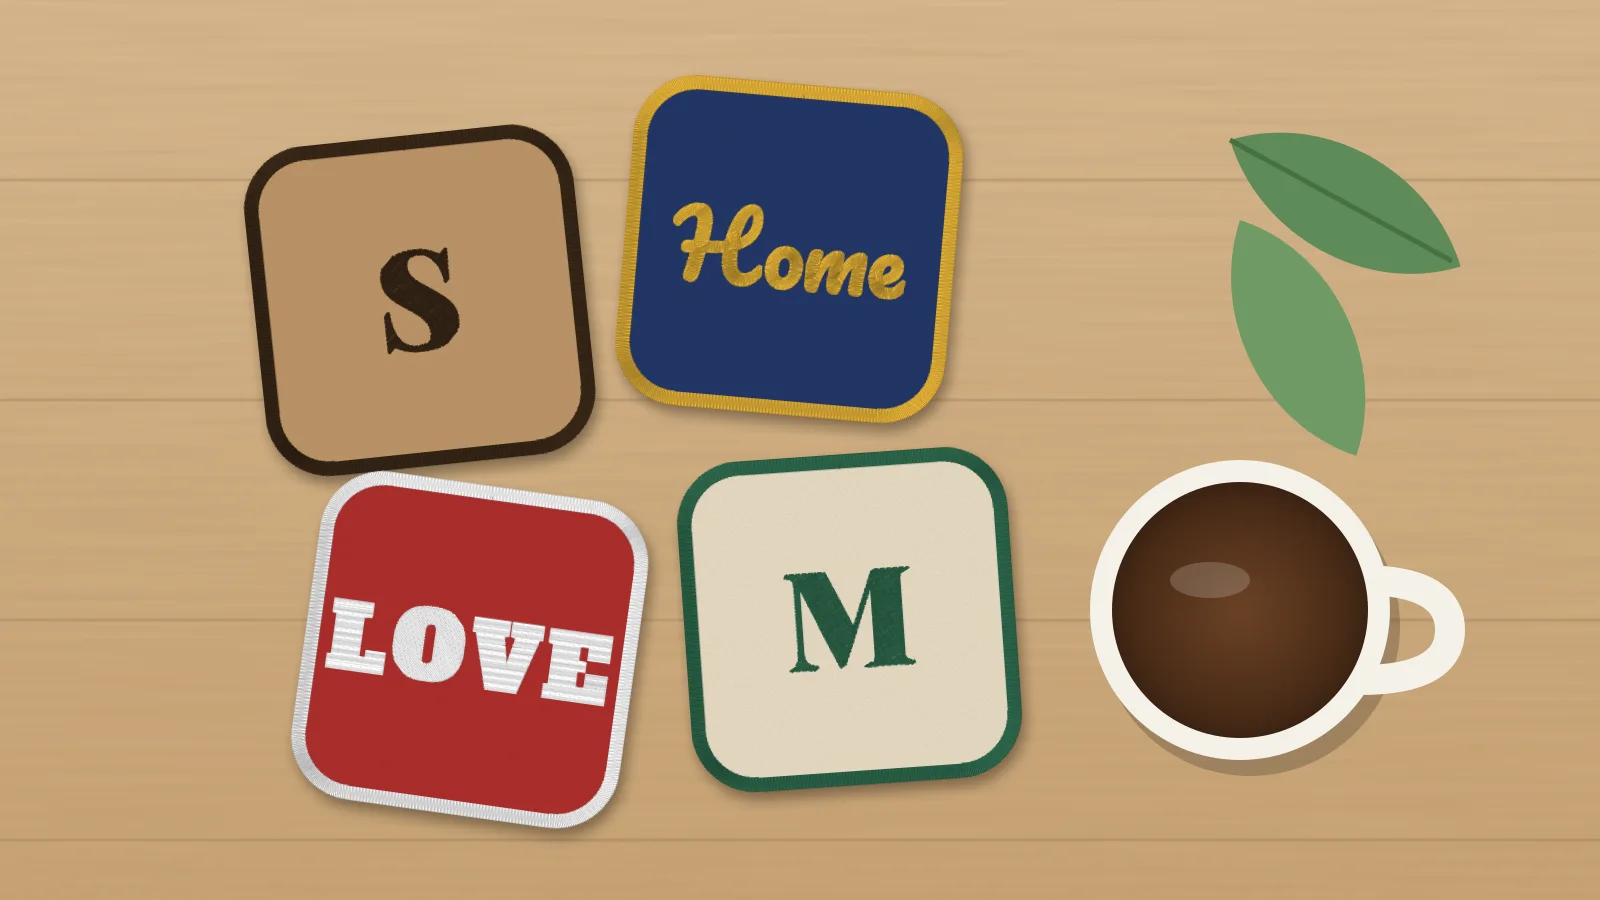
  • A three-letter monogram goes first initial, last initial larger in the middle, then middle initial.
Lesson 815 min

Size and placement

Put each design at the right size in the right place.

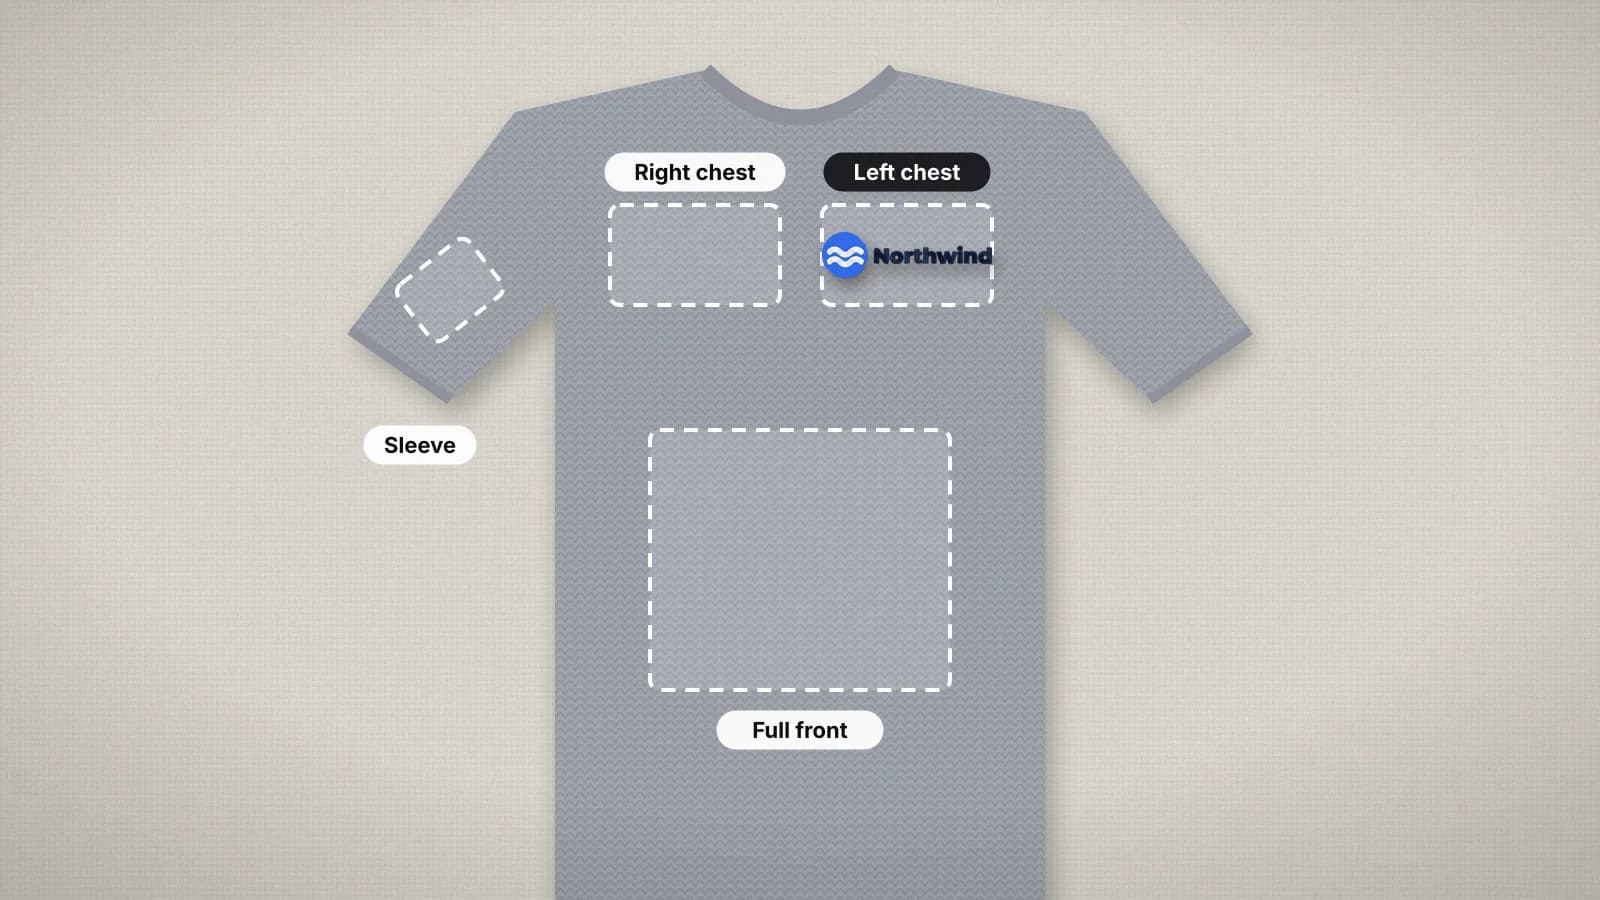
  • A left chest design is about 3–4 in wide; a cap front about 4 in; a sweatshirt center chest about 7–9 in.
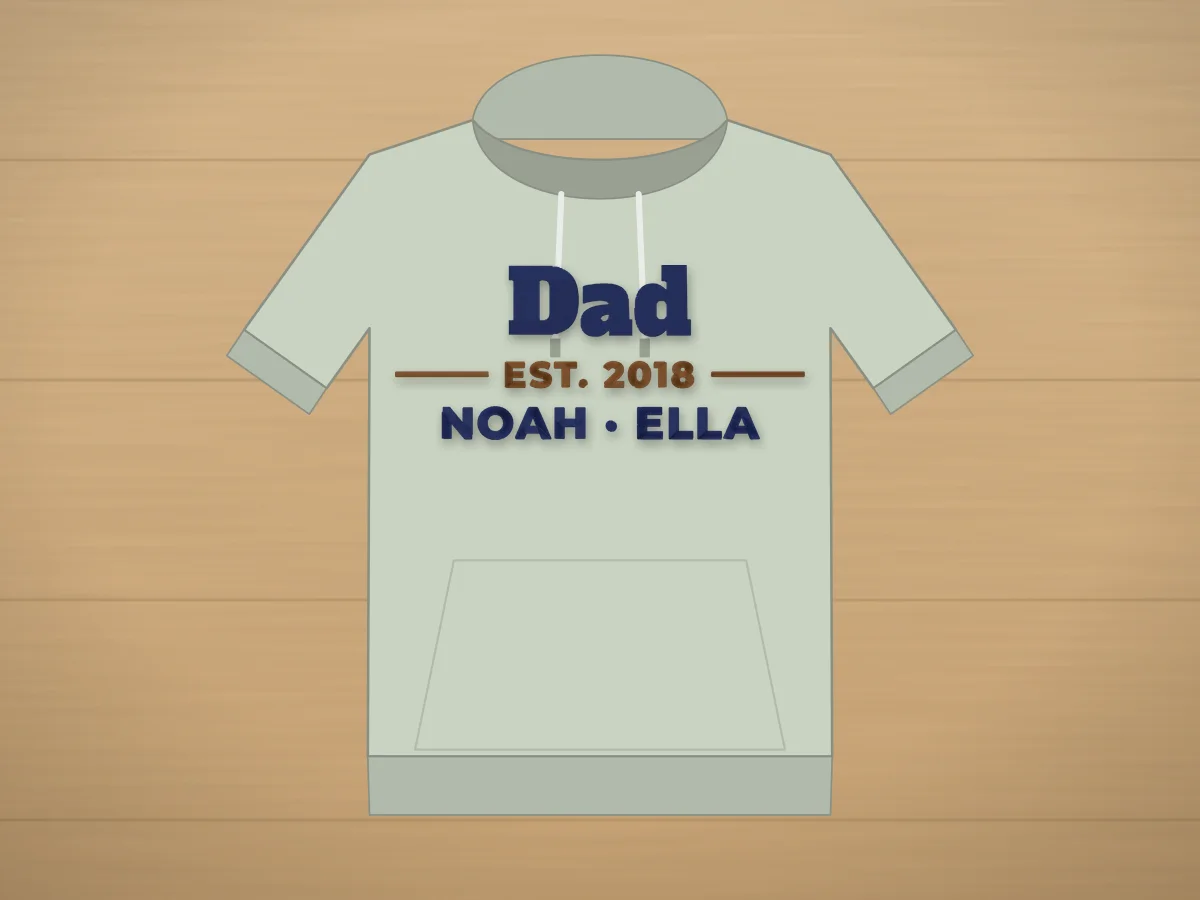
  • Place a left chest design about 7–9 in below the shoulder seam at the collar, and a center chest design about 3 in below the collar.
  • Don't resize a stitch file by more than about 10–20%. Bigger changes need the stitches recalculated from the artwork.
Lesson 920 min

Fix the common problems

Recognize and fix the problems every beginner runs into.

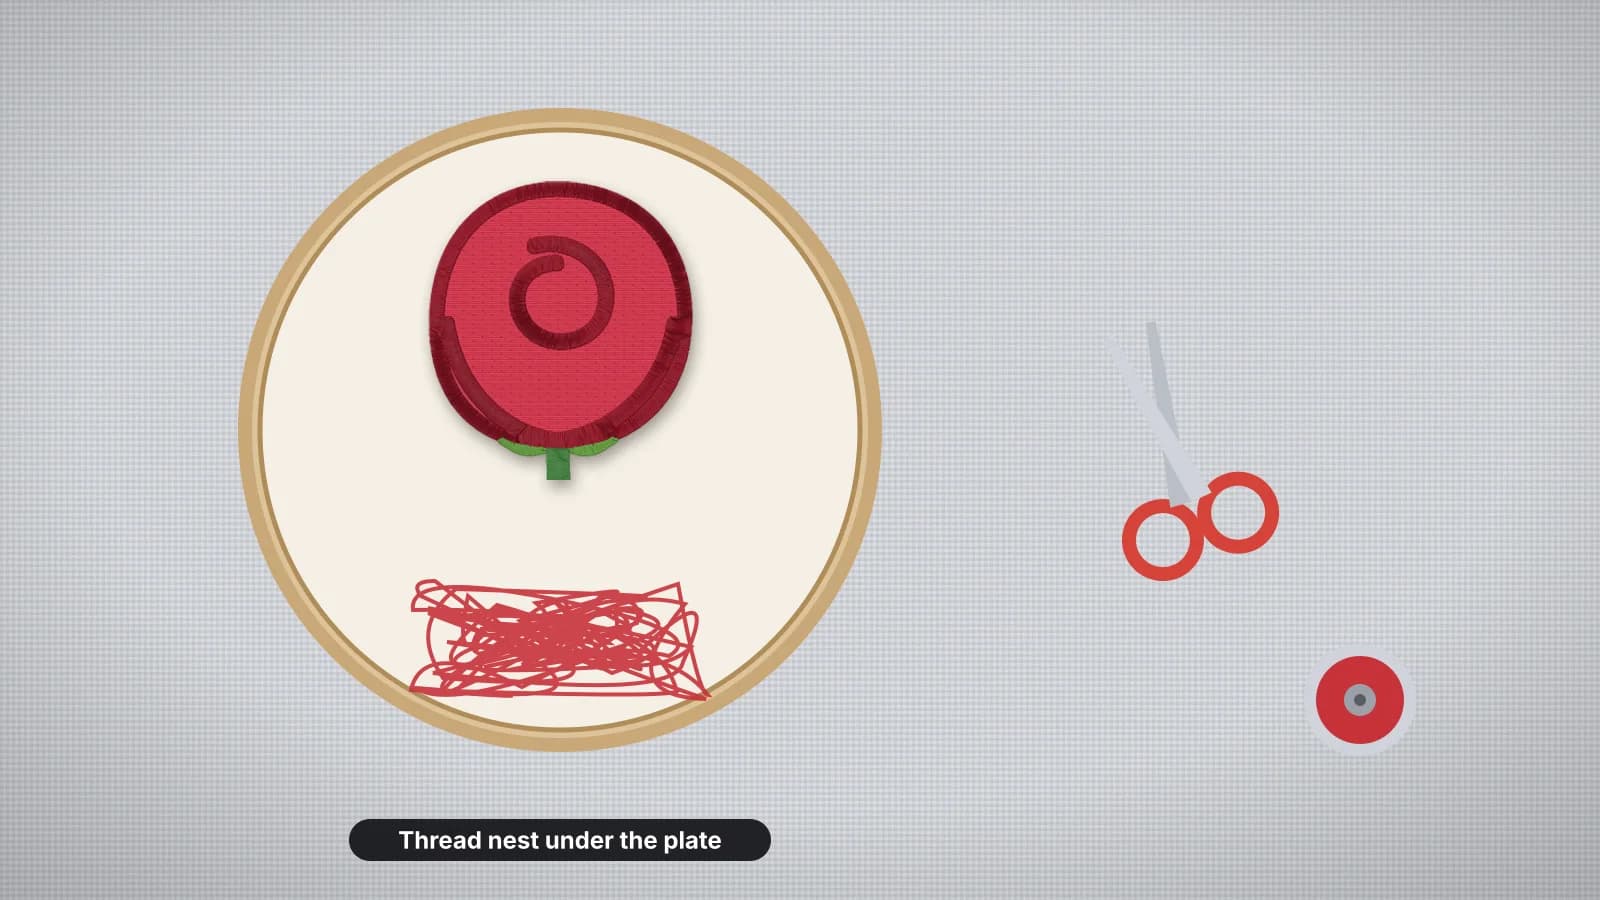
  • Bird nesting, a tangle under the fabric, almost always means the top thread missed the tension discs: rethread with the foot up.
  • Puckering comes from a stabilizer that's too light for the fabric or from loose hooping.
  • Bobbin thread showing on top means the top tension is too tight or the bobbin isn't seated right. A shredding thread usually means it's time for a new needle.
Lesson 1020 min

Make your own designs

Turn your own artwork, logo or drawing into a file you can stitch.

  • Bold artwork with 2–6 flat colors and clear edges digitizes best. Gradients and shadows don't stitch.
  • Satin stitches suit narrow shapes and lettering up to about 7 mm wide; fill stitches cover larger areas.
  • Underlay, stitched first, steadies the fabric and keeps the top stitches from sinking in.
After the course

What to make next

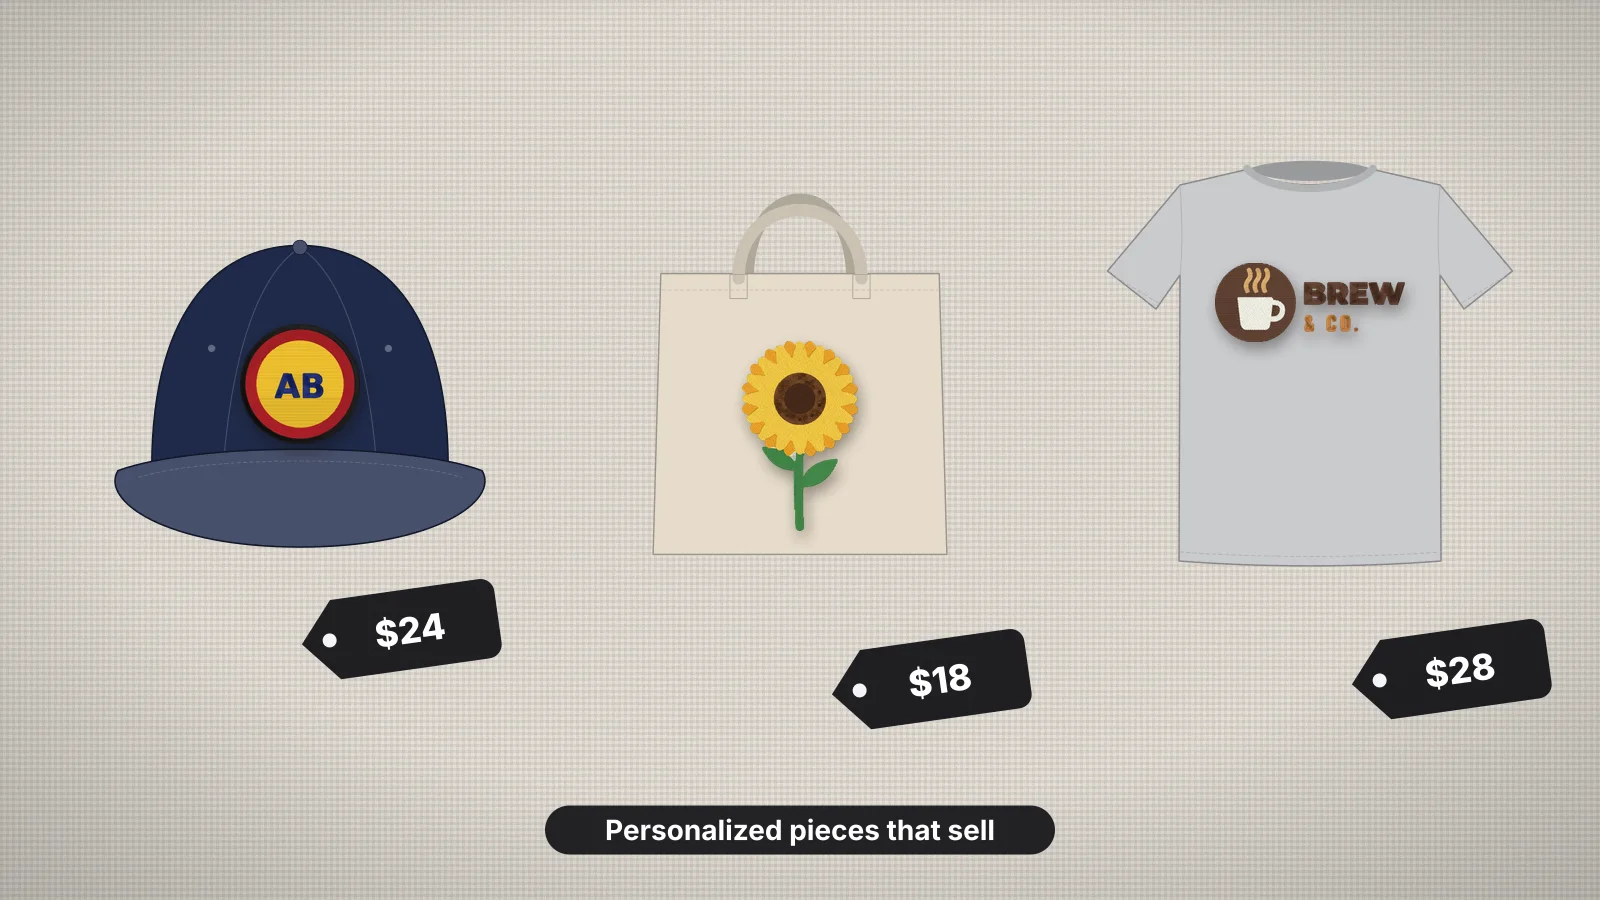
Put the lessons to work on projects people love to get, then turn them into a side business when you're ready.

FAQ

Learning machine embroidery: questions

The quickest way to see what it does with your artwork is to try it. With a free account, digitizing and previewing cost nothing and take about a minute.

How long does it take to learn machine embroidery?

You can stitch your first design in an afternoon. The ten lessons here take about three hours to read and practice; most people feel confident after a few weeks of small projects.

Is machine embroidery hard to learn?

No. The machine does the stitching; you learn to hoop, choose stabilizer, load files and fix a few common problems. Making your own designs is the part that takes longer, and a digitizer does most of it for you.

What do I need to start machine embroidery?

An embroidery machine, a hoop, 40 wt embroidery thread, bobbin thread, 75/11 needles, cut-away and tear-away stabilizer, small curved scissors and a design file in your machine's format.

Is this machine embroidery course free?

Yes. Every lesson and guide is free, and the practice tools are free to use and preview. Saving files you make with the digitizer or the text tool needs a plan; the free designs and alphabets come with a free account.

Do I need digitizing software?

Not to start: free designs and fonts are ready to stitch. To stitch your own logo or drawing, the online digitizer turns it into a file for your machine without installing software.

Ready to stitch your own design?

Upload a logo, drawing or photo and see it as stitches in under a minute, then save it for your machine.