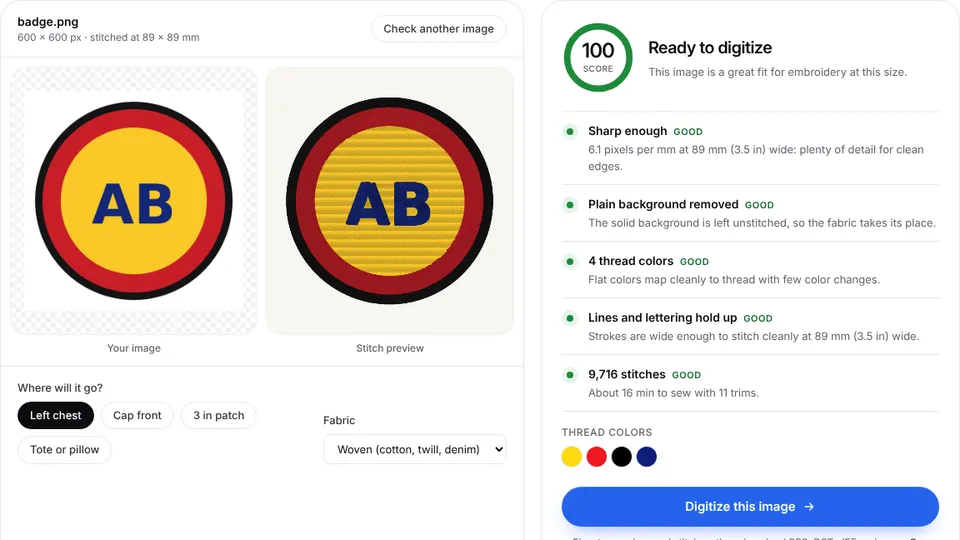
 Free toolEmbroidery image checkerUpload an image and see if it's ready to digitize: colors, fine detail, resolution and fixes.Open the tool
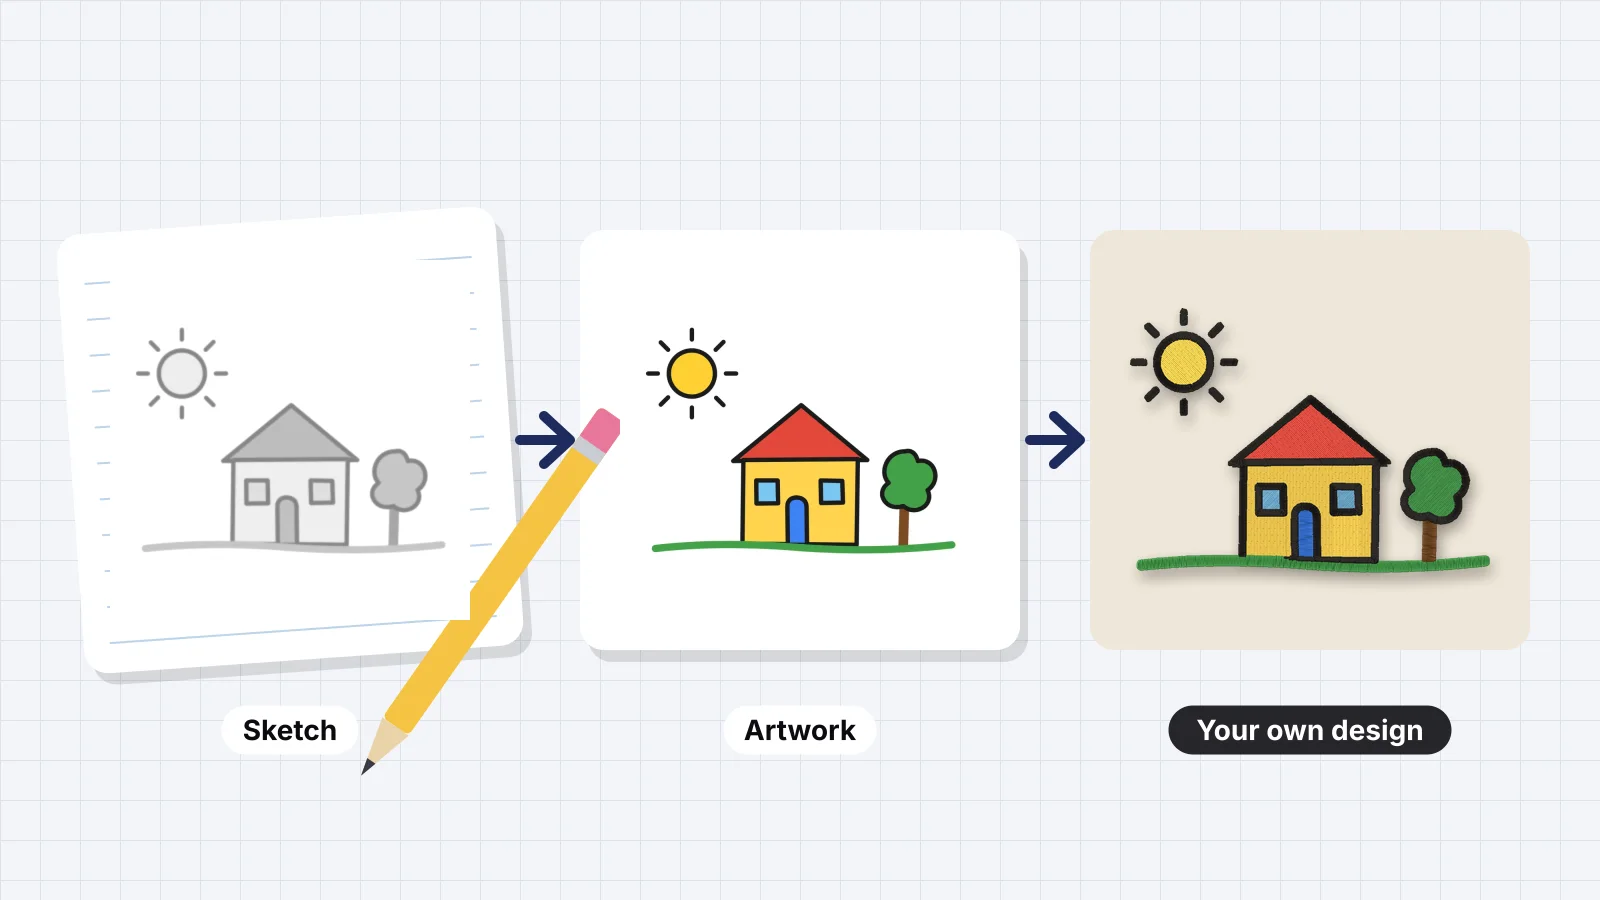
Making your own designs means you can stitch exactly what you want: a logo, a pet, a child's drawing, a name in a layout you like, or a set of designs to sell. It takes two steps. First you make artwork, which is a picture. Then the picture is digitized into a stitch file, such as PES or DST, that tells the machine where every needle point goes.
This guide covers the three ways to get from idea to file, the rules that make artwork stitch well, which apps to draw in, how to check and test a design, and what you're allowed to sell. You don't need to be an artist: simple, bold designs often stitch better than detailed ones.
What are the three ways to make an embroidery design?
You can design artwork and auto-digitize it, digitize it by hand in software, or pay a digitizer to do it. All three start from artwork, and you can mix them: many people auto-digitize the simple designs and send the hard ones out.
| Route | What you do | Typical cost | Time per design | Best for |
|---|---|---|---|---|
| Design artwork, then auto-digitize it | Draw or design an image, upload it and let software plan the stitches, then adjust the size, colors and stitch types | Software or a subscription; Hatch's auto-digitizing level, for example, is a one-time $699 | Minutes | Logos, lettering, monograms, clip art, patches and simple drawings |
| Digitize by hand in software | Build every stitch object yourself and set its stitch type, angle, density and underlay | Free (Ink/Stitch) to a one-time $1,199 (Hatch Digitizer) | About 1–3 hours for a typical left chest logo, once you've learned | Full control, specialty work and people who enjoy the craft |
| Hire a digitizer | Send the artwork and the size, and get a stitch file back | Often about $10–$50 for a typical logo | Usually 1–2 days | Detailed crests, tiny cap lettering, 3D puff and thread painting |
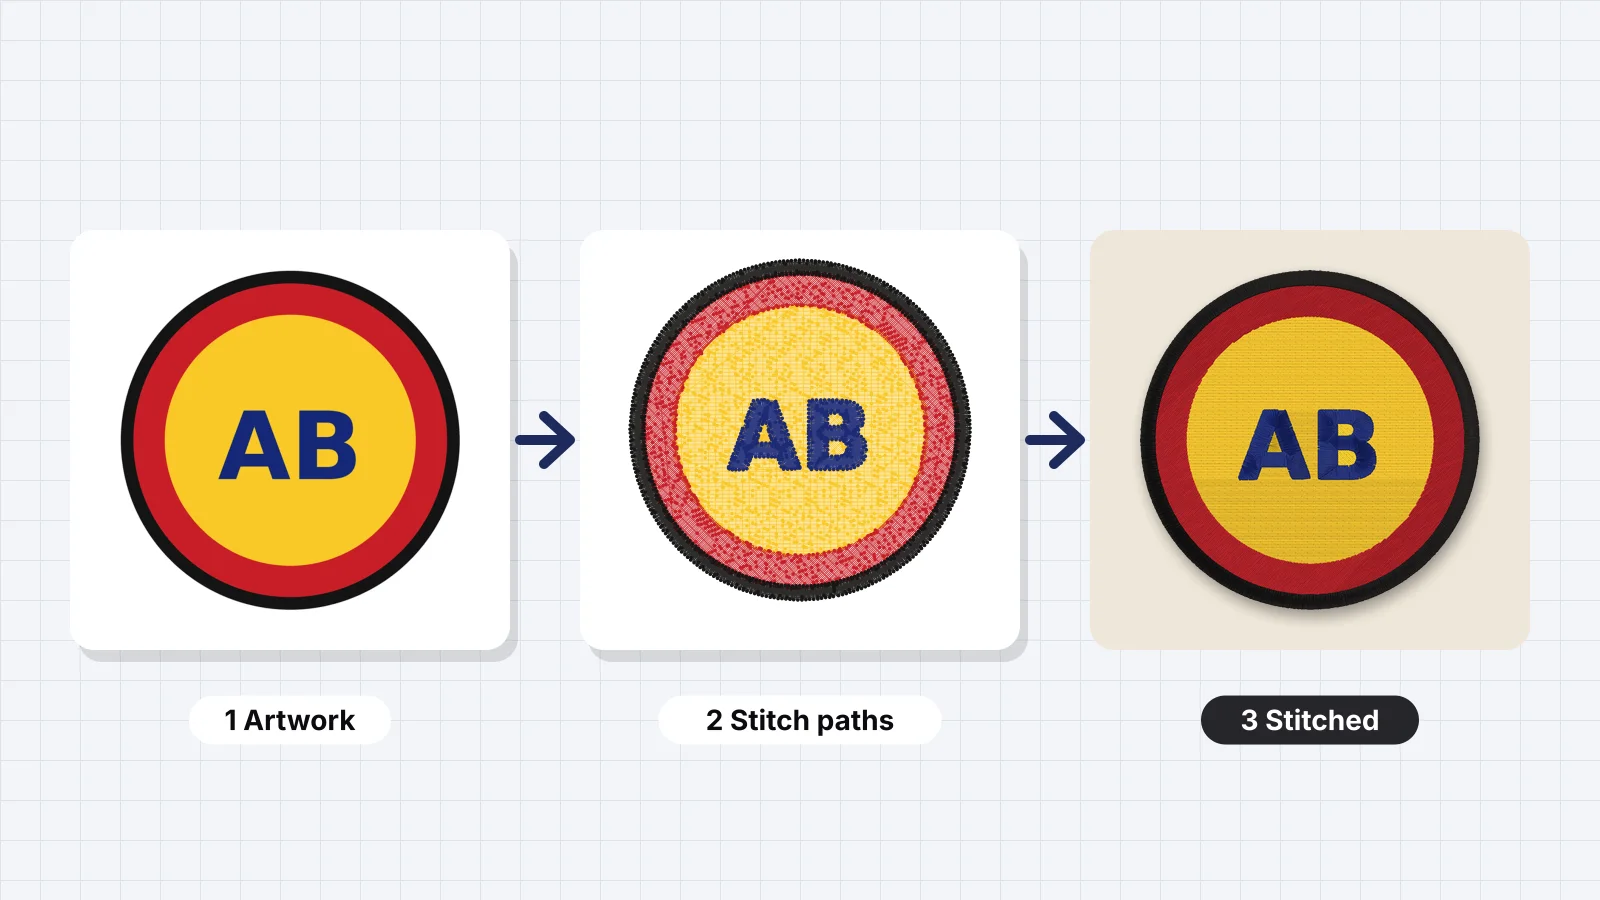
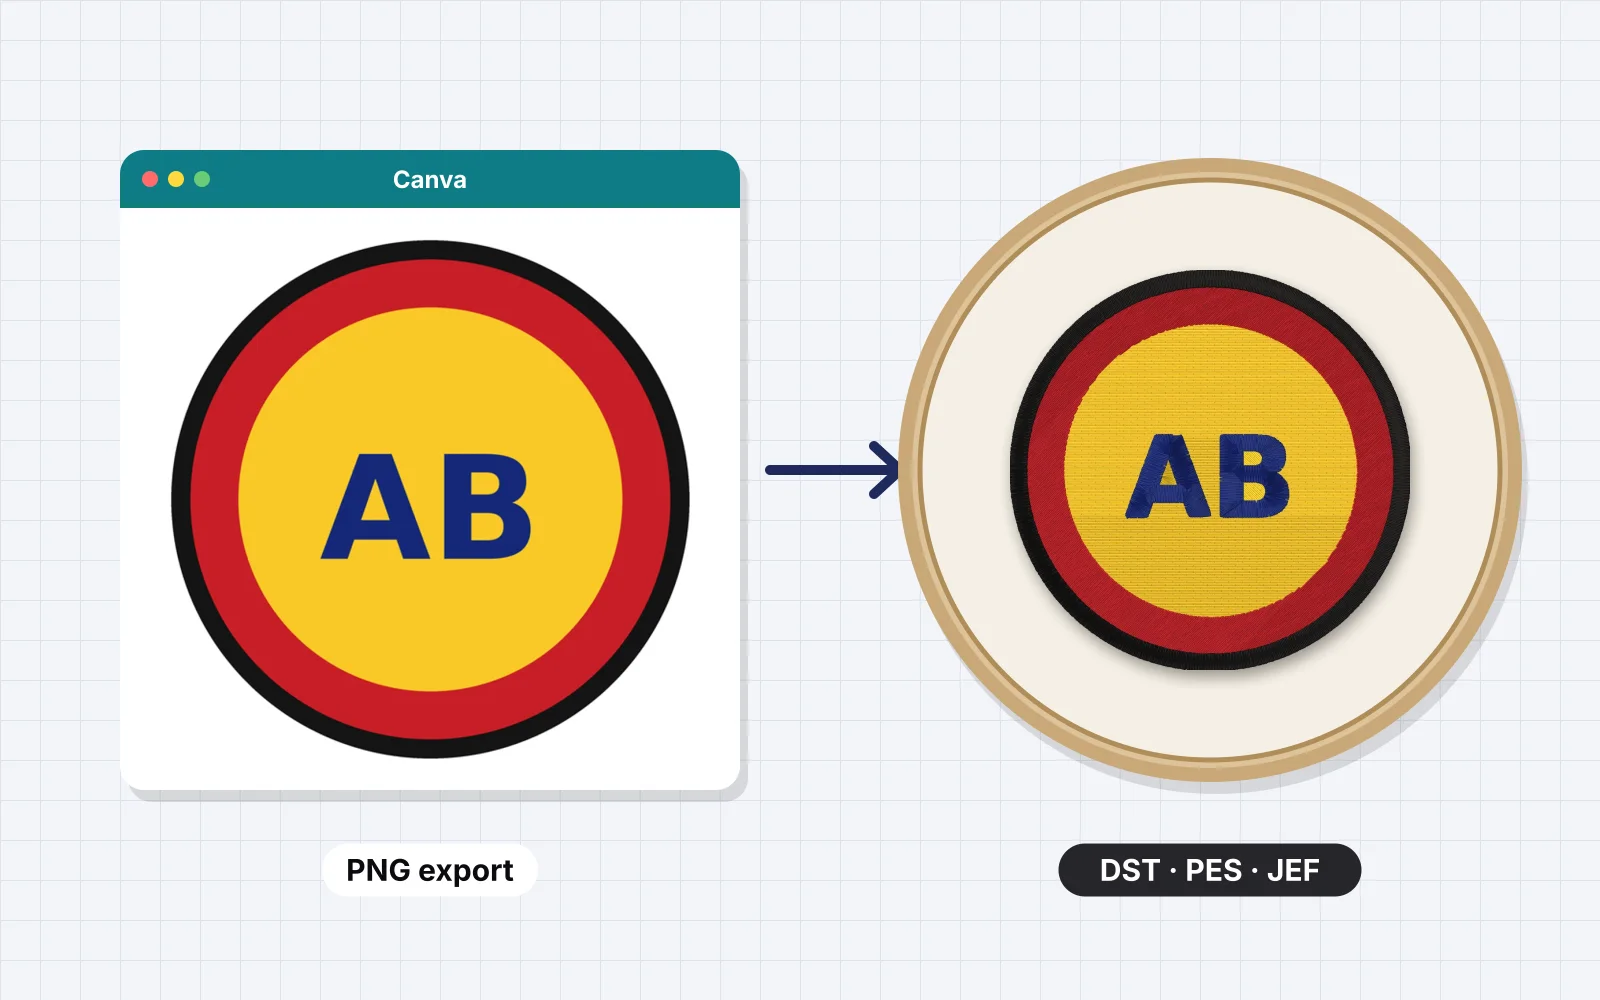
A machine can't sew a PNG or JPG directly. A picture holds colored pixels; a stitch file holds needle positions, stitch types, trims and color changes. What is embroidery digitizing explains the difference, and auto-digitizing vs manual digitizing compares the first two routes in detail.
How do you design artwork that stitches well?
Design at the size you'll stitch, with bold shapes, a few flat colors and nothing thinner than about 1 mm. Thread has a width, stitches pull the fabric, and every color is a thread change, so a design that looks fine on screen can lose its details on fabric.
| Rule | Guideline at the final size | Why |
|---|---|---|
| Set the size first | Left chest 3–4 in (75–100 mm) wide, cap front up to about 2.25 in (57 mm) tall, or your hoop's field, such as 100 × 100 mm for a 4 × 4 in hoop | Details that work at 8 in vanish at 3 in |
| Lettering | Capitals at least 5 mm (0.2 in) tall in a bold sans-serif; serif fonts 7–8 mm; scripts 8–10 mm or more | Smaller letters fill in and lose their shape |
| Lines and strokes | At least 1 mm wide to sew as satin; thinner lines become a running or bean stitch | Satin narrower than about 1 mm piles up |
| Gaps between shapes | At least 1 mm | Stitches spread a little and close small gaps |
| Colors | 2–6 flat colors for a logo; no gradients, shadows or glows | Each color is a thread change, and blends can't be stitched as blends |
| Large solid areas | Fine, but every filled square inch adds stitches | Big fills make designs stiff and slow to sew |
| Outlines | Optional; a dark outline 1–2 mm wide hides small misalignments | Fabric moves slightly as it's stitched |
Look at your artwork at its real size on screen, or print it at 100%. If you can't read a letter or see a detail at that size, the machine can't sew it either. Simplify the art rather than hoping the stitches will sort it out.
The artwork preparation guide covers resolution, backgrounds and colors in more depth, and small text embroidery has minimum sizes by font style.
Try it with your own design
Sign up free, upload an image and get a stitch preview in under a minute.
Drop your image here
PNG, JPG, SVG, PDF or AI · stays on your device
Not sure what to expect? See real examples or how it works.
Which apps can you use to draw embroidery artwork?
Any app that exports a clean PNG or SVG works. Use the one you already know, set the canvas to the finished size, and export at 2–3 times that size in pixels, or as an SVG.
| App | Good for | Export | Watch out for |
|---|---|---|---|
| Canva | Logos, lettering and simple badges built from shapes and fonts | PNG at 2–3× size; transparent background on Canva Pro | Elements with gradients, shadows or thin lines; check element licenses before you sell |
| Procreate | Hand-drawn art, pets and lettering on an iPad | A PNG of the finished drawing | Textured brushes and soft edges; draw with a hard, solid brush |
| Adobe Illustrator or Inkscape | Clean vector logos at exact sizes | SVG or PDF | Hairline strokes and hidden overlapping shapes |
| ChatGPT, Gemini and other AI image tools | Ideas and clip-art style drawings from a prompt | PNG | Photo-like detail, gradients and tiny text; prompt for flat colors and bold outlines |
| Pen and paper | Kids' drawings, sketches and handwriting | A scan or a sharp phone photo | Shadows and paper texture; trace or clean up first |
Each app has its own page with export steps: Canva to embroidery file, Procreate to embroidery file, Illustrator to embroidery file and ChatGPT image to embroidery file. For AI art, the AI embroidery prompt generator writes prompts that ask for flat, stitchable artwork, and turning a drawing into embroidery covers pencil sketches and kids' art.
How do you check artwork before you digitize it?
Run it through a checker at the size and placement you plan to use. The free embroidery image checker scores an image on resolution, background, colors, fine detail and estimated stitch count, shows a test-stitched preview and lists the fixes.
- Pick the placement, such as left chest or a 4 × 4 in hoop, so detail is judged at the real size.
- Fix the background. A white or solid background should come out cleanly; if not, remove logo background cuts the design out as a transparent PNG.
- Cut the colors. Reduce image colors turns a busy image into 2–12 flat thread colors with the closest Brother or Janome threads.
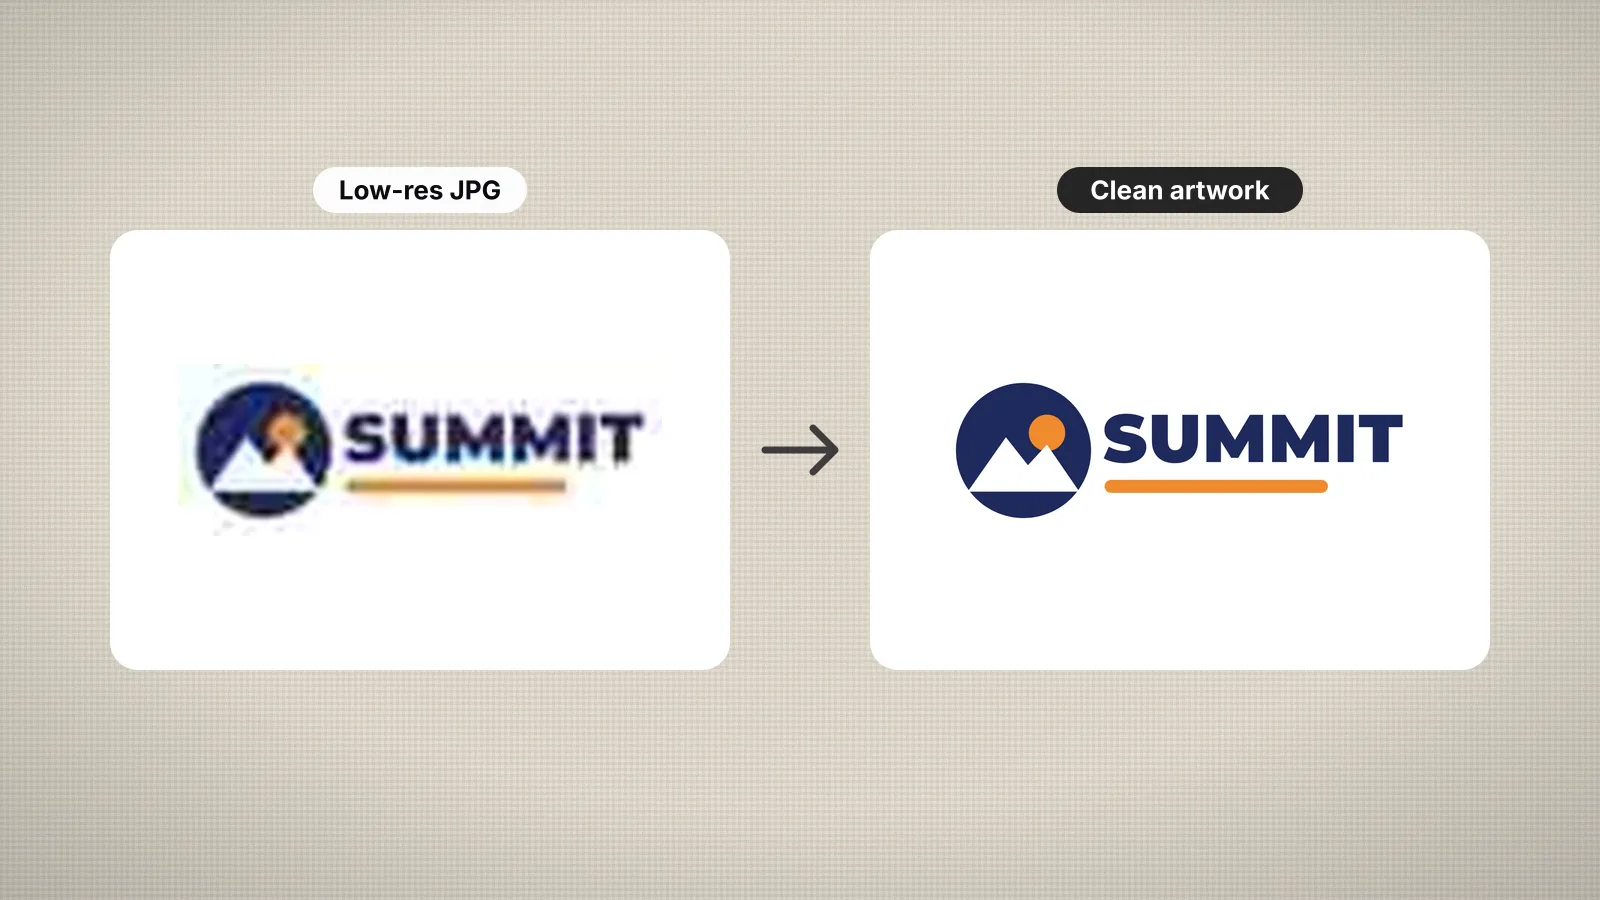
- Sharpen blurry art. A small or JPEG-damaged logo can be redrawn in flat colors with the logo upscaler.
- Thicken or remove fine details that the checker flags, in your drawing app, then check again.
How do you turn your artwork into a stitch file with Embrizo?
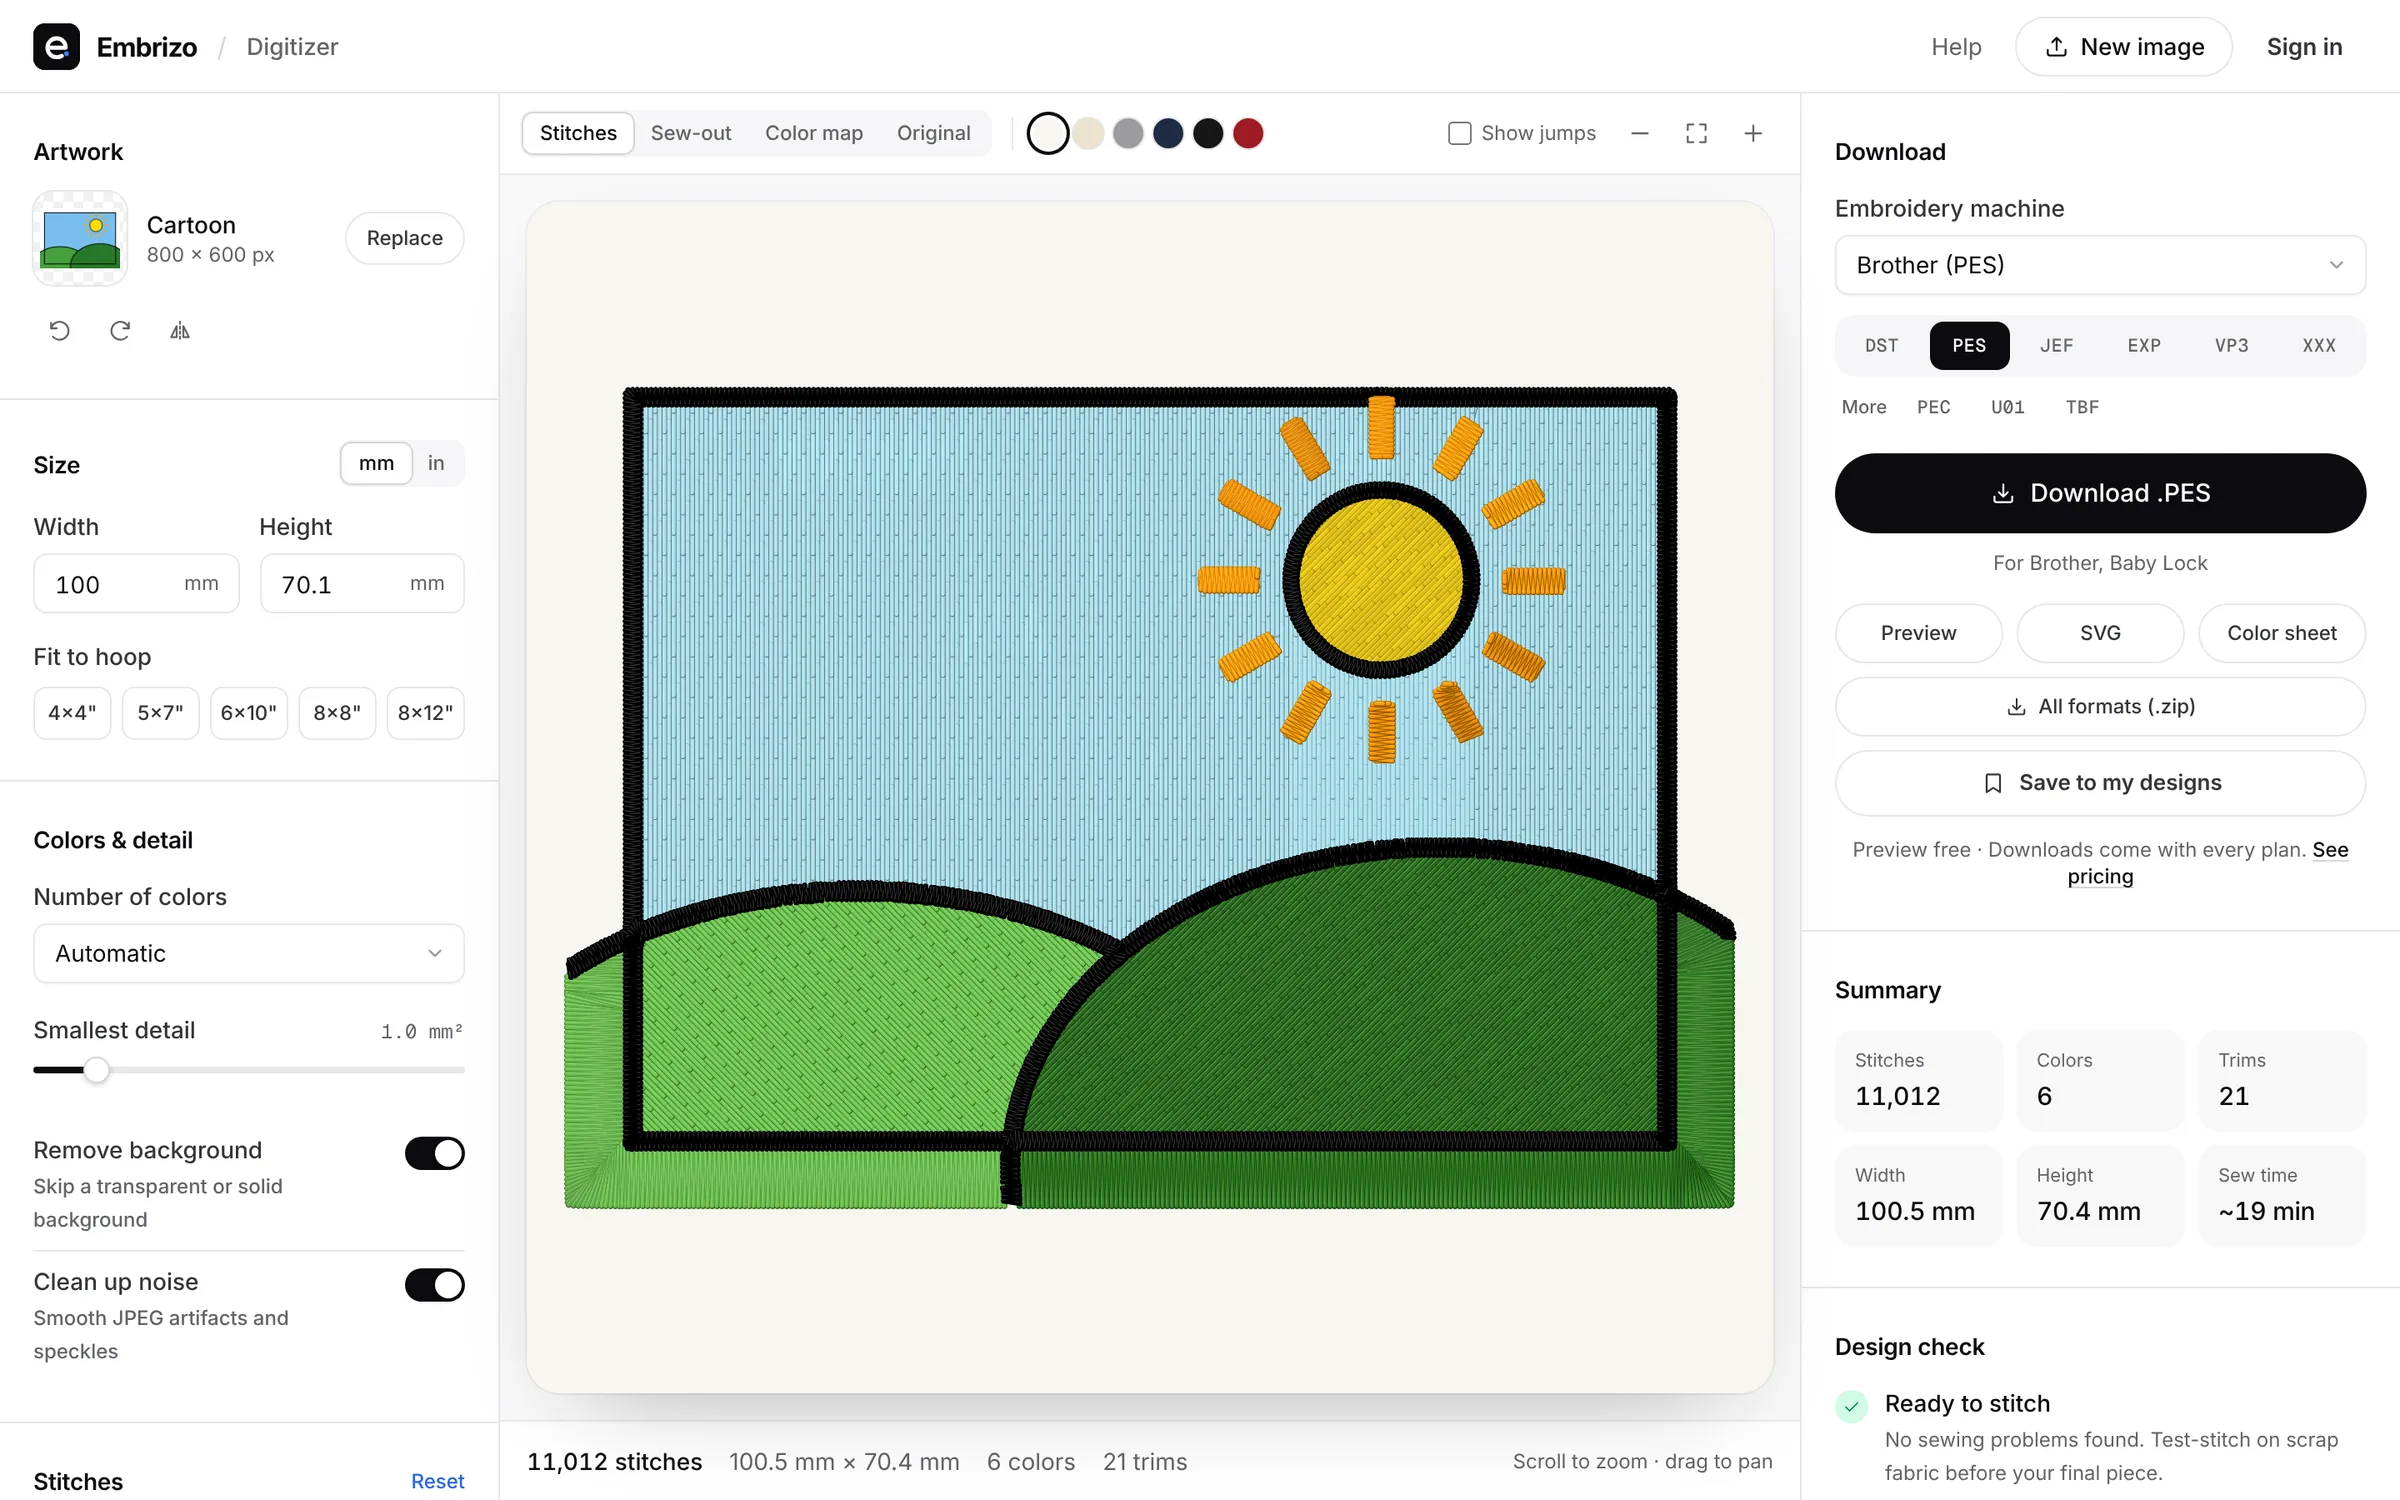
Upload the image to the digitizer and it plans the stitches in seconds. It removes the background, separates the thread colors and picks satin, tatami fill or running stitch for each shape, with underlay, pull compensation and lock stitches. It runs in the browser on Windows, Mac, Chromebook, iPad and Linux, and your artwork is processed on your device.
- Upload a PNG, JPG, WebP, GIF, BMP, SVG, PDF or Illustrator file. Save an EPS as PDF or SVG first.
- Set the width or pick a hoop, and choose the fabric preset: woven, knit, stretch, fleece or towel, or leather and vinyl.
- Check the color list. Merge colors you don't need, and change any color's stitch type to fill, satin or outline if the automatic choice isn't what you want.
- Read the design check, which flags details too fine to sew, designs that are too small or too large, many colors, high stitch counts and many trims.
- Watch the realistic stitch preview and the sew-out animation, then download PES, DST, JEF, EXP, VP3, XXX or another format. Digitizing and previews are free with an account; downloading files needs a plan.
What it doesn't do: it won't let you place stitches one by one, and it doesn't make motif fills, 3D puff or photo-realistic thread painting. Clean, bold artwork gives the best result, and photos need simplifying first. For those specialty jobs, hand digitizing or a digitizer is still the better route. Designs are saved to your account automatically, so you can come back later and change the size or colors.
How do you test a new design?
Sew it once on the same kind of fabric and stabilizer you'll use for real, then fix what the test shows before you stitch anything that matters. Most new designs need one or two rounds.
| What you see | Likely cause | Fix |
|---|---|---|
| Thin lines of fabric between colors | Not enough overlap or pull compensation | Raise pull compensation slightly, or widen the shapes in the artwork |
| Letters filled in or blobby | Text too small or strokes too thin | Make the letters bigger or bolder |
| Puckering around a fill | Too little stabilizer, or a dense fill on soft fabric | Use cut-away on knits, choose the knit preset or lighten the fill |
| The outline doesn't meet the fill | The fabric pulled as it was stitched | Hoop tighter, add stabilizer and add pull compensation |
| Lots of jump threads | Many small, separate shapes | Join or remove small specks in the artwork |
Before you stitch a file that came from somewhere else, check the embroidery file for long stitches, density and hoop fit. Keep your test pieces with notes on the settings; they become the best record of what works on each fabric.
Practice on a free design
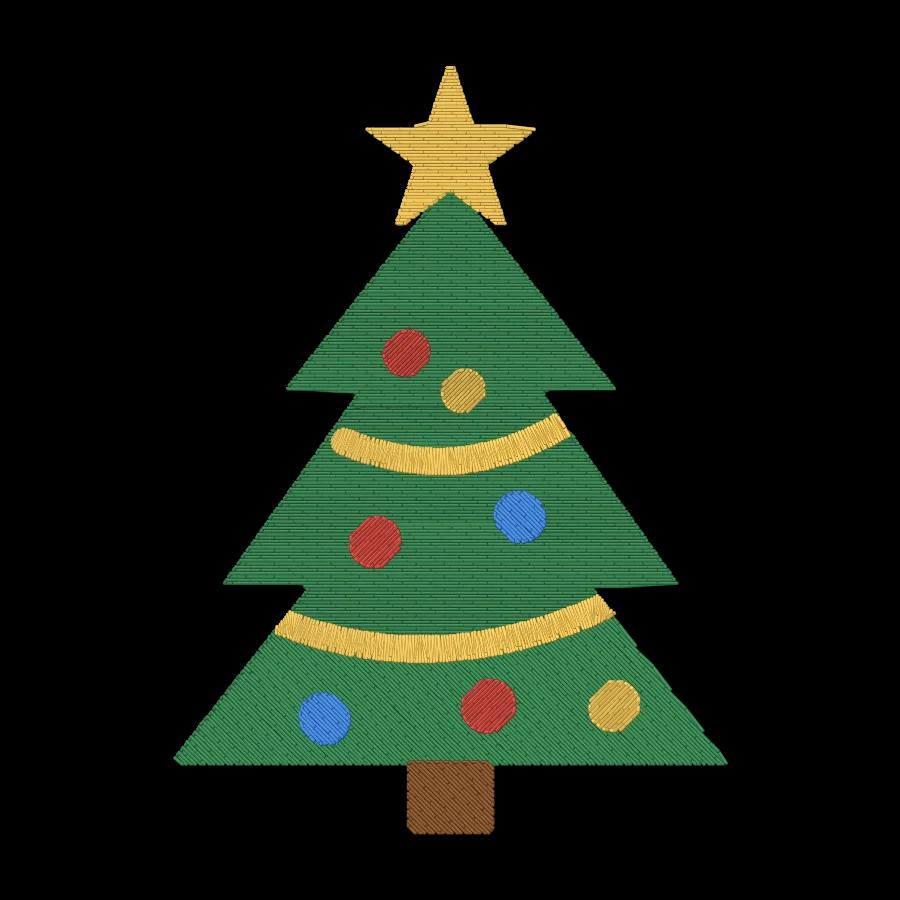
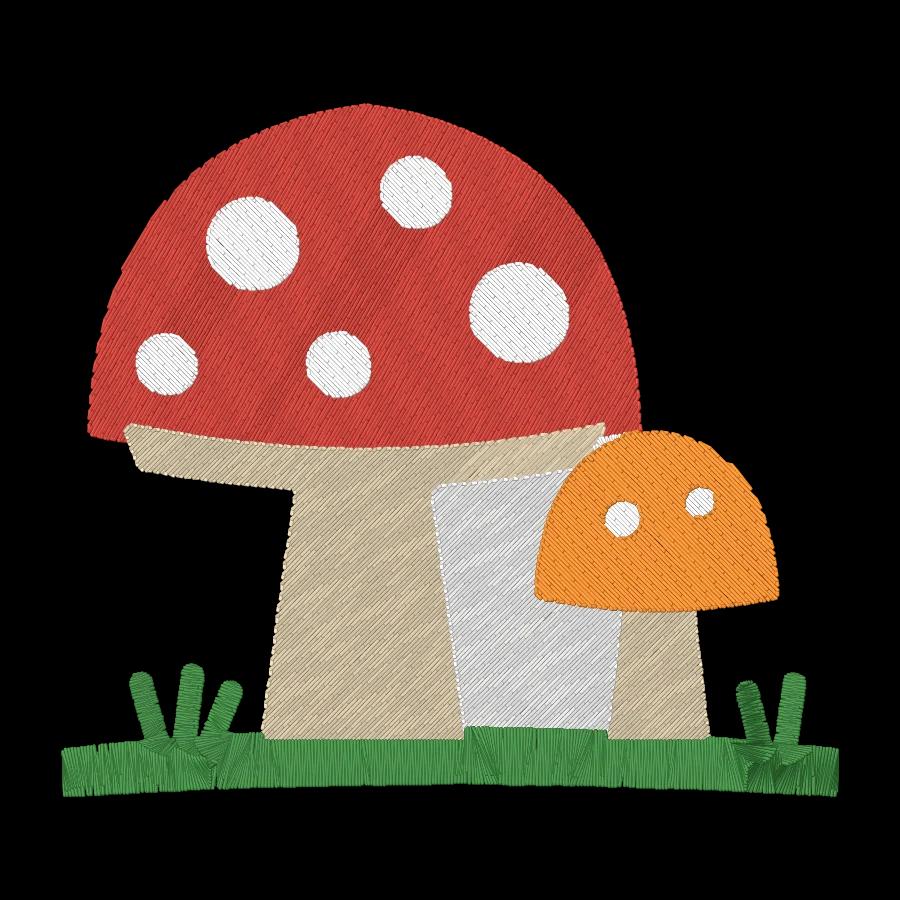
167 ready-to-sew designs in every machine format, free with an account.
Can you sell the designs you make?
Yes, if the artwork is yours. Designs made from your own drawings, photos and lettering can be stitched on items you sell, or sold as embroidery files. Embrizo's terms say you own the artwork you digitize and the designs you create.
- Your own artwork is yours to stitch and sell, as finished items or as files.
- Customers' logos and drawings: stitch them for that customer, once they confirm they own them or have permission.
- Brands, teams, characters and other people's art need a license from the owner, even if you redraw them or change the colors.
- Fonts and app elements: check the font license and, in Canva, the license of each element you use before you sell.
- AI images: read the AI tool's terms, avoid prompts that name brands, characters or living artists, and know that images made purely by AI may not be protected by copyright in the US, so others may be free to copy them.
This is general information, not legal advice. The embroidery design copyright guide explains licenses in more detail, and how to sell embroidery files online covers formats, color charts and listings if you want to sell the files themselves.